Budget Batch Sugar-Free Chocolate Peanut Butter Cups
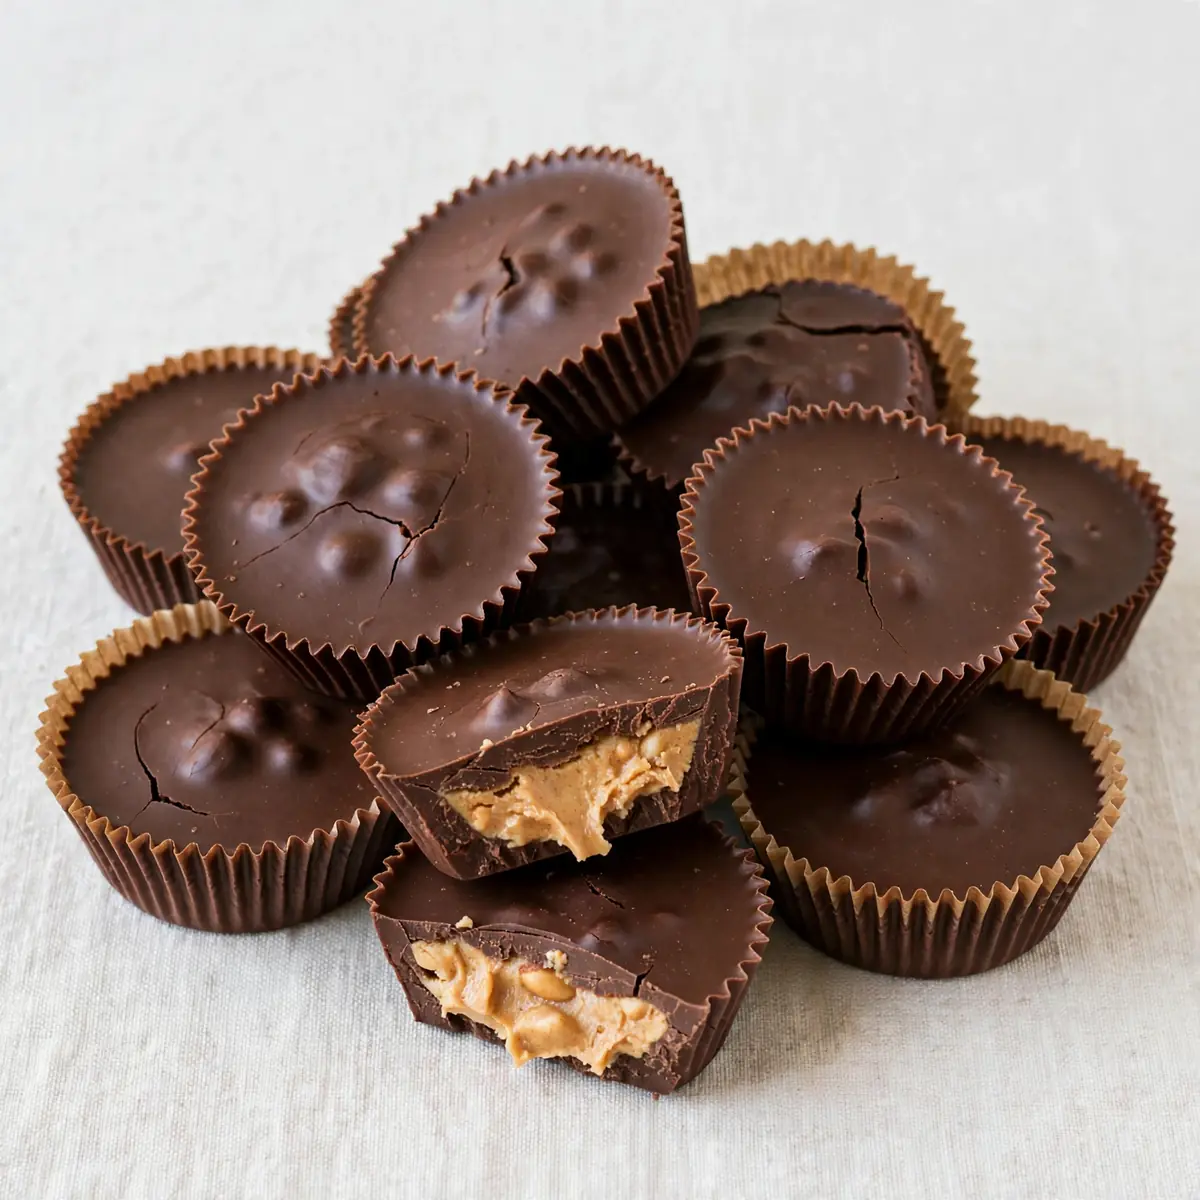
I’m a firm believer that a sweet treat shouldn’t break the bank or your sugar goals. After testing this recipe five times, I finally got it just right, creating a budget-friendly Sugar-Free Chocolate Peanut Butter Cups batch that costs pennies per serving and stashes away in the fridge for weeks.
Recipe Overview
- Prep Time: 15 minutes
- Cook Time: 5 minutes
- Chill Time: 30 minutes
- Total Time: 50 minutes
- Servings: 12 cups
- Difficulty: Easy
Why You’ll Love This Sugar-Free Chocolate Peanut Butter Cups
- Budget batch cooking: At roughly 35p per cup, this is far cheaper than any shop-bought sugar-free alternative.
- Meal-prep friendly: Make a double batch on Sunday and grab one for dessert all week long.
- No refined sugar: Sweetened entirely with stevia or erythritol, so your blood sugar stays steady.
- Freezer staple: These cups freeze beautifully for up to three months, meaning you always have a treat on hand.
- Simple ingredients: Just five base ingredients, most of which you likely already have in your cupboard.
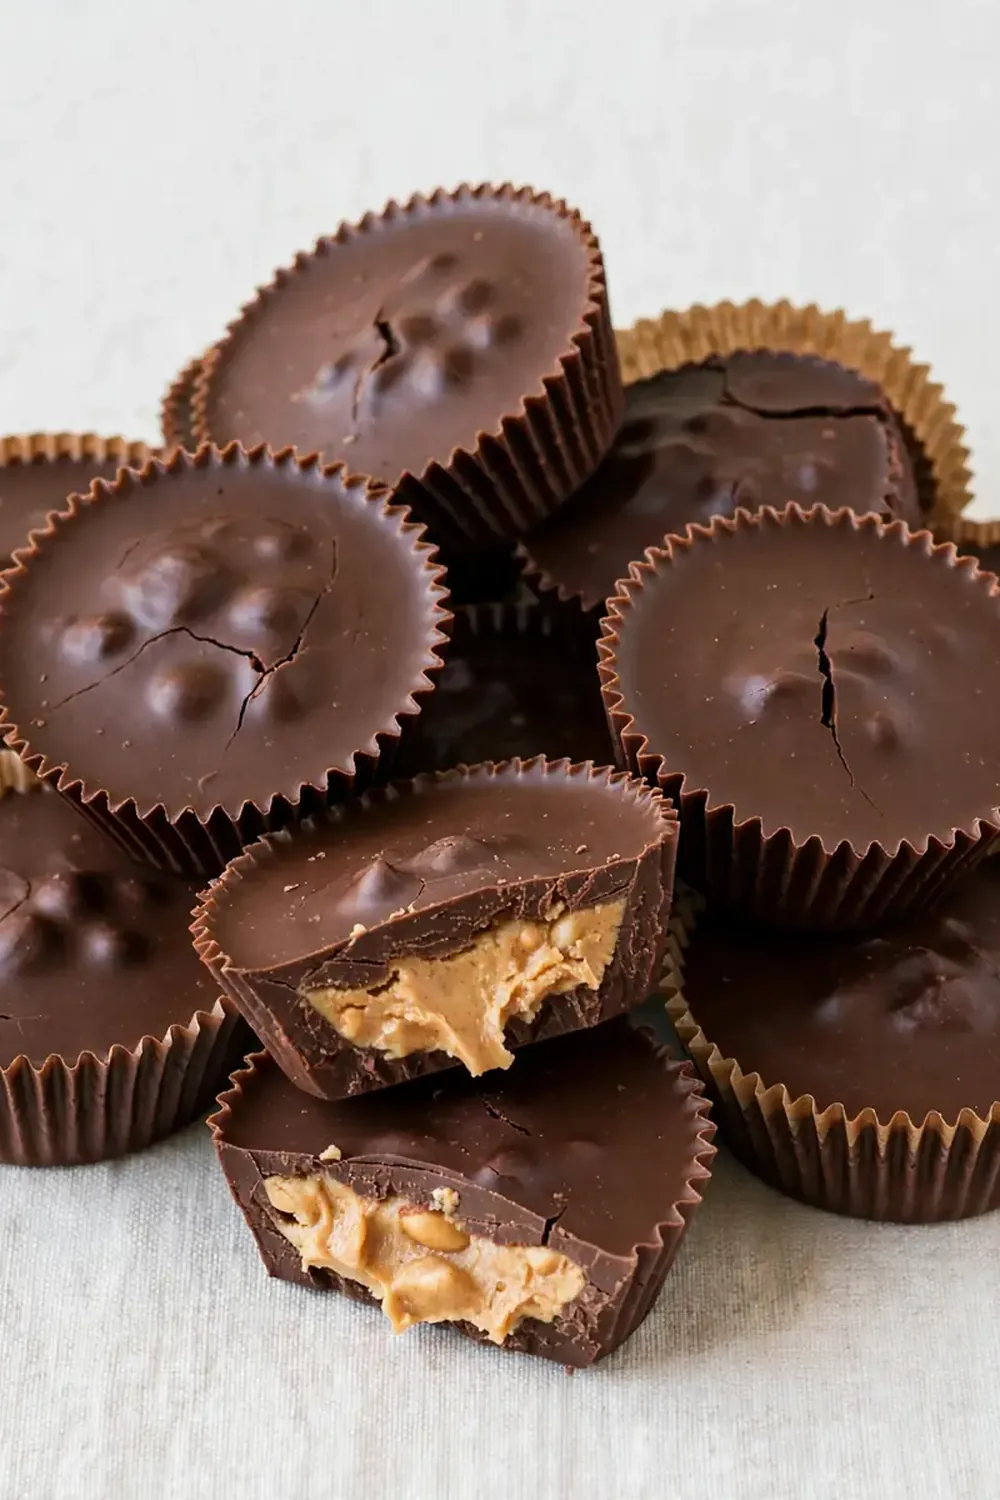
Ingredients You’ll Need
- 200g sugar-free dark chocolate (85% cocoa or higher)
- 100g smooth peanut butter (no added sugar or salt)
- 30g coconut oil, melted
- 2 tablespoons powdered erythritol or stevia (adjust to taste)
- 1 teaspoon vanilla extract
- Pinch of sea salt
- Optional: 1 tablespoon unsweetened cocoa powder for a darker finish
Tip: For the best value, buy your dark chocolate in bulk when it’s on offer and store it in a cool, dark cupboard. Peanut butter from a health food shop’s own brand often works out cheaper than the big-name brands and contains no hidden sugars.
How to Make Sugar-Free Chocolate Peanut Butter Cups
- Melt the chocolate base: Break the 200g sugar-free dark chocolate into small, even pieces and place in a heatproof bowl set over a pan of simmering water. Stir gently with a spatula until the chocolate is completely smooth and glossy — you’ll see it turn from solid shards into a silky, dark puddle with a rich, bitter cocoa aroma. Remove from the heat and stir in half the melted coconut oil until fully incorporated.
- Prepare the muffin liners: Line a 12-hole muffin tin with paper cases. Using a small spoon, drop about one teaspoon of the melted chocolate into the bottom of each liner. Tilt the tin gently so the chocolate spreads evenly across the base. You should see a thin, dark layer covering the entire bottom of each case. Place the tin in the freezer for 10 minutes, or until the chocolate is firm and matte to the touch.
- Make the peanut butter filling: In a separate bowl, combine the 100g peanut butter, the remaining melted coconut oil, the powdered erythritol or stevia, and the vanilla extract. Stir vigorously — the mixture will start stiff but quickly become a thick, spreadable paste with a nutty, sweet scent. Taste and adjust sweetness if needed; the filling should be just a touch sweeter than you want the final cup to be, as the chocolate will balance it.
- Fill the cups: Remove the tin from the freezer. Spoon a heaped teaspoon of the peanut butter mixture into each chocolate-lined cup. Press it down gently with the back of the spoon so it flattens into an even layer, leaving about 3mm of space at the top for the final chocolate seal. The filling should look pale and creamy against the dark chocolate.
- Add the top chocolate layer: Reheat the remaining melted chocolate briefly if it has thickened (10 seconds in the microwave or a quick stir over the simmering water). Spoon one teaspoon of chocolate over each peanut butter layer, spreading it gently to the edges of the liner. Tap the tin firmly on the counter a couple of times — you’ll see the chocolate settle and any air bubbles rise to the surface. Sprinkle a tiny pinch of sea salt over each cup.
- Set the cups: Return the tin to the freezer for a full 20 minutes, or until the tops are completely firm and release easily from the paper liners. When ready, the cups should pop out cleanly with a slight snap when you bend the paper away. Store in an airtight container in the fridge for up to two weeks, or freeze for up to three months.
Tips From My Kitchen
- Use a silicone muffin tray for easy release: I’ve found that silicone liners or a silicone tray make popping out the cups effortless. Paper cases can sometimes stick if the chocolate isn’t fully set, so silicone saves you from torn edges and a messy counter.
- Keep the chocolate at the right temperature: If your melted chocolate gets too hot (above 45°C), it can seize or become grainy. I always use a thermometer for the first few minutes, but a good rule of thumb is that the bowl should feel warm, not hot, to the back of your hand. This ensures a silky, snappy finish every time.
- Don’t skip the salt: A small pinch of sea salt on top isn’t just for decoration — it sharpens the sweetness and deepens the chocolate flavour. Without it, the cups can taste flat, even if you’ve used good-quality chocolate. I sprinkle it just before the final set so it stays visible and crunchy.
- Adapt the sweetness to your palate: Different brands of erythritol vary in sweetness, and some stevia blends have a bitter aftertaste. I recommend making a tiny test batch with one tablespoon of filling first, tasting it, and adjusting the sweetener before you commit to the full batch. This small step has saved me from wasting ingredients more than once.
- Batch cook in double quantities: I make this at least once a week – it’s become a family favourite. Double the recipe and freeze half the cups in a labelled container. They thaw in the fridge in about 10 minutes, so you always have a sugar-free dessert ready without any extra effort.
Equipment You’ll Need
- 12-hole muffin tin or silicone mould
- Small heatproof bowl (for melting chocolate)
- Saucepan (for the bain-marie)
- Spatula or wooden spoon
- Measuring spoons
- Small spoon or teaspoon for filling
- Air-tight container for storage
Common Mistakes to Avoid
- Overcrowding the pan: If you try to make more than 12 cups in one go without a second tin, the chocolate in the waiting liners can start to set before you add the filling. Work in batches if necessary, keeping unused chocolate over the warm water so it stays liquid.
- Wrong temperature: Melting chocolate over direct heat or in a too-hot microwave will cause it to seize into a grainy, lumpy mess. Always use gentle, indirect heat and stir often. If the chocolate does seize, you can try rescuing it with a teaspoon of coconut oil, but prevention is far easier.
- Skipping the rest time: Rushing the freezing steps leads to cups that are soft at room temperature and messy to eat. The first 10-minute freeze for the base is non-negotiable, and the final 20-minute freeze ensures a clean snap. If you’re in a hurry, extend the final freeze to 30 minutes for guaranteed results.
What to Serve With Sugar-Free Chocolate Peanut Butter Cups
- A small handful of fresh raspberries or strawberries for a tart contrast
- Herbal tea, such as peppermint or chamomile, to round off a meal
- As a dessert after a savoury meal-prep dish like Budget Friendly Creamy Pesto Chicken With Roasted Cauliflower
- Crumbled over a bowl of plain Greek yoghurt for a quick parfait
- Alongside a Batch Cook Sugar Free Chocolate Covered Strawberries For 80¢ A Serving for a double-chocolate treat
Still hungry for ideas? You might also love Peanut Butter Banana Toast, Sugar Free Keto Sex In A Pan Layered Dessert from our sister kitchens.
Frequently Asked Questions
Sugar-Free Chocolate Peanut Butter Cups
Ingredients
Method
- Melt the chocolate base: Break the 200g sugar-free dark chocolate into small, even pieces and place in a heatproof bowl set over a pan of simmering water. Stir gently with a spatula until the chocolate is completely smooth and glossy — you’ll see it turn from solid shards into a silky, dark puddle with a rich, bitter cocoa aroma. Remove from the heat and stir in half the melted coconut oil until fully incorporated.
- Prepare the muffin liners: Line a 12-hole muffin tin with paper cases. Using a small spoon, drop about one teaspoon of the melted chocolate into the bottom of each liner. Tilt the tin gently so the chocolate spreads evenly across the base. You should see a thin, dark layer covering the entire bottom of each case. Place the tin in the freezer for 10 minutes, or until the chocolate is firm and matte to the touch.
- Make the peanut butter filling: In a separate bowl, combine the 100g peanut butter, the remaining melted coconut oil, the powdered erythritol or stevia, and the vanilla extract. Stir vigorously — the mixture will start stiff but quickly become a thick, spreadable paste with a nutty, sweet scent. Taste and adjust sweetness if needed; the filling should be just a touch sweeter than you want the final cup to be, as the chocolate will balance it.
- Fill the cups: Remove the tin from the freezer. Spoon a heaped teaspoon of the peanut butter mixture into each chocolate-lined cup. Press it down gently with the back of the spoon so it flattens into an even layer, leaving about 3mm of space at the top for the final chocolate seal. The filling should look pale and creamy against the dark chocolate.
- Add the top chocolate layer: Reheat the remaining melted chocolate briefly if it has thickened (10 seconds in the microwave or a quick stir over the simmering water). Spoon one teaspoon of chocolate over each peanut butter layer, spreading it gently to the edges of the liner. Tap the tin firmly on the counter a couple of times — you’ll see the chocolate settle and any air bubbles rise to the surface. Sprinkle a tiny pinch of sea salt over each cup.
- Set the cups: Return the tin to the freezer for a full 20 minutes, or until the tops are completely firm and release easily from the paper liners. When ready, the cups should pop out cleanly with a slight snap when you bend the paper away. Store in an airtight container in the fridge for up to two weeks, or freeze for up to three months.
Notes
I’d love to hear how your batch turned out — drop a comment below with any tweaks you made or how you served them. For another budget-friendly meal-prep dessert, check out my Budget Batch Low Carb Coconut Flour Lava Cake, which uses similar pantry staples and costs just pence per portion.