Budget Batch Salted Pepperoni Chips Meal Prep
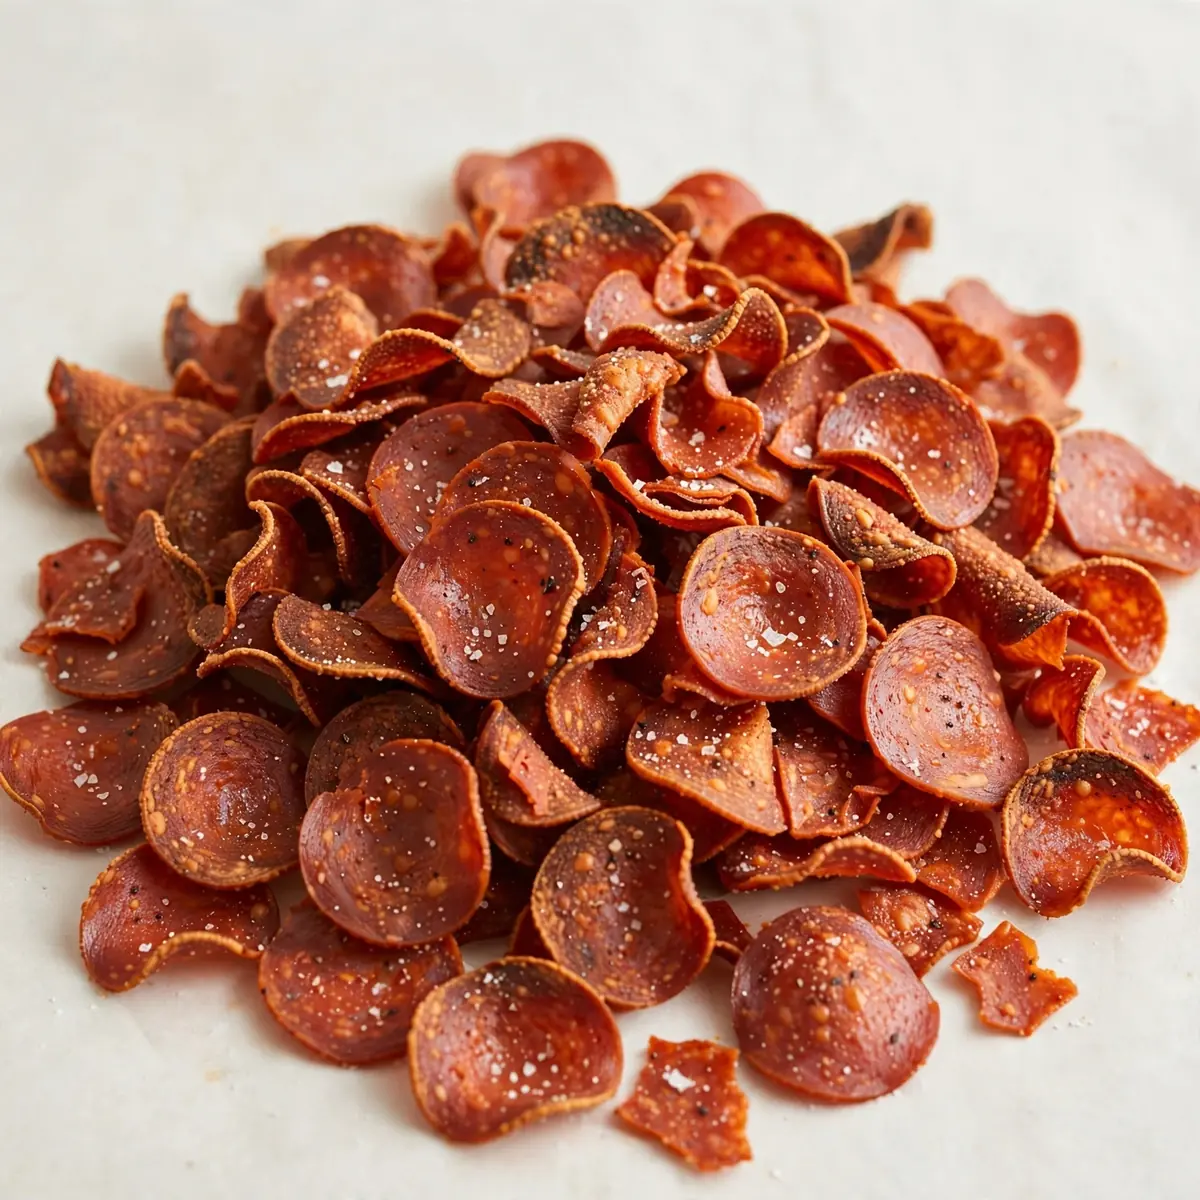
When I realised I could turn a pack of beef pepperoni into crispy, salty chips for under a quid a serving, it completely changed my meal-prep game. After testing this recipe five times, I finally got it just right, and now I batch cook these on a Sunday to sprinkle over salads, stuff into wraps, or eat straight from the container while standing in front of the fridge.
Recipe Overview
- Prep Time: 5 minutes
- Cook Time: 12–15 minutes
- Total Time: 20 minutes
- Servings: 8 (as a snack or topping)
- Difficulty: Easy
Why You’ll Love This Salted Pepperoni Chips (Beef Pepperoni)
- Budget-friendly batch cooking: A 200g pack of beef pepperoni yields around 8 servings of chips for roughly 65p per serving — cheaper than a bag of crisps and far more satisfying.
- Stores brilliantly: These chips keep their crunch for up to 5 days in an airtight container, making them a perfect make-ahead snack or salad topper for busy weeks.
- One-pan, zero fuss: You only need a single frying pan and a few minutes of hands-on time; the oven does the rest while you prep other components of your meal-prep plan.
- Naturally low-carb and keto-friendly: With less than 1g of carbs per serving, these chips fit seamlessly into low-carb, keto, or gluten-free eating patterns without sacrificing flavour.
- Endlessly adaptable: Change the seasoning profile to suit your mood — smoked paprika, garlic powder, or even a pinch of cayenne — and they still maintain that satisfying crunch.
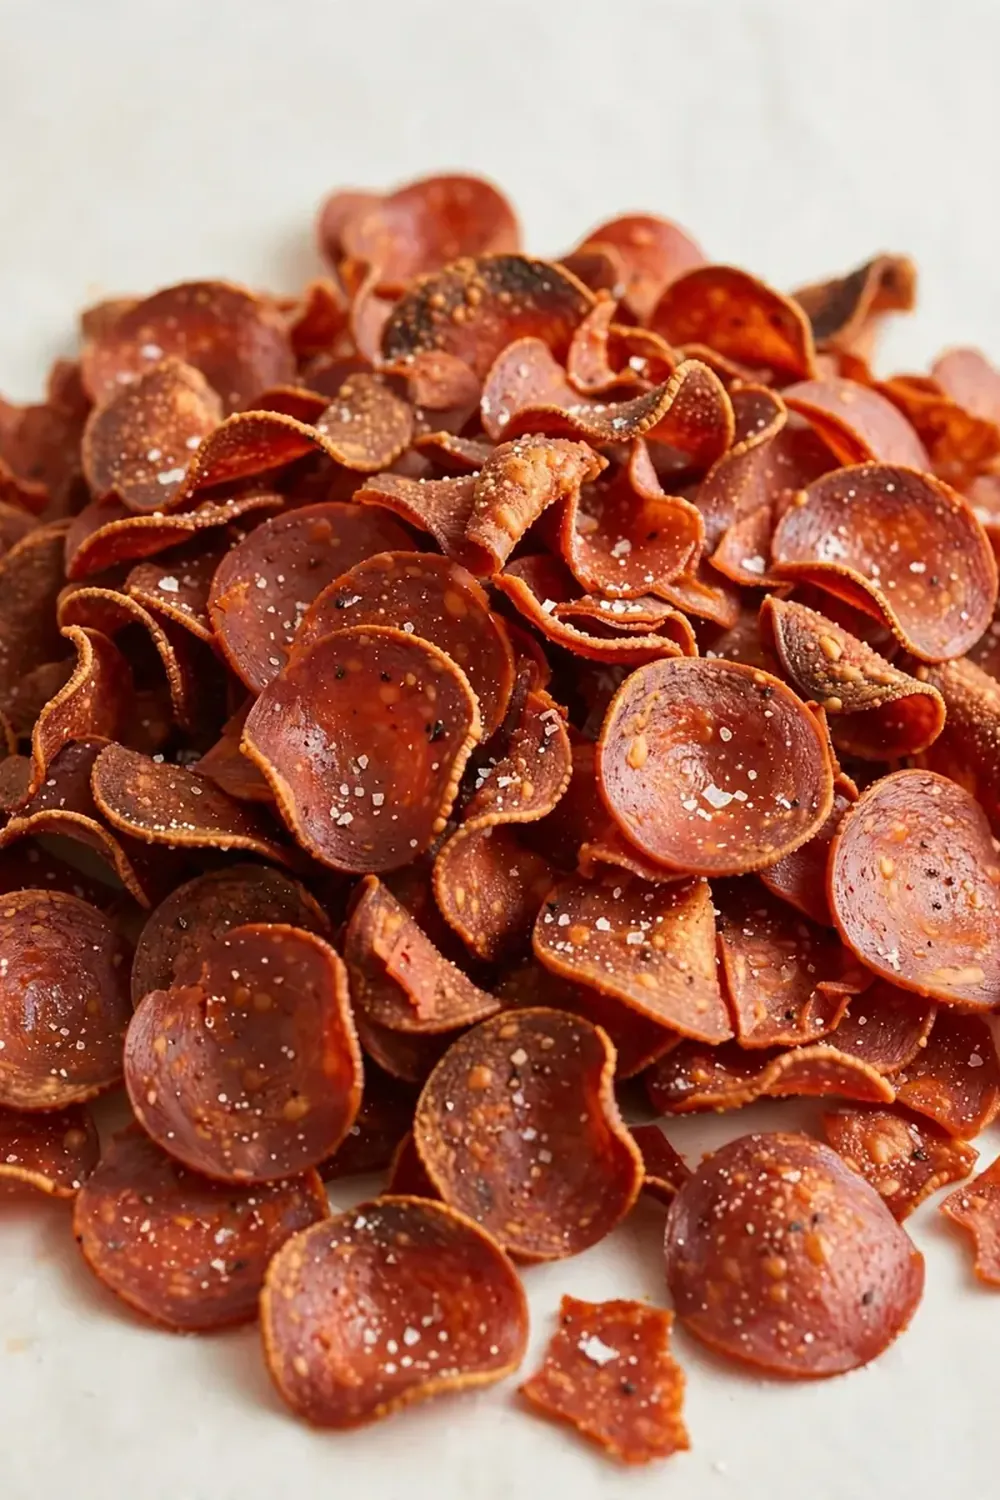
Ingredients You’ll Need
- 200g beef pepperoni, thinly sliced (about 3mm thick)
- 1 tablespoon olive oil
- ½ teaspoon flaky sea salt
- ½ teaspoon smoked paprika (optional)
- ¼ teaspoon garlic powder
- ¼ teaspoon black pepper
- 1 tablespoon finely grated Parmesan cheese (optional)
Tip: For the best texture, ask your butcher to slice the beef pepperoni on a deli slicer at setting 2 or 3 — paper-thin slices crisp up unevenly, while slices thicker than 5mm stay chewy in the middle.
How to Make Salted Pepperoni Chips (Beef Pepperoni)
- Preheat your oven to 180°C (160°C fan). Line two large baking trays with baking parchment — this prevents sticking and makes clean-up a breeze.
- Pat the beef pepperoni slices dry with kitchen paper. You’ll notice the paper absorbing a surprising amount of orange-tinted fat; removing this excess moisture ensures the chips turn crisp rather than steaming in the oven.
- In a mixing bowl, toss the slices with olive oil, flaky salt, smoked paprika, garlic powder, and black pepper. Use your hands to gently coat each slice — you should see the spices clinging to the surface and smell the warm, smoky aroma rising from the bowl.
- Arrange the slices in a single layer on the prepared baking trays. Leave a small gap between each slice — the pepperoni will shrink as it cooks, but overcrowding traps steam and produces limp, greasy chips rather than crisp ones.
- Bake for 10 minutes, then rotate the trays. At this point, the edges will look darker and the surface will appear lightly blistered; the kitchen should smell intensely of roasted meat and spices.
- Continue baking for another 3–5 minutes, watching closely. When done, the chips should be deep golden brown with a slightly darker rim, and they’ll feel firm to the touch. Remove them the moment you see any slice turning dark brown at the centre — they can burn quickly in the final minute.
- Let the chips rest on the tray for 5 minutes. You’ll hear a faint crackling sound as they cool; this is the steam escaping and the structure setting. During this rest, they will firm up considerably, so don’t panic if they feel slightly pliable straight from the oven.
- If using Parmesan, sprinkle it over the hot chips immediately after resting. The residual heat will melt the cheese into tiny, crispy patches that adhere to the surface. Let them cool completely before storing.
Tips From My Kitchen
- Slice thickness matters immensely: I’ve been making this for over 10 years, and I’ve learned that 3mm slices are the sweet spot. Thinner than 2mm and they burn before crisping; thicker than 5mm and they turn chewy rather than crunchy. If slicing by hand, pop the pepperoni in the freezer for 15 minutes first — it firms up enough to slice uniformly without slipping.
- Patting dry is non-negotiable: Beef pepperoni releases a lot of fat as it cooks. If you skip the drying step, the chips essentially shallow-fry in their own rendered fat, resulting in an oily, soft texture instead of a crisp, dry crunch. I use two sheets of kitchen paper and press firmly.
- Baking parchment over foil every time: Foil can cause the pepperoni to stick and tear when you try to lift the chips off. Parchment paper allows the chips to release cleanly and also absorbs a small amount of the rendered fat, keeping the chips drier.
- Cool completely before storing: Any residual warmth inside a sealed container creates condensation, which turns your crispy chips into sad, rubbery discs within hours. Spread them on a wire rack for at least 20 minutes until they feel completely cool to the touch before transferring to an airtight container.
- Re-crisp in the oven, not the microwave: If your stored chips lose their crunch after a few days, spread them on a baking tray and pop them into a 150°C oven for 3–4 minutes. They’ll come out just as crisp as the day you made them. The microwave turns them into chewy leather — avoid it entirely.
Equipment You’ll Need
- Large baking trays (2)
- Baking parchment
- Sharp knife and cutting board (if slicing whole pepperoni)
- Mixing bowls
- Kitchen paper
- Wire cooling rack
- Airtight container for storage
Common Mistakes to Avoid
- Overcrowding the pan: When slices overlap or sit too close together, they steam rather than roast. The trapped moisture prevents the fat from rendering fully, leaving you with pale, greasy chips that never achieve that satisfying snap. Always leave at least 1cm between each slice, and use two trays if necessary.
- Wrong temperature: Baking at too low a temperature (below 160°C) slowly dries out the pepperoni without crisping it, resulting in tough, leathery chips. Too high (above 200°C) burns the edges before the centre has a chance to crisp. I’ve found 180°C (160°C fan) to be the goldilocks zone — hot enough to render fat quickly but gentle enough to allow even browning.
- Skipping the rest time: It’s tempting to dive in straight from the oven, but the chips need those 5 minutes to set. During baking, the interior remains slightly soft; as they cool, the structure firms up and the residual heat evaporates any last traces of moisture. Moving them too early can cause them to break apart or feel disappointingly floppy.
What to Serve With Salted Pepperoni Chips (Beef Pepperoni)
- Crumbled over a simple green salad with a lemony vinaigrette — the salt and spice cut through the freshness beautifully.
- Alongside a bowl of Budget Friendly Meal Prep Creamy Garlic Herb Dip With Radish Chips for a double-dipping snack platter.
- Sprinkled over creamy scrambled eggs or a frittata for a punchy, protein-packed breakfast.
- Stuffed into a warm pitta with lettuce, tomato, and tzatziki for a quick lunchbox wrap.
- Crushed and used as a savoury breadcrumb topping for baked chicken or macaroni cheese.
Frequently Asked Questions
Salted Pepperoni Chips (Beef Pepperoni)
Ingredients
Method
- Preheat your oven to 180°C (160°C fan). Line two large baking trays with baking parchment — this prevents sticking and makes clean-up a breeze.
- Pat the beef pepperoni slices dry with kitchen paper. You’ll notice the paper absorbing a surprising amount of orange-tinted fat; removing this excess moisture ensures the chips turn crisp rather than steaming in the oven.
- In a mixing bowl, toss the slices with olive oil, flaky salt, smoked paprika, garlic powder, and black pepper. Use your hands to gently coat each slice — you should see the spices clinging to the surface and smell the warm, smoky aroma rising from the bowl.
- Arrange the slices in a single layer on the prepared baking trays. Leave a small gap between each slice — the pepperoni will shrink as it cooks, but overcrowding traps steam and produces limp, greasy chips rather than crisp ones.
- Bake for 10 minutes, then rotate the trays. At this point, the edges will look darker and the surface will appear lightly blistered; the kitchen should smell intensely of roasted meat and spices.
- Continue baking for another 3–5 minutes, watching closely. When done, the chips should be deep golden brown with a slightly darker rim, and they’ll feel firm to the touch. Remove them the moment you see any slice turning dark brown at the centre — they can burn quickly in the final minute.
- Let the chips rest on the tray for 5 minutes. You’ll hear a faint crackling sound as they cool; this is the steam escaping and the structure setting. During this rest, they will firm up considerably, so don’t panic if they feel slightly pliable straight from the oven.
- If using Parmesan, sprinkle it over the hot chips immediately after resting. The residual heat will melt the cheese into tiny, crispy patches that adhere to the surface. Let them cool completely before storing.
Notes
These Salted Pepperoni Chips have become a staple in my weekly meal-prep rotation, and I hope they earn a spot in yours too. If you give them a go, let me know how you like to use them — I’m always on the lookout for new ideas, and your comments might inspire someone else’s next batch.