Meal Prep Baked Egg and Avocado Cups Under $2
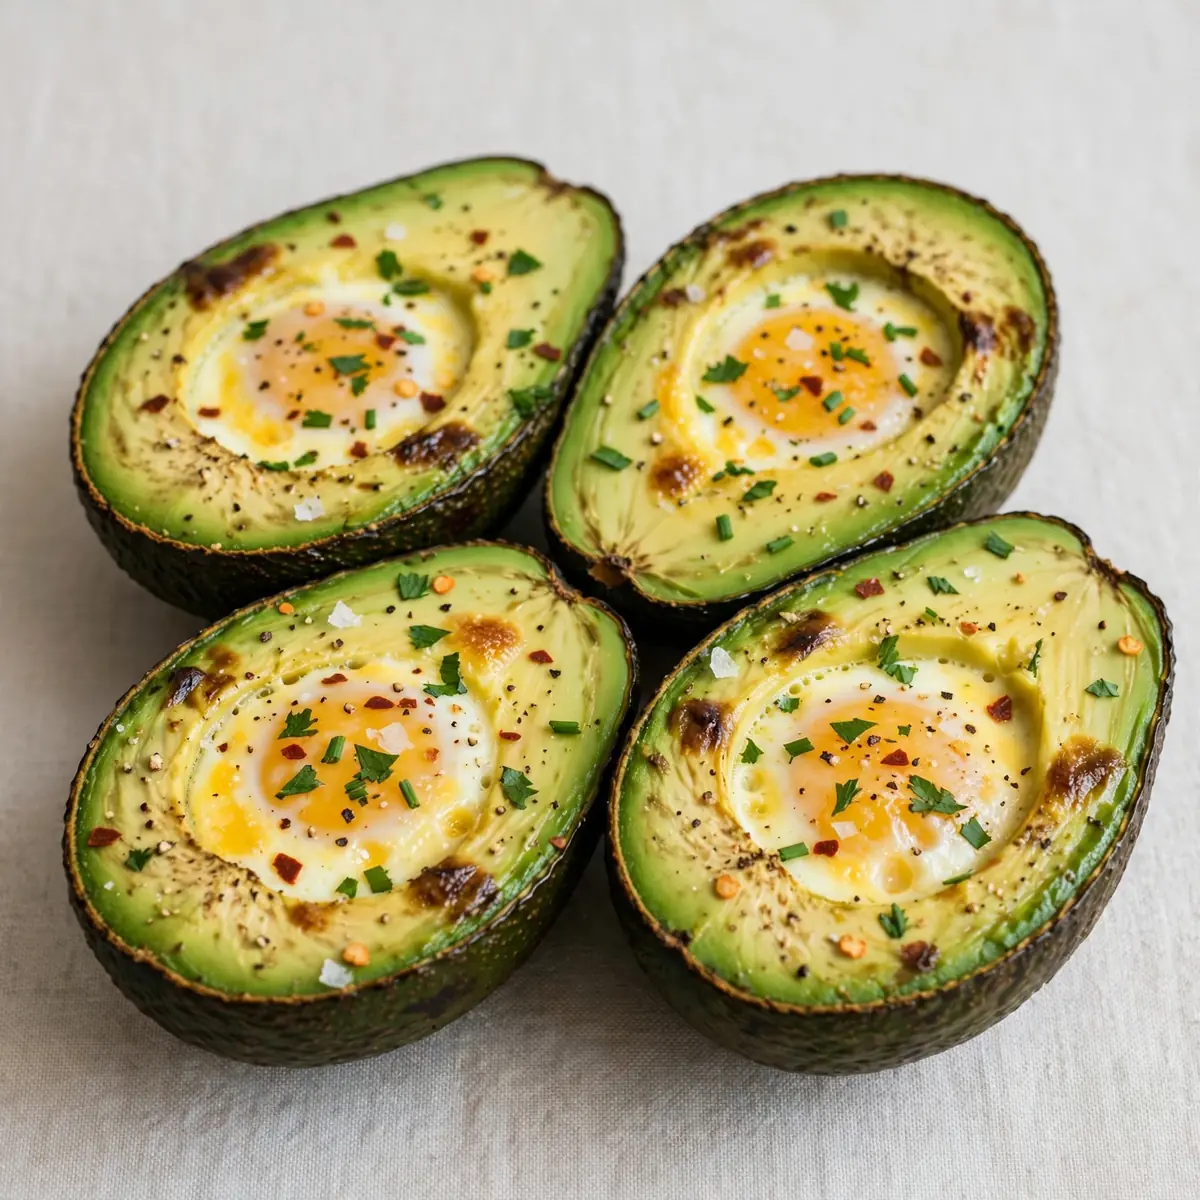
I’m always on the lookout for ways to make a few pounds stretch further without sacrificing flavour or nutrition. This baked egg and avocado cups recipe has become my secret weapon for busy weeks. I make this at least once a week – it’s become a family favourite. It’s a proper budget-friendly meal-prep recipe that costs just pennies per serving, stores like a dream, and reheats beautifully. Let me show you exactly how to batch cook them so you have breakfast (or lunch or a quick snack) sorted for days.
Recipe Overview
- Prep Time: 10 minutes
- Cook Time: 15–18 minutes
- Total Time: 25–28 minutes
- Servings: 4 (makes 8 cups, 2 per serving)
- Difficulty: Easy
Why You’ll Love This Baked Egg and Avocado Cups
- Seriously budget-friendly: At roughly 35–40p per serving (two cups), this is one of the cheapest ways to get a high-protein, nutrient-dense meal on the table. I’ve crunched the numbers using supermarket prices, and this beats most meal-deal options hands down.
- Perfect for batch cooking: You can easily double or triple the recipe. I often make a tray of 16 cups on a Sunday afternoon, and they keep brilliantly in the fridge for up to four days or the freezer for a month.
- Reheats like a dream: Unlike many egg-based dishes that turn rubbery, these cups come back to life in the microwave or oven with their creamy texture intact. The avocado stays rich and the eggs remain tender.
- Endlessly adaptable: Use whatever cheese or vegetables are on offer at the supermarket. This is a proper fridge-raid recipe that helps reduce food waste and saves even more money.
- Portable and mess-free: These cups are sturdy enough to pack for work or a day out. No soggy sandwiches here – just a neat, satisfying meal that holds its shape.
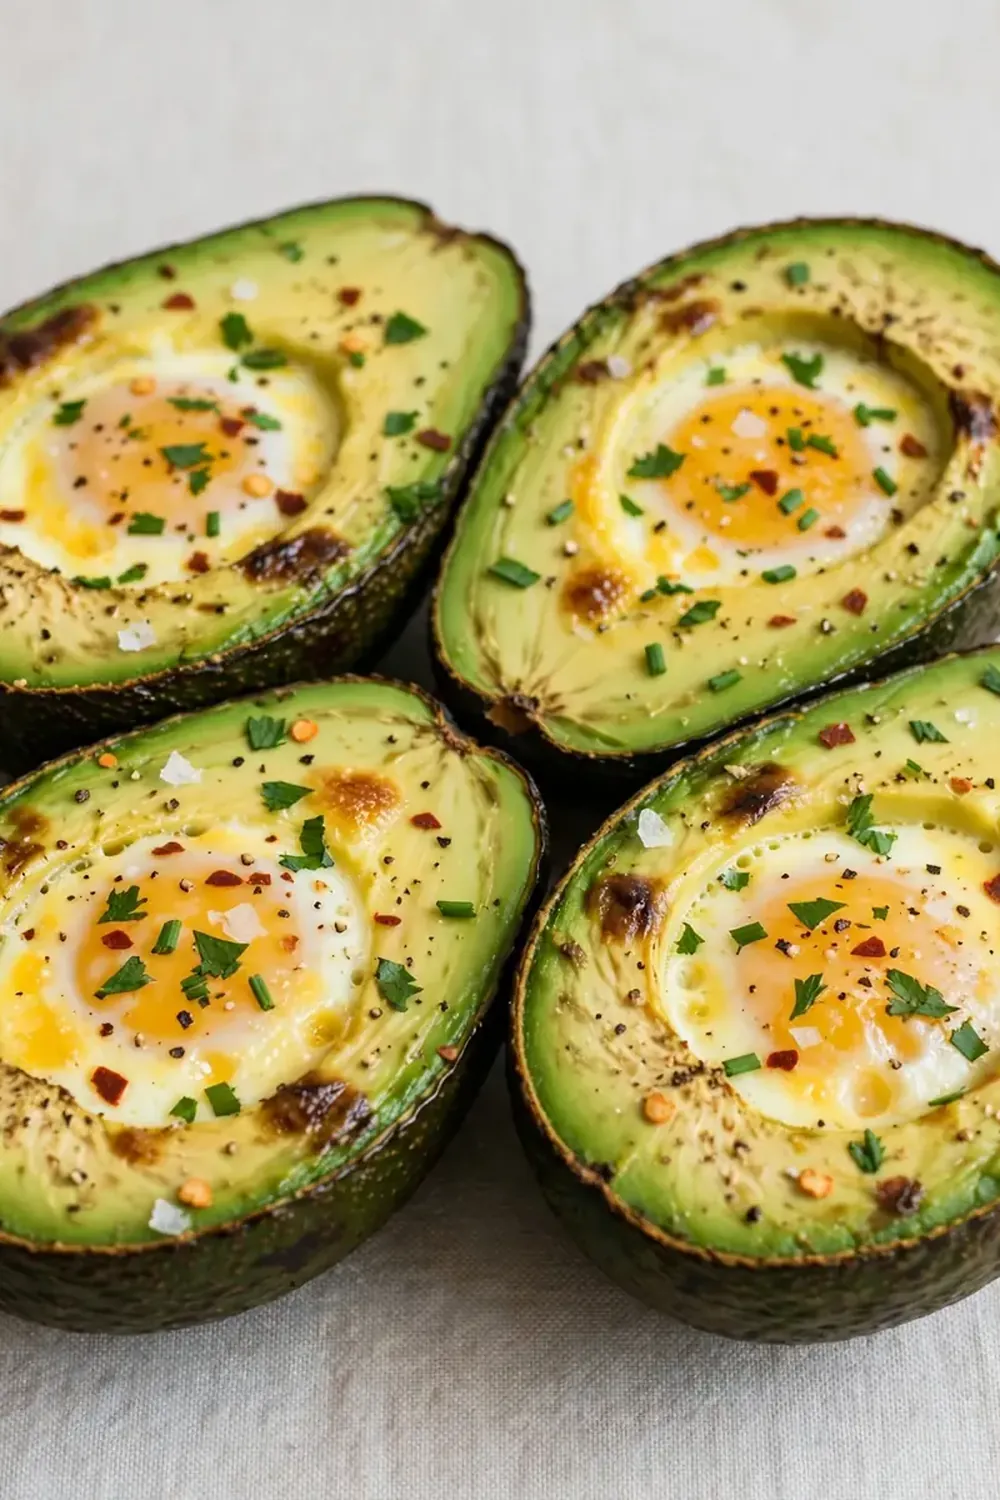
Ingredients You’ll Need
- 2 large, ripe avocados (about 250g each)
- 8 large free-range eggs (about 60g each)
- 80g grated cheddar cheese (or any hard cheese you have)
- 1 medium tomato, finely diced (about 80g)
- 2 spring onions, finely sliced (about 30g)
- ½ teaspoon fine sea salt
- ¼ teaspoon freshly ground black pepper
- ½ teaspoon smoked paprika (adds a lovely colour and warmth)
- 1 tablespoon olive oil (for greasing the muffin tin)
- Optional: small handful of fresh parsley or chives for garnish
- Optional: 1 tablespoon plain flour (helps stabilise the egg mixture if you prefer a firmer texture – my mum’s trick)
Tip: For the best value, look for avocados that are just ripe – firm but yielding slightly to pressure. Overly soft avocados will collapse during baking. I buy them a few days ahead and let them ripen on the counter to avoid paying premium prices for ready-to-eat fruit.
How to Make Baked Egg and Avocado Cups
- Preheat your oven to 200°C (180°C fan) or Gas Mark 6. While it heats, generously grease a 12-hole muffin tin with the olive oil. I use a pastry brush to get into the corners – this ensures the cups release cleanly later. You’ll hear a faint sizzle when you brush the oil into the hot tin.
- Halve the avocados and scoop out the flesh into a large mixing bowl. Use a fork to mash them until you have a chunky puree – you want some small lumps remaining for texture. The flesh should be bright green and smell grassy and fresh. If it’s brown or smells fermented, the avocado is past its best.
- Crack the eggs into the bowl with the avocado. Add the grated cheese, diced tomato, spring onions, salt, pepper, and smoked paprika. If you’re using the flour, add it now. Stir everything together with a wooden spoon until the mixture is uniform and slightly thick. You’ll see the cheese and tomato flecks evenly distributed, and the batter will feel heavy and cohesive, not runny.
- Divide the mixture evenly among the greased muffin holes. I use a ¼-cup measure or a large ice cream scoop to get consistent portions. Each cup should be about two-thirds full. The surface will look bumpy with bits of tomato and spring onion – that’s exactly what you want.
- Bake for 15–18 minutes, rotating the tray halfway through. At 15 minutes, the tops should be golden and slightly puffed, and the edges will be pulling away from the tin. Insert a skewer into the centre of one cup – it should come out clean with no wet egg mixture. The kitchen will smell warm and cheesy, with a hint of smoky paprika.
- Remove the tray from the oven and let it cool in the tin for 5 minutes. This resting time allows the cups to set fully. After 5 minutes, run a small silicone spatula around the edges of each cup to loosen them. They should lift out easily and hold their shape – the bottoms will be lightly browned and the tops springy to the touch.
- Transfer to a wire rack to cool completely if you’re batch cooking. If serving immediately, pop them onto a plate and garnish with fresh parsley or chives. The cups will be tender, creamy, and satisfyingly savoury.
Tips From My Kitchen
- Use a standard 12-hole muffin tin, not a mini one. The depth of a standard tin is crucial for getting the right egg-to-avocado ratio. Mini tins produce cups that are too shallow and dry out quickly. Trust me, I learned this the hard way – the first batch I made in a mini tin came out like rubbery discs.
- Don’t skip greasing the tin generously. Avocado and egg both have a tendency to stick. I use olive oil because it can handle the temperature, but you could also use a non-stick spray. If you see any resistance when you try to lift a cup out after cooling, run a knife around the edge again – patience here saves broken cups.
- For the best texture, don’t overmix the batter. Stir just until the ingredients are combined. Overmixing can make the egg mixture tough and the avocado stringy. Stop as soon as you can’t see any dry flour or unincorporated egg – the batter should look slightly marbled, not perfectly smooth.
- Let the cups cool completely before storing. If you put warm cups into a sealed container, condensation will form and make them soggy. Spread them out on a wire rack for at least 20 minutes until they reach room temperature. The surface should feel dry and firm to the touch before you pack them away.
- Reheat in the microwave for 30–40 seconds, or in the oven at 180°C for 5 minutes. The microwave is fastest, but the oven gives a slightly crisper edge. If you’re reheating from frozen, add an extra 15 seconds in the microwave or 3 minutes in the oven. The cups should be steaming hot in the centre when done.
- Batch cooking tip: double the recipe and use two tins. I bake both trays at the same time on the middle and top racks, swapping them halfway through. This way I get 16 cups in one go – enough for 8 servings. Store them in layers separated by baking paper in an airtight container.
Delicious Variations to Try
- Spicy Version: Add 1 finely chopped red chilli (seeds removed for less heat) or 1 teaspoon of chilli flakes to the batter. You can also stir in a dash of hot sauce before baking. The heat cuts through the creamy avocado beautifully and adds a lovely kick that wakes you up in the morning.
- Vegetarian/Vegan Option: Replace the eggs with 2 mashed ripe bananas and 4 tablespoons of ground flaxseed mixed with 8 tablespoons of water (let it sit for 5 minutes to form a gel). Omit the cheese or use a plant-based alternative. The texture will be denser and slightly sweeter, but still delicious – a different beast, but a worthy one.
- Different Protein: Stir in 100g of cooked, shredded chicken or turkey into the batter before baking. This adds extra protein and makes the cups more substantial for lunch or dinner. The chicken should be finely shredded so it distributes evenly – chunky bits can make the cups fall apart.
What to Serve With Baked Egg and Avocado Cups
- A simple green salad with a lemon vinaigrette – the acidity cuts through the richness of the eggs and avocado.
- Toasted sourdough or wholemeal bread for dipping into the creamy cups. A slice of toast per serving turns this into a hearty meal.
- A dollop of Greek yoghurt or a spoonful of salsa on the side for extra freshness.
- For a full meal-prep bowl, serve alongside some roasted cherry tomatoes and a handful of rocket – this is a go-to combination when I need something quick but impressive.
Still hungry for ideas? You might also love Avocado Toast With Egg Recipe Breakfast, Simple Avocado Toast With Egg The Protein Packed Breakfast Youll Crave Daily %F0%9F%A5%91 from our sister kitchens.
Frequently Asked Questions
Baked Egg and Avocado Cups
Ingredients
Method
- Preheat your oven to 200°C (180°C fan) or Gas Mark 6. While it heats, generously grease a 12-hole muffin tin with the olive oil. I use a pastry brush to get into the corners – this ensures the cups release cleanly later. You’ll hear a faint sizzle when you brush the oil into the hot tin.
- Halve the avocados and scoop out the flesh into a large mixing bowl. Use a fork to mash them until you have a chunky puree – you want some small lumps remaining for texture. The flesh should be bright green and smell grassy and fresh. If it’s brown or smells fermented, the avocado is past its best.
- Crack the eggs into the bowl with the avocado. Add the grated cheese, diced tomato, spring onions, salt, pepper, and smoked paprika. If you’re using the flour, add it now. Stir everything together with a wooden spoon until the mixture is uniform and slightly thick. You’ll see the cheese and tomato flecks evenly distributed, and the batter will feel heavy and cohesive, not runny.
- Divide the mixture evenly among the greased muffin holes. I use a ¼-cup measure or a large ice cream scoop to get consistent portions. Each cup should be about two-thirds full. The surface will look bumpy with bits of tomato and spring onion – that’s exactly what you want.
- Bake for 15–18 minutes, rotating the tray halfway through. At 15 minutes, the tops should be golden and slightly puffed, and the edges will be pulling away from the tin. Insert a skewer into the centre of one cup – it should come out clean with no wet egg mixture. The kitchen will smell warm and cheesy, with a hint of smoky paprika.
- Remove the tray from the oven and let it cool in the tin for 5 minutes. This resting time allows the cups to set fully. After 5 minutes, run a small silicone spatula around the edges of each cup to loosen them. They should lift out easily and hold their shape – the bottoms will be lightly browned and the tops springy to the touch.
- Transfer to a wire rack to cool completely if you’re batch cooking. If serving immediately, pop them onto a plate and garnish with fresh parsley or chives. The cups will be tender, creamy, and satisfyingly savoury.
Notes
I’d love to hear how you get on with these baked egg and avocado cups in your own kitchen. Have you tried any of the variations, or do you have a favourite add-in of your own? Drop a comment below and share your experience – your ideas might just inspire someone else’s next meal prep session. Happy cooking!