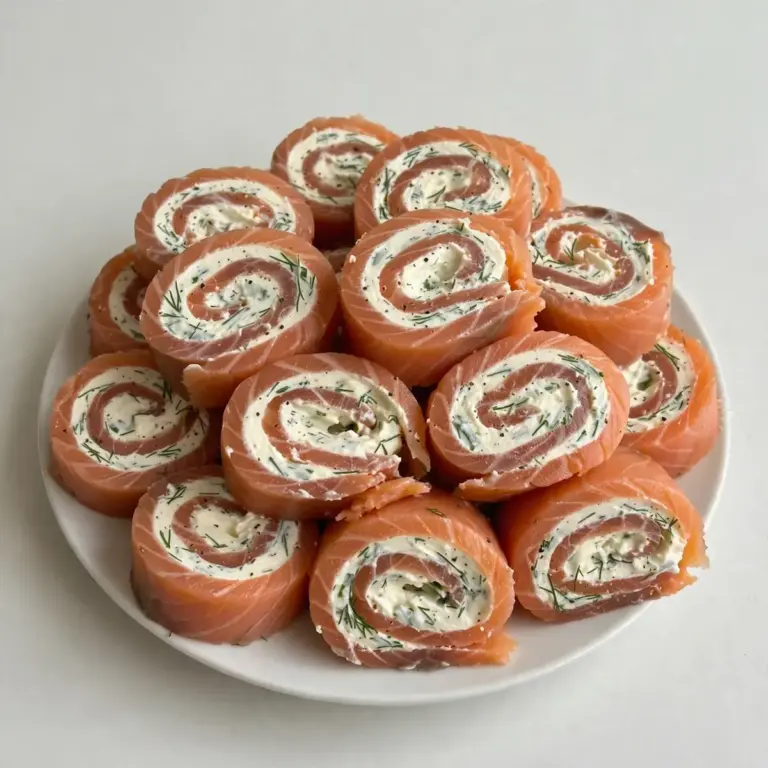
Budget Batch Cream Cheese Stuffed Mini Sweet Peppers

Let me show you how a single batch of Cream Cheese Stuffed Mini Sweet Peppers can stretch across your week, saving both your time and your budget. This is my go-to recipe when I need something quick but impressive, but I’ve also crunched the numbers to prove that eating well doesn’t have to cost a fortune. Friends always ask me for this recipe after trying it at dinner parties, and they’re always shocked when I tell them how little each serving costs.
Recipe Overview
- Prep Time: 15 minutes
- Cook Time: 20 minutes
- Total Time: 35 minutes
- Servings: 4 (approximately 6–8 peppers per serving)
- Difficulty: Easy
Why You’ll Love This Cream Cheese Stuffed Mini Sweet Peppers
- Budget-Friendly Brilliance: A full batch costs around £4.50 to make, breaking down to just over £1.10 per serving. That’s cheaper than a meal deal and infinitely more satisfying.
- Batch Cooking Champion: This recipe doubles and triples effortlessly. Spend 35 minutes on a Sunday, and you’ve got lunches or light dinners ready for four days.
- Stores and Reheats Like a Dream: Unlike many stuffed pepper recipes that turn soggy, these hold their texture beautifully in the fridge and crisp back up in the oven or air fryer.
- Naturally Gluten-Free and Low-Carb: With no breadcrumbs, pasta, or flour in sight, this dish works wonderfully for anyone watching their carbohydrate intake or avoiding gluten.
- Completely Customisable: The base filling is a blank canvas. You can add cooked chicken, turkey mince, black beans, or extra vegetables depending on what you have in the fridge.

Ingredients You’ll Need
- 500g mini sweet peppers (about 20–24 peppers)
- 200g full-fat cream cheese, softened to room temperature
- 100g grated cheddar or mozzarella cheese
- 1 small onion, finely diced (about 80g)
- 2 cloves garlic, minced
- 1 tablespoon olive oil
- 1 teaspoon smoked paprika
- ½ teaspoon dried oregano
- ¼ teaspoon black pepper
- ¼ teaspoon salt
- 2 tablespoons fresh parsley or chives, chopped (optional, for garnish)
Tip: For the most budget-friendly version, buy a large bag of mini sweet peppers from a wholesale store or market. They’re often half the price of the pre-packed supermarket versions, and you can freeze any leftovers for future batches.
How to Make Cream Cheese Stuffed Mini Sweet Peppers
- Preheat your oven to 200°C (180°C fan). While it heats, prepare the peppers. Slice each mini sweet pepper in half lengthwise, from the stem end to the tip. Use a small spoon or your thumb to gently scrape out the seeds and white membranes. You should hear a soft popping sound as the seeds release. The peppers should feel firm and glossy, with a bright, clean scent.
- Heat the olive oil in a small frying pan over medium heat. Add the finely diced onion and cook for 3–4 minutes until it turns translucent and releases a sweet, savoury aroma. The edges should just begin to take on a pale golden colour. Add the minced garlic and stir for 30 seconds until fragrant — you’ll smell it immediately.
- In a mixing bowl, combine the softened cream cheese, half of the grated cheese (about 50g), the cooked onion and garlic, smoked paprika, dried oregano, salt, and black pepper. Stir until everything is evenly incorporated. The mixture should be thick, creamy, and slightly stiff — not runny. It will smell rich and slightly smoky from the paprika.
- Arrange the pepper halves cut-side up on a baking tray lined with parchment paper. Using a small spoon or a piping bag (a sandwich bag with the corner snipped off works brilliantly), fill each pepper half with the cream cheese mixture. Don’t overfill — the filling should sit level with the cut edge of the pepper, not mound over it. You should have a smooth, even surface on each.
- Sprinkle the remaining grated cheese evenly over the filled peppers. Each pepper should get a light, even dusting of cheese. The cheese will melt and form a golden, crispy crust during baking.
- Bake for 15–18 minutes until the peppers are tender but still hold their shape. You’ll know they’re ready when the peppers look slightly wrinkled and softened around the edges, the cheese has melted into a bubbly golden layer, and the kitchen smells like a cosy Mediterranean kitchen. If you prefer a deeper golden top, switch the oven to grill for the final 2 minutes and watch closely — the cheese can go from golden to burnt in seconds.
- Remove from the oven and let rest for 5 minutes. This resting period allows the filling to set slightly, so the peppers hold together when you pick them up. Garnish with fresh parsley or chives if using, and serve warm.
Tips From My Kitchen
- Soften your cream cheese properly: Cold cream cheese is impossible to mix evenly and will leave lumps in your filling. Take it out of the fridge at least 30 minutes before you start cooking. If you forget, cut it into small cubes and microwave on low power in 10-second bursts, checking after each one. You want it soft enough to stir easily but not melted or oily.
- Choose peppers of similar size: When batch cooking, even-sized peppers cook at the same rate. If your bag has wildly different sizes, group the larger ones on one tray and the smaller ones on another. This way, you can remove the smaller tray a few minutes early without undercooking the larger peppers.
- Line your baking tray with parchment paper: The cream cheese filling can bubble and leak slightly during baking, and melted cheese is notoriously sticky. Parchment paper makes cleanup effortless and prevents your peppers from sticking to the tray and tearing when you lift them off.
- Don’t skip the onion and garlic sauté step: Raw onion and garlic release water as they cook inside the peppers, which can make the filling watery and the peppers soggy. Sautéing them first removes excess moisture and concentrates their flavour, giving you a much richer, more stable filling.
- For meal prep, slightly undercook the peppers: If you plan to reheat these throughout the week, bake them for 12–13 minutes instead of 15–18. They’ll finish cooking during reheating, and you’ll avoid the dreaded mushy pepper texture that can happen with double-cooking.
Equipment You’ll Need
- Large baking tray or sheet pan
- Sharp knife and cutting board
- Small frying pan or skillet
- Mixing bowls (one medium, one small)
- Wooden spoon or spatula
- Small spoon or piping bag for filling
- Parchment paper or silicone baking mat
Common Mistakes to Avoid
- Overcrowding the pan: If you pack the peppers too tightly on the tray, they’ll steam instead of roast. This leads to soft, floppy peppers with a watery texture. Leave at least 1cm of space between each pepper half so hot air can circulate, allowing the edges to caramelise and the peppers to hold their shape.
- Wrong temperature: Baking at too low a temperature (below 180°C) will cause the cream cheese to melt and separate before the peppers have a chance to cook through. At too high a temperature (above 220°C), the cheese will burn before the peppers soften. Stick to 200°C (180°C fan) for the perfect balance of tender peppers and golden, bubbly cheese.
- Skipping the rest time: I know it’s tempting to dig in immediately, but the filling is molten hot and very loose straight out of the oven. Letting the peppers rest for 5 minutes allows the cream cheese to set up slightly, making them easier to handle and far more pleasant to eat without burning your mouth.
Delicious Variations to Try
- Spicy Version: Add 1 finely chopped red chilli (seeds included for extra heat) to the onion and garlic while sautéing. You can also mix ½ teaspoon of cayenne pepper or chilli flakes into the cream cheese filling. The sweetness of the peppers balances the heat beautifully.
- Vegetarian/Vegan Option: Use a plant-based cream cheese alternative and a dairy-free grated cheese that melts well. Add 100g of cooked black beans or chickpeas to the filling for extra protein and texture. The beans also help bind the mixture together, mimicking the richness of the cheese.
- Different Protein: Add 150g of cooked, shredded chicken or turkey mince to the cream cheese mixture. This turns the peppers into a heartier main dish that works brilliantly for lunch. For a beef version, try something similar to the Budget Friendly Beef Enchilada Zucchini Boats Meal Prep approach, but swap the zucchini for these mini peppers.
What to Serve With Cream Cheese Stuffed Mini Sweet Peppers
- A simple green salad with lemon vinaigrette — the acidity cuts through the richness of the cream cheese.
- Steamed rice or quinoa to make it a more substantial meal, especially if serving as a main dish.
- A side of roasted vegetables like courgette, aubergine, or cherry tomatoes for a full traybake dinner.
- For a light lunch, serve alongside a bowl of soup. These peppers pair particularly well with tomato or roasted red pepper soup.
- If you’re meal prepping for the week, pair these peppers with a portion of the Budget Friendly Meal Prep Creamy Garlic Herb Dip With Radish Chips for a varied, satisfying lunchbox.
Still hungry for ideas? You might also love Cream Cheese Pasta Sauce, Chicken Breast Cream Cheese from our sister kitchens.
Frequently Asked Questions
Cream Cheese Stuffed Mini Sweet Peppers
Ingredients
Method
- Preheat your oven to 200°C (180°C fan). While it heats, prepare the peppers. Slice each mini sweet pepper in half lengthwise, from the stem end to the tip. Use a small spoon or your thumb to gently scrape out the seeds and white membranes. You should hear a soft popping sound as the seeds release. The peppers should feel firm and glossy, with a bright, clean scent.
- Heat the olive oil in a small frying pan over medium heat. Add the finely diced onion and cook for 3–4 minutes until it turns translucent and releases a sweet, savoury aroma. The edges should just begin to take on a pale golden colour. Add the minced garlic and stir for 30 seconds until fragrant — you'll smell it immediately.
- In a mixing bowl, combine the softened cream cheese, half of the grated cheese (about 50g), the cooked onion and garlic, smoked paprika, dried oregano, salt, and black pepper. Stir until everything is evenly incorporated. The mixture should be thick, creamy, and slightly stiff — not runny. It will smell rich and slightly smoky from the paprika.
- Arrange the pepper halves cut-side up on a baking tray lined with parchment paper. Using a small spoon or a piping bag (a sandwich bag with the corner snipped off works brilliantly), fill each pepper half with the cream cheese mixture. Don't overfill — the filling should sit level with the cut edge of the pepper, not mound over it. You should have a smooth, even surface on each.
- Sprinkle the remaining grated cheese evenly over the filled peppers. Each pepper should get a light, even dusting of cheese. The cheese will melt and form a golden, crispy crust during baking.
- Bake for 15–18 minutes until the peppers are tender but still hold their shape. You'll know they're ready when the peppers look slightly wrinkled and softened around the edges, the cheese has melted into a bubbly golden layer, and the kitchen smells like a cosy Mediterranean kitchen. If you prefer a deeper golden top, switch the oven to grill for the final 2 minutes and watch closely — the cheese can go from golden to burnt in seconds.
- Remove from the oven and let rest for 5 minutes. This resting period allows the filling to set slightly, so the peppers hold together when you pick them up. Garnish with fresh parsley or chives if using, and serve warm.
Notes
I hope this recipe becomes a staple in your meal prep rotation as much as it has in mine. There’s something deeply satisfying about opening your fridge and seeing a container of these little gems waiting for you — proof that eating well on a budget doesn’t mean eating boring food. If you give them a try, I’d love to hear how you got on. Drop a comment below and let me know which variation you went for, or share your own tips for stretching ingredients further. Happy cooking!