Meal Prep Parmesan Cheese Crisps: 50¢ Per Batch
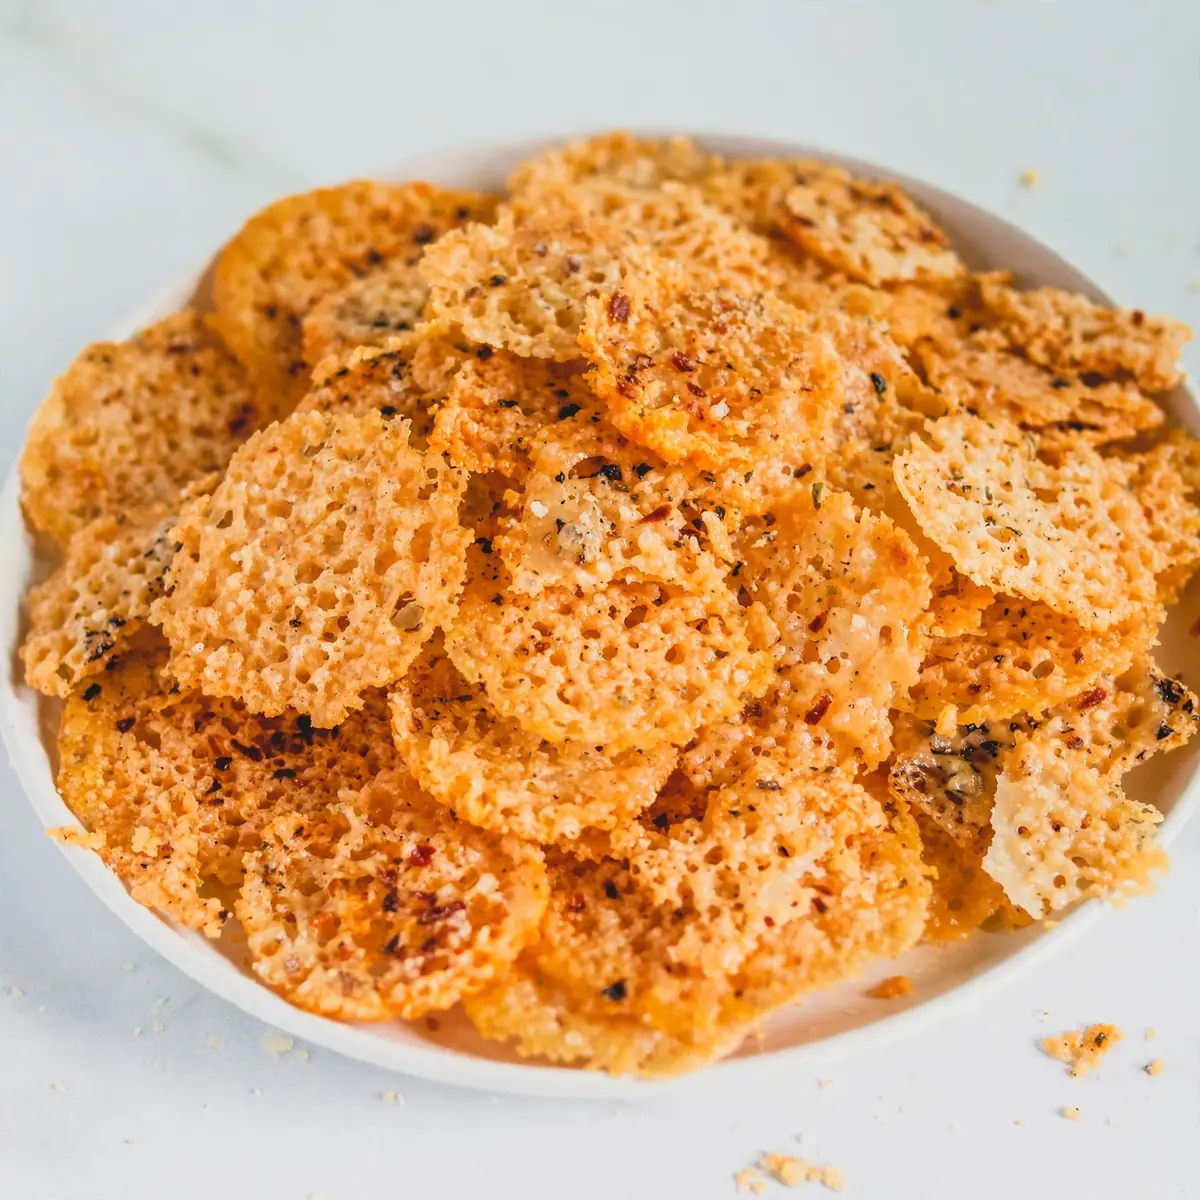
When I started batch cooking to stretch my weekly shop further, I never imagined a single ingredient like Parmesan could become the star of my meal-prep routine, saving me both time and money while delivering that irresistible crunch my family craves. These Baked Parmesan Cheese Crisps are my go-to for adding a gourmet touch to everything from soups to salads without breaking the bank, and they keep beautifully for days.
Recipe Overview
- Prep Time: 5 minutes
- Cook Time: 6-8 minutes
- Total Time: 13 minutes
- Servings: Makes 12 crisps (3 servings of 4 crisps)
- Difficulty: Easy
Why You’ll Love This Baked Parmesan Cheese Crisps
- Incredibly budget-friendly: At roughly 20p per serving, these crisps are a fraction of the cost of shop-bought alternatives, and you control exactly what goes into them.
- Perfect for meal prep: They store brilliantly in an airtight container for up to a week, meaning you can batch bake them on Sunday and enjoy crunchy toppings all week long.
- Naturally low-carb and high-protein: With zero fillers or carbs, these crisps are ideal for anyone watching their intake without sacrificing flavour.
- Endlessly versatile: I use them as salad toppers, soup croutons, burger buns, or even as a crunchy snack on their own — my kids absolutely devour this every time I make it.
- One ingredient base: You only need Parmesan cheese to get started, though I love adding simple seasonings to change things up without extra cost.
Ingredients You’ll Need
- 200g finely grated Parmesan cheese (the pre-grated stuff works, but freshly grated gives a better melt)
- ½ teaspoon garlic powder (optional, but I always add this)
- ½ teaspoon onion powder (optional)
- ¼ teaspoon smoked paprika (optional, for a subtle warmth)
- ¼ teaspoon dried oregano or thyme (optional)
- Freshly ground black pepper, to taste
- Pinch of sea salt (go easy — Parmesan is already salty)
- Optional: 1 tablespoon finely chopped fresh rosemary or chives
- Optional: 1 tablespoon sesame seeds or poppy seeds for texture
- Non-stick baking paper or silicone mat (absolutely essential — trust me on this)
Tip: For the crispiest results, use a block of Parmesan and grate it yourself on the fine side of a box grater. Pre-shredded cheese often contains anti-caking agents that prevent proper melting and can make your crisps greasy rather than crisp.
How to Make Baked Parmesan Cheese Crisps
- Preheat your oven to 190°C (170°C fan) or 375°F. Line a large baking tray with non-stick baking paper or a silicone mat — do not use foil or grease directly, or you’ll be scraping cheese off for ages. Give the tray a light mist of oil spray if you’re worried, though good paper usually does the trick.
- In a medium bowl, combine the finely grated Parmesan with your chosen seasonings. I stir through the garlic powder, onion powder, smoked paprika, and a crack of black pepper. The cheese should look like pale yellow sand with dark specks from the pepper — if it clumps, break it up with your fingers.
- Scoop level tablespoons of the cheese mixture and place them onto the prepared tray, spacing them about 5cm apart. Each mound should be roughly the size of a walnut. Gently press each mound down with the back of a spoon until it forms a flat disc about 7-8cm wide and 3mm thick. Don’t make them too thin, or they’ll brown too fast and taste bitter.
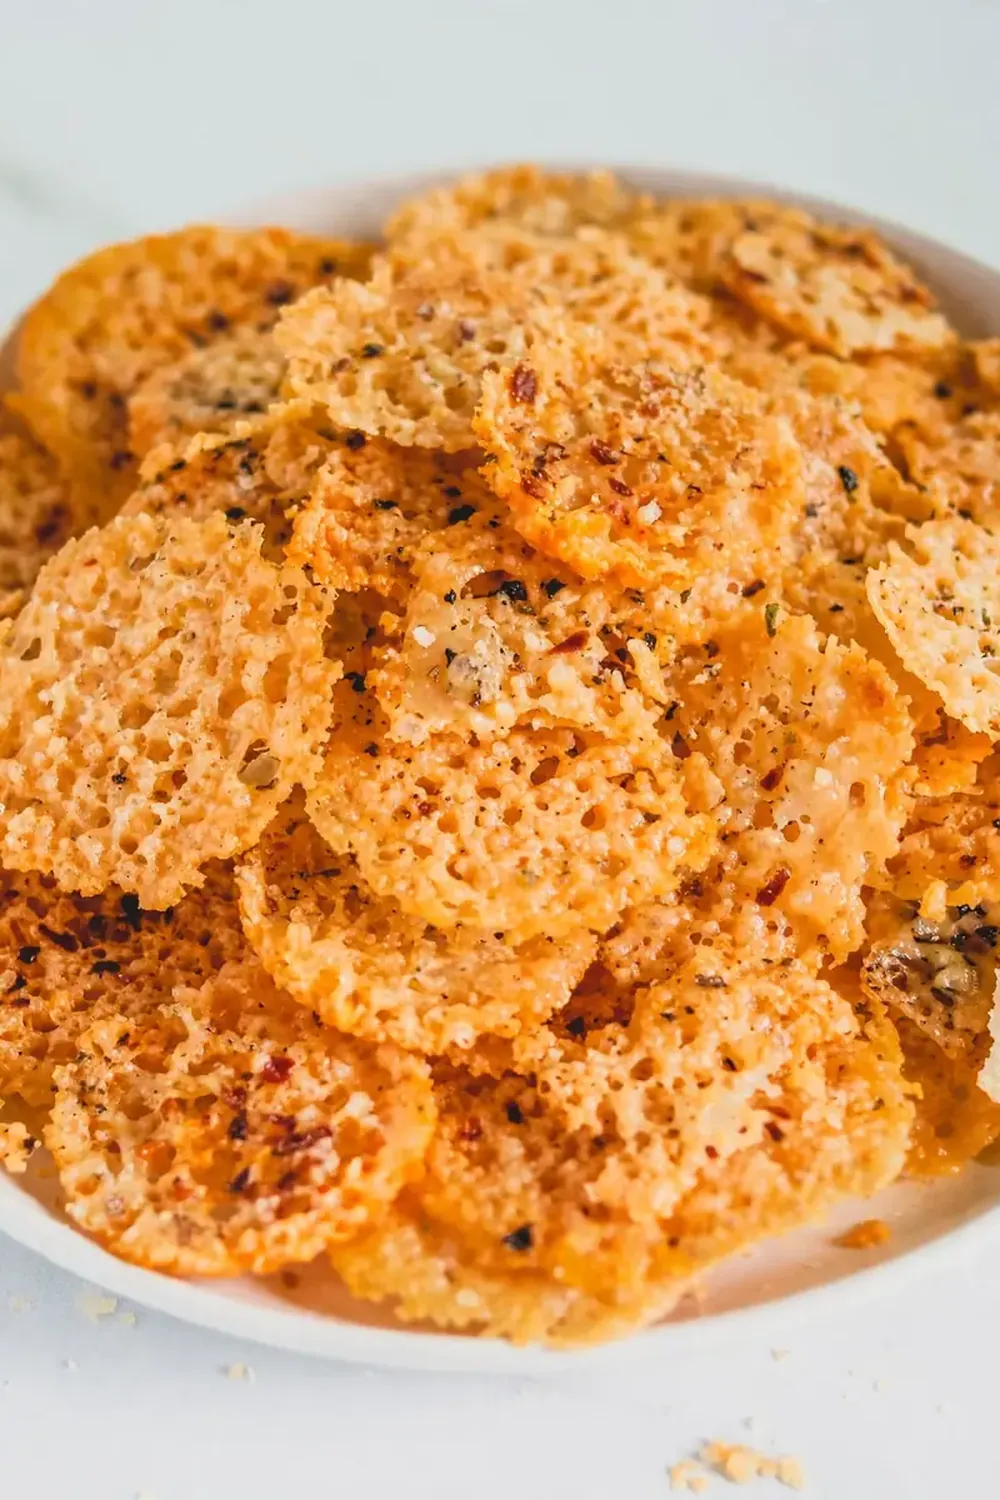
- Bake for 6-8 minutes, watching carefully from the 5-minute mark. You’ll first smell a nutty, toasty aroma filling your kitchen — that’s the Parmesan browning. The edges will turn a deep golden brown while the centre stays slightly paler. The crisps should look lacy and bubbly, with small golden spots forming across the surface. If the edges look dark amber, pull them out immediately — they go from perfect to burnt in seconds.
- Remove the tray from the oven and let the crisps cool on the tray for exactly 2 minutes. They’ll look soft and pliable at first, but don’t touch them yet. You’ll see the surface set and become firmer as they cool. After 2 minutes, they should be firm enough to lift with a spatula without bending. If they still feel floppy, give them another 30 seconds on the tray.
- Transfer the crisps to a wire rack to cool completely — about 5 minutes. You’ll hear a faint crackle as they cool, and they’ll become rigid and shatter when broken. If any crisp is still slightly soft in the centre, pop it back in the oven for 1 minute. Once completely cool, they should snap cleanly in half with a satisfying crunch.
Tips From My Kitchen
- Use the finest grater you own: The key to even melting is ultra-fine grating. Microplane-style graters produce the best results because the cheese melts uniformly without leaving clumps. If your cheese is too coarse, the crisps will have chewy, unmelted bits that burn before the rest is done.
- Don’t overcrowd the tray: These crisps spread as they melt, so leave at least 5cm between each mound. If they merge, you’ll end up with one giant crisp that’s tricky to portion. I bake them in batches of 6 per tray — it takes a few extra minutes, but the results are far more consistent.
- Season lightly and thoughtfully: Parmesan is already salty and savoury, so go easy on additional salt. I find that a pinch of smoked paprika and garlic powder is enough to elevate the flavour without overwhelming the cheese. If you add fresh herbs like rosemary, chop them very finely, or they’ll burn in the oven.
- Store them properly to retain crunch: Once completely cool, transfer the crisps to an airtight container with a sheet of kitchen paper at the bottom. The paper absorbs any residual moisture, keeping them crisp for up to a week. Never refrigerate them — the humidity will make them soft and chewy within hours.
- Re-crisp leftovers in the oven, not the microwave: If your stored crisps lose their snap after a few days, spread them on a baking tray and pop them into a 160°C (140°C fan) oven for 2-3 minutes. They’ll crisp right back up. I make this at least once a week — it’s become a family favourite, and this trick saves me from ever wasting a single crisp.
What to Serve With Baked Parmesan Cheese Crisps
- Crumbled over a bowl of tomato soup or creamy cauliflower soup for a salty, crunchy contrast.
- Alongside a simple green salad with lemon vinaigrette — they replace croutons beautifully.
- As a low-carb base for mini appetisers topped with cream cheese, smoked salmon, or roasted red pepper.
- Paired with hummus or baba ganoush for a Mediterranean-style snack platter.
- Crushed and sprinkled over pasta dishes like our Budget Friendly Creamy Pesto Chicken With Roasted Cauliflower for added texture.
Still hungry for ideas? You might also love Crispy Parmesan Baked Chicken, Baked Cod With Parmesan Crust from our sister kitchens.
Frequently Asked Questions
Baked Parmesan Cheese Crisps
Ingredients
Method
- Preheat your oven to 190°C (170°C fan) or 375°F. Line a large baking tray with non-stick baking paper or a silicone mat — do not use foil or grease directly, or you’ll be scraping cheese off for ages. Give the tray a light mist of oil spray if you're worried, though good paper usually does the trick.
- In a medium bowl, combine the finely grated Parmesan with your chosen seasonings. I stir through the garlic powder, onion powder, smoked paprika, and a crack of black pepper. The cheese should look like pale yellow sand with dark specks from the pepper — if it clumps, break it up with your fingers.
- Scoop level tablespoons of the cheese mixture and place them onto the prepared tray, spacing them about 5cm apart. Each mound should be roughly the size of a walnut. Gently press each mound down with the back of a spoon until it forms a flat disc about 7-8cm wide and 3mm thick. Don’t make them too thin, or they’ll brown too fast and taste bitter.
- Bake for 6-8 minutes, watching carefully from the 5-minute mark. You’ll first smell a nutty, toasty aroma filling your kitchen — that’s the Parmesan browning. The edges will turn a deep golden brown while the centre stays slightly paler. The crisps should look lacy and bubbly, with small golden spots forming across the surface. If the edges look dark amber, pull them out immediately — they go from perfect to burnt in seconds.
- Remove the tray from the oven and let the crisps cool on the tray for exactly 2 minutes. They’ll look soft and pliable at first, but don’t touch them yet. You’ll see the surface set and become firmer as they cool. After 2 minutes, they should be firm enough to lift with a spatula without bending. If they still feel floppy, give them another 30 seconds on the tray.
- Transfer the crisps to a wire rack to cool completely — about 5 minutes. You’ll hear a faint crackle as they cool, and they’ll become rigid and shatter when broken. If any crisp is still slightly soft in the centre, pop it back in the oven for 1 minute. Once completely cool, they should snap cleanly in half with a satisfying crunch.
Notes
I’d love to hear how you get on with these Baked Parmesan Cheese Crisps — drop a comment below to share your favourite seasoning combinations or how you served them. If you’re looking for more budget-friendly meal-prep ideas, you might enjoy our Affordable Meal Prep 15 Minute Lemon Garlic Butter Steak Bites or the Frugal Meal Prep Spicy Deviled Eggs for another crunchy, protein-packed option that won’t stretch your wallet.