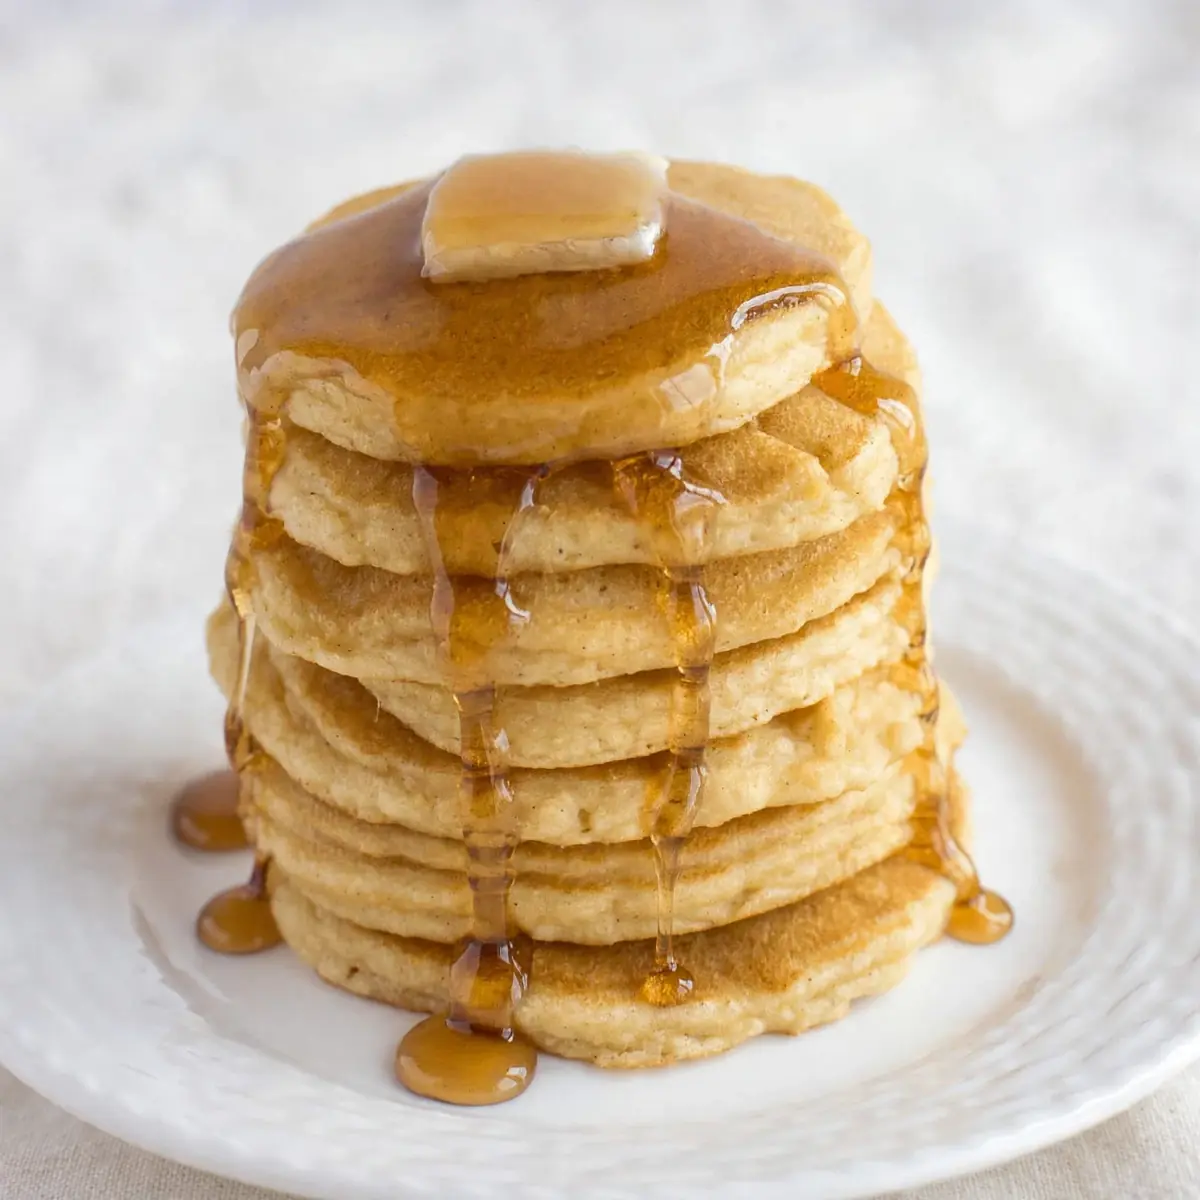
Ingredients
Method
- Whisk the dry ingredients: In a large mixing bowl, combine the almond flour, baking powder, salt, and erythritol (if using). Whisk thoroughly to break up any clumps—you should see a uniform, pale yellow powder that smells nutty and sweet.
- Mix the wet ingredients: In a separate small bowl or jug, beat the eggs, then add the almond milk, melted butter, and vanilla extract. Whisk until the mixture is smooth and slightly frothy on top, with a pale golden hue.
- Combine wet and dry: Pour the wet mixture into the dry ingredients and stir gently with a spatula or wooden spoon. Stop as soon as no streaks of flour remain—the batter will look thick and slightly grainy, like a loose cookie dough, and it will smell rich and buttery.
- Rest the batter (crucial step!): Let the batter sit for 5 minutes at room temperature. You’ll notice it thickens slightly as the almond flour absorbs the liquid; this is normal and prevents the pancakes from spreading too thin in the pan.
- Heat the pan: Place a non-stick frying pan or griddle over medium-low heat (about 140°C if you have an infrared thermometer). Add a small knob of butter or a drizzle of oil and let it melt—it should sizzle gently, not smoke, and the fat will look glossy and liquid.
- Cook the pancakes: Pour about 2 tablespoons of batter per pancake onto the hot pan, leaving 2–3 cm between each. Cook for 2–3 minutes, until the edges look set and bubbles form on the surface (they’ll start to pop slowly). The bottom should be a deep golden brown—peek with a spatula to check. Flip carefully and cook for another 1–2 minutes, until the second side is also golden and the pancake feels springy to the touch.
- Keep warm while batch cooking: Transfer cooked pancakes to a wire cooling rack set over a baking tray, and place in a low oven (100°C) to stay warm while you finish the rest. The stack will stay fluffy and not steam, so the texture remains perfect.
- Cool completely for storage: If you’re meal-prepping, let the pancakes cool completely on the rack—about 10 minutes—before stacking them with a small square of parchment paper between each to prevent sticking.
Notes
Let the batter rest for 5 minutes to thicken. Use a low oven (100°C) to keep pancakes warm without steaming. For meal prep, cool completely and layer with parchment paper.