Budget-Friendly Sheet Pan Chicken Fajitas Meal Prep
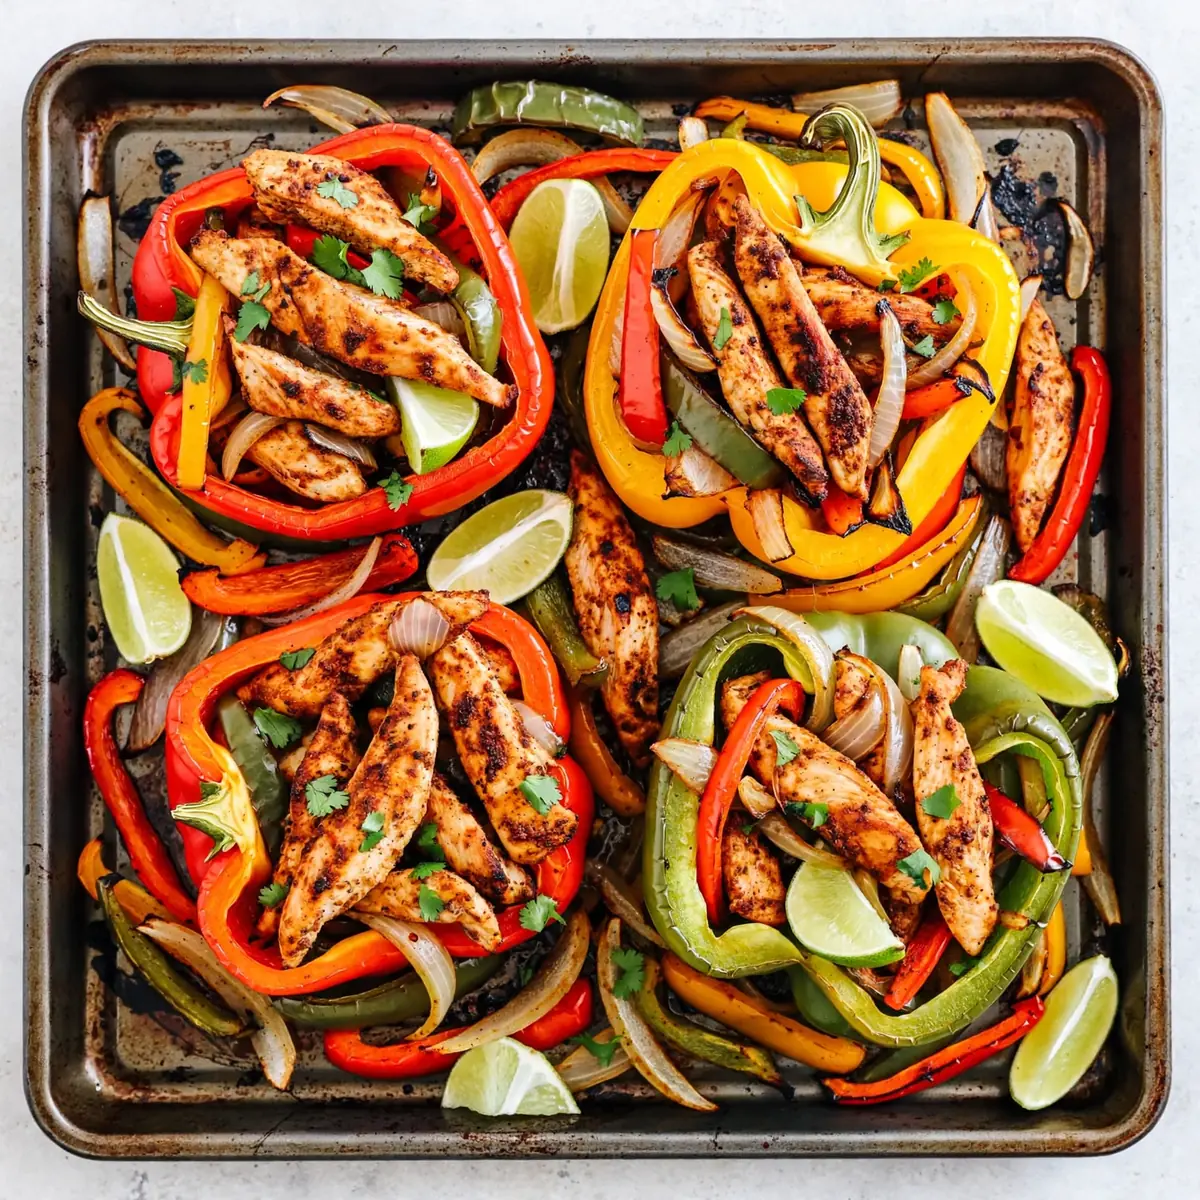
I make this at least once a week – it’s become a family favourite for its sheer practicality. We’re talking about a dinner that costs less than a takeaway, fills the fridge with ready-to-go containers, and tastes just as good on day three as it does fresh from the oven. This is the meal-prep hero you didn’t know you needed.
Recipe Overview
- Prep Time: 15 minutes
- Cook Time: 22 minutes
- Total Time: 37 minutes
- Servings: 6 generous portions
- Difficulty: Easy
Why You’ll Love This Sheet Pan Chicken Fajitas with Pepper and Onion Bowls
- Budget-Friendly Batch Cooking: At roughly £2.50 per serving, this recipe stretches a single pack of chicken thighs and a few vegetables into an entire week’s worth of lunches or dinners. The cost per portion drops even further when you buy peppers and onions in bulk.
- One-Pan, Minimal Washing Up: Everything roasts together on a single rimmed baking sheet. No separate pans for the vegetables, no extra skillet for the chicken – just one tray to scrub at the end of the evening.
- Built for Leftovers: The flavours actually deepen overnight as the spices meld with the roasted peppers and onions. I’ve packed these bowls for Monday lunch after a Sunday cook-up, and they’ve tasted better than the original meal.
- Customisable Heat Level: You control the chilli entirely. Mild for the kids, extra chipotle for the adults – simply adjust the cayenne or add a fresh jalapeño to one corner of the tray before roasting.
- Naturally Gluten-Free and Dairy-Free: No flour, no butter, no cream. Just clean ingredients that happen to suit most dietary needs without any fussy substitutions.
Ingredients You’ll Need
- 600g boneless, skinless chicken thighs (or breasts if you prefer)
- 3 large bell peppers (mix of red, yellow and orange for colour)
- 2 large red onions
- 3 tablespoons olive oil
- 2 teaspoons smoked paprika
- 1½ teaspoons ground cumin
- 1 teaspoon garlic powder
- 1 teaspoon onion powder
- ½ teaspoon cayenne pepper (optional, for heat)
- 1 teaspoon fine sea salt
- ½ teaspoon black pepper
- Juice of 1 lime
- 6 large flour tortillas (or corn tortillas for gluten-free)
- Fresh coriander, for garnish
- Lime wedges, to serve
Tip: For the most economical batch, look for “value packs” of chicken thighs and bulk bags of peppers at your local supermarket. The spices are pantry staples that will last for dozens of future meals, making this recipe even cheaper on repeat.
How to Make Sheet Pan Chicken Fajitas with Pepper and Onion Bowls
- Preheat your oven to 220°C (200°C fan) and position a rack in the middle. While the oven heats, line a large rimmed baking sheet with baking parchment. The paper makes cleanup almost effortless, and it prevents the chicken juices from sticking and burning onto the metal.
- Slice the chicken and vegetables into even strips. Cut the chicken thighs into 2cm-wide strips – you’ll feel the knife glide through the raw meat without resistance if your blade is sharp. Slice the peppers into similar-sized strips, discarding the white pith and seeds. Halve the red onions, then slice them into 1cm half-moons. The onions should separate naturally into ribbons as you cut.
- Toss everything with the seasoning. In a large mixing bowl, combine the olive oil, smoked paprika, cumin, garlic powder, onion powder, cayenne (if using), salt and black pepper. Add the chicken strips, pepper strips and onion ribbons. Use your hands to massage the oil and spices into every piece – you’ll smell the warm, earthy aroma of the paprika and cumin as they coat the ingredients. The chicken should look evenly brick-red, and the vegetables should glisten with oil.
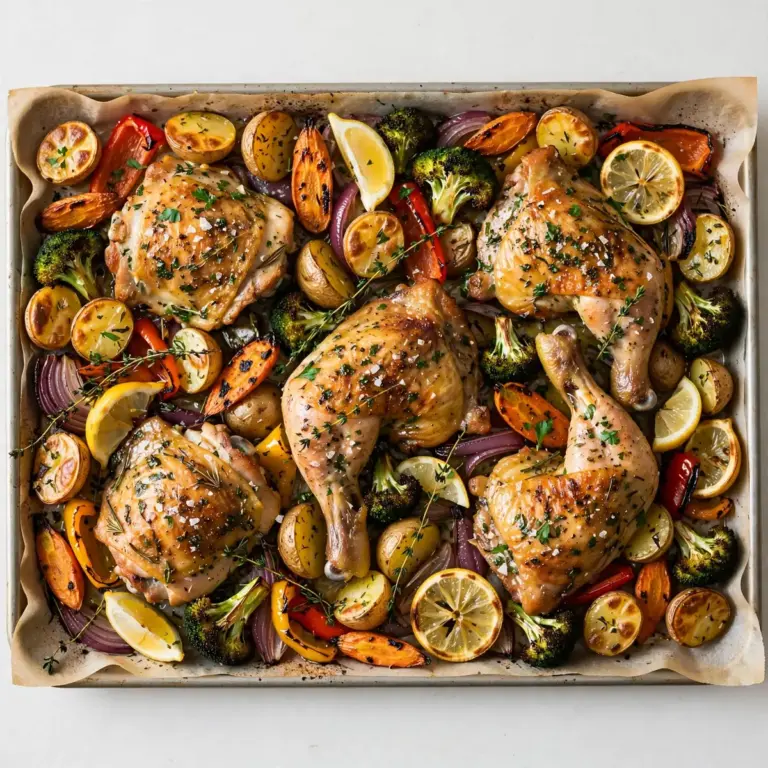
- Spread the mixture onto the baking sheet in a single layer. Arrange the chicken strips and vegetables so they’re not overlapping. If they’re crowded, they’ll steam instead of roasting, and you’ll miss that lovely charred edge. Leave a little space between each piece – you should hear a faint sizzle when the cold ingredients hit the hot tray.
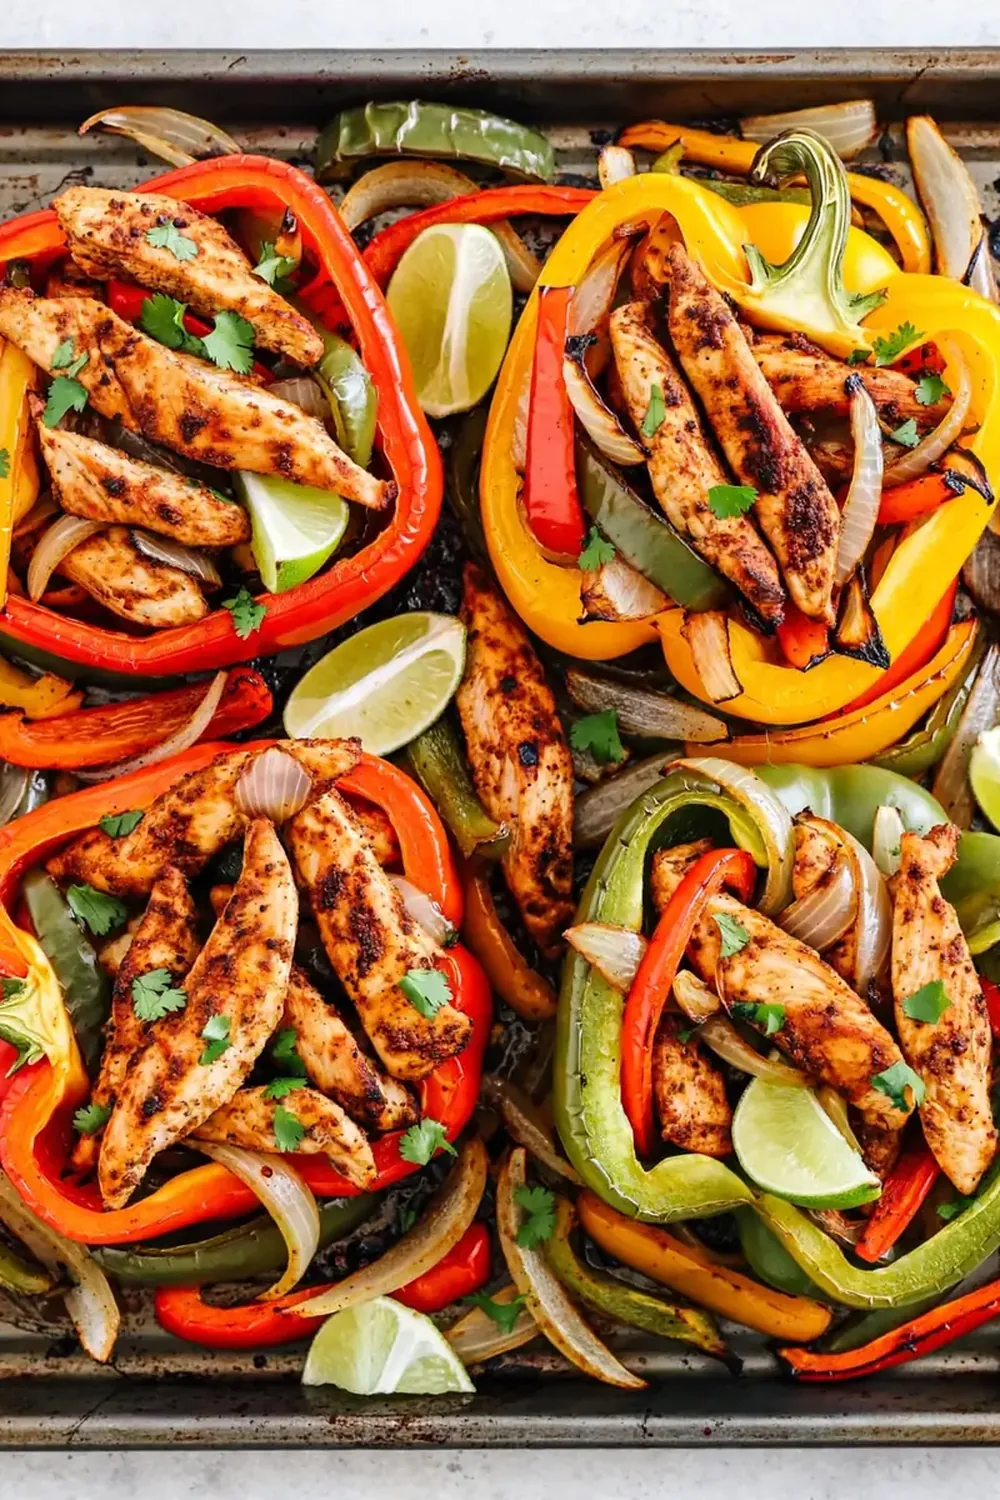
- Roast for 20-22 minutes, turning halfway. After 10 minutes, pull the tray out and use a spatula to flip the chicken strips and toss the vegetables. The peppers will have started to soften and wrinkle at the edges, and the chicken will look opaque on the bottom. Return to the oven and roast until the chicken is cooked through and the peppers have brown, blistered spots. A meat thermometer inserted into the thickest chicken strip should read 74°C. The kitchen will smell intensely of toasted cumin and smoky paprika.
- Finish with lime juice and rest for 2 minutes. Squeeze the juice of one lime evenly over the hot tray. The acid brightens the spices instantly – you’ll see the colour shift slightly as the juice hits the hot oil. Let the tray rest on the stovetop for two minutes. This allows the juices to redistribute so the chicken stays moist rather than drying out when you slice it.
- Warm the tortillas and assemble the bowls. While the fajita mixture rests, warm the tortillas in a dry frying pan for 30 seconds per side, or directly over a gas flame for a few seconds until they puff slightly. To assemble, spoon a generous portion of the chicken, peppers and onions into each tortilla. Garnish with fresh coriander and serve with extra lime wedges on the side.
Tips From My Kitchen
- Don’t skip the single-layer rule. If you pile the chicken and vegetables too high on the tray, they release steam rather than roasting. The result is soggy, pale peppers and rubbery chicken. Spread everything out so each piece touches the hot tray directly – that’s where the caramelisation happens. If your tray is too small, use two trays and rotate them halfway through cooking.
- Slice against the grain for maximum tenderness. After roasting, let the chicken rest briefly, then slice each strip against the grain (perpendicular to the natural muscle fibres). You’ll notice the difference in texture immediately – the meat pulls apart easily rather than shredding into strings. This is especially important if you’re using chicken breasts, which can dry out more readily than thighs.
- Batch-cook the filling separately from the tortillas. The roasted chicken and vegetables freeze beautifully for up to three months, but tortillas become soggy when stored with wet fillings. I roast a double batch on Sunday, portion the filling into airtight containers, and keep the tortillas in their original packaging at room temperature. When I want a quick meal, I reheat the filling and warm a fresh tortilla – it takes less than three minutes.
- Use the residual heat for meal prep containers. After you’ve served dinner, immediately portion the remaining fajita filling into glass meal-prep containers while the tray is still warm. Let them cool uncovered for 15 minutes, then seal and refrigerate. This rapid cooling prevents condensation from making the vegetables mushy, and it keeps the chicken from turning tough in the fridge.
- Boost the veg without changing the flavour profile. If you’re trying to stretch the budget further, add a large courgette or a couple of portobello mushrooms sliced into strips. They roast at the same temperature and absorb the spice mixture beautifully. Friends always ask me for this recipe after trying it at dinner parties, and they’re surprised when I tell them they’re eating extra vegetables they didn’t notice.
Equipment You’ll Need
- Large rimmed baking sheet
- Sharp knife and cutting board
- Large mixing bowl
- Spatula or tongs for flipping
- Meat thermometer (optional but recommended)
- Baking parchment or silicone mat
- Dry frying pan for tortillas
What to Serve With Sheet Pan Chicken Fajitas with Pepper and Onion Bowls
- A dollop of soured cream or Greek yogurt to cool the spice
- Quick pickled red onions (just sliced red onion soaked in lime juice and salt for 10 minutes)
- A simple avocado mash with salt and lime
- Black beans or refried beans for extra protein and fibre
- A crisp green salad with a tangy vinaigrette to cut through the richness
Still hungry for ideas? You might also love Black Pepper Chicken, Sheet Pan Cajun Chicken And Peppers 20 Minute Dinner from our sister kitchens.
Frequently Asked Questions
Sheet Pan Chicken Fajitas with Pepper and Onion Bowls
Ingredients
Method
- Preheat your oven to 220°C (200°C fan) and position a rack in the middle. While the oven heats, line a large rimmed baking sheet with baking parchment. The paper makes cleanup almost effortless, and it prevents the chicken juices from sticking and burning onto the metal.
- Slice the chicken and vegetables into even strips. Cut the chicken thighs into 2cm-wide strips – you'll feel the knife glide through the raw meat without resistance if your blade is sharp. Slice the peppers into similar-sized strips, discarding the white pith and seeds. Halve the red onions, then slice them into 1cm half-moons. The onions should separate naturally into ribbons as you cut.
- Toss everything with the seasoning. In a large mixing bowl, combine the olive oil, smoked paprika, cumin, garlic powder, onion powder, cayenne (if using), salt and black pepper. Add the chicken strips, pepper strips and onion ribbons. Use your hands to massage the oil and spices into every piece – you'll smell the warm, earthy aroma of the paprika and cumin as they coat the ingredients. The chicken should look evenly brick-red, and the vegetables should glisten with oil.
- Spread the mixture onto the baking sheet in a single layer. Arrange the chicken strips and vegetables so they're not overlapping. If they're crowded, they'll steam instead of roasting, and you'll miss that lovely charred edge. Leave a little space between each piece – you should hear a faint sizzle when the cold ingredients hit the hot tray.
- Roast for 20-22 minutes, turning halfway. After 10 minutes, pull the tray out and use a spatula to flip the chicken strips and toss the vegetables. The peppers will have started to soften and wrinkle at the edges, and the chicken will look opaque on the bottom. Return to the oven and roast until the chicken is cooked through and the peppers have brown, blistered spots. A meat thermometer inserted into the thickest chicken strip should read 74°C. The kitchen will smell intensely of toasted cumin and smoky paprika.
- Finish with lime juice and rest for 2 minutes. Squeeze the juice of one lime evenly over the hot tray. The acid brightens the spices instantly – you'll see the colour shift slightly as the juice hits the hot oil. Let the tray rest on the stovetop for two minutes. This allows the juices to redistribute so the chicken stays moist rather than drying out when you slice it.
- Warm the tortillas and assemble the bowls. While the fajita mixture rests, warm the tortillas in a dry frying pan for 30 seconds per side, or directly over a gas flame for a few seconds until they puff slightly. To assemble, spoon a generous portion of the chicken, peppers and onions into each tortilla. Garnish with fresh coriander and serve with extra lime wedges on the side.
Notes
I’d love to hear how this recipe works in your kitchen. Have you tried adding any extra vegetables, or do you have a favourite way to serve these bowls? Drop a comment below and share your meal-prep wins – I’m always looking for new ideas to stretch a single tray into the whole week. If you’re after another budget-friendly batch cook, check out our Budget Friendly Creamy Pesto Chicken With Roasted Cauliflower or the Affordable Meal Prep 15 Minute Lemon Garlic Butter Steak Bites for more quick, cost-effective dinners.