Budget-Friendly Garlic Butter Baked Chicken Thighs
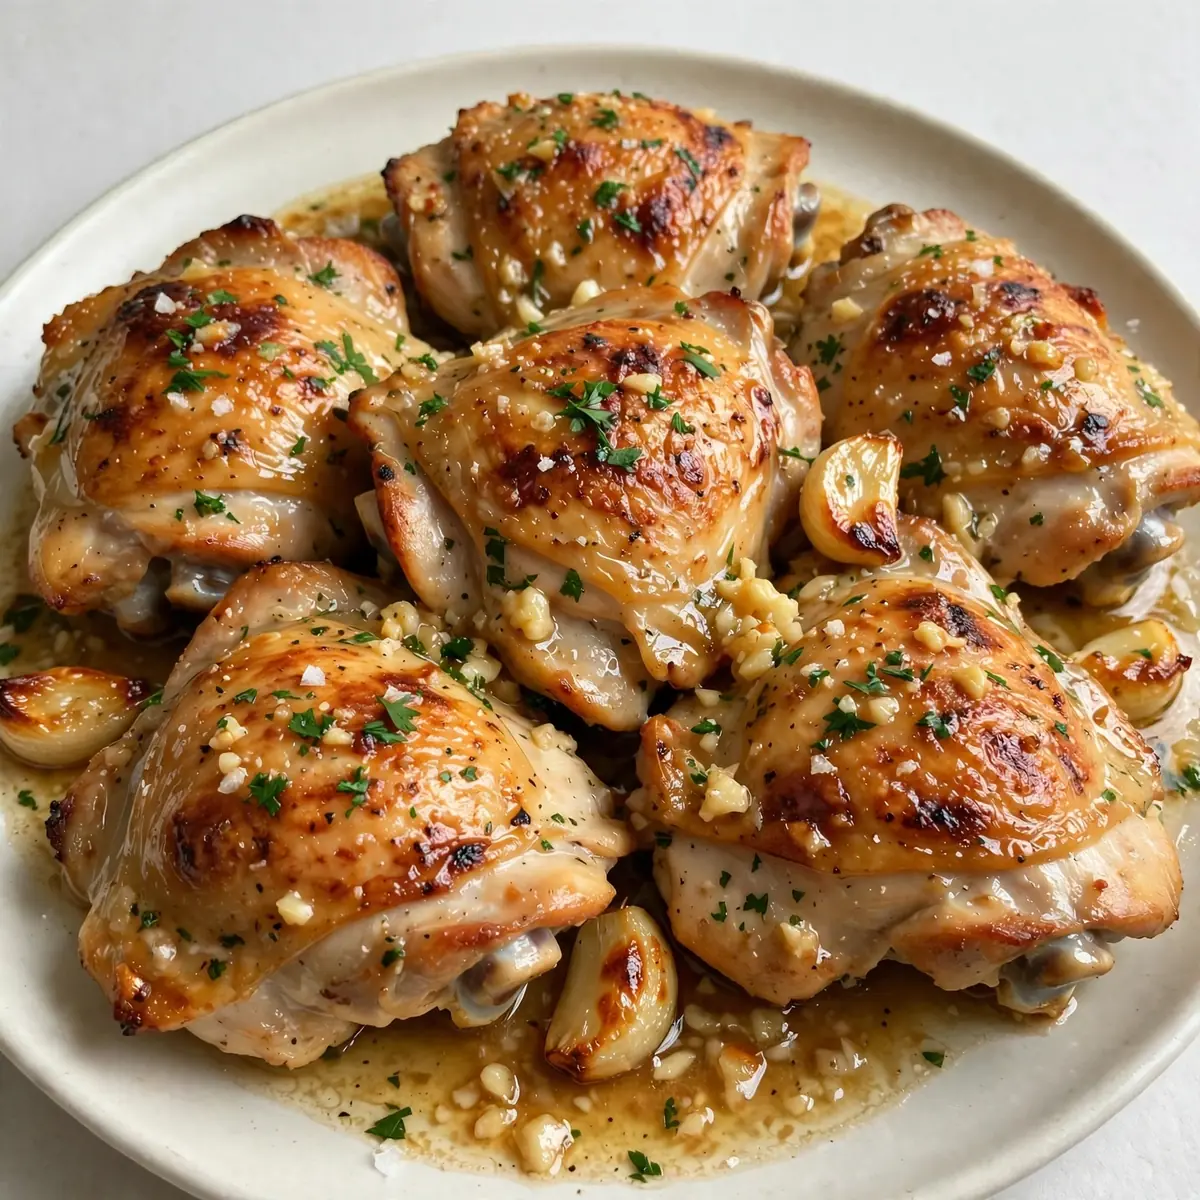
Friends always ask me for this recipe after trying it at dinner parties, but the real reason it lives in my weekly rotation is that it saves me a small fortune on groceries. Baked chicken thighs with skin and garlic butter deliver that golden, crisp exterior and juicy interior we all crave, yet cost about a quarter of what you’d pay for a takeaway roast. This is my go-to recipe when I need something quick but impressive, and today I’m showing you how to batch-cook it for meal prep without sacrificing a single bit of flavour.
Recipe Overview
- Prep time: 15 minutes
- Cook time: 40–45 minutes
- Total time: 1 hour (plus 10 minutes resting)
- Servings: 6 (easily doubled)
- Difficulty: Easy
Why You’ll Love This Baked Chicken Thighs with Skin and Garlic Butter
- Cost per serving is roughly 95p–£1.20: Chicken thighs are one of the most affordable cuts, especially when bought in bulk. This recipe stretches your budget without skimping on richness.
- Batch-cooks beautifully: You can roast a whole tray on Sunday and have lunches or quick dinners ready for the next three days. The garlic butter keeps the meat moist even after reheating.
- No complicated techniques: No brining, no basting every ten minutes. Just pat dry, season, butter, and bake. It’s almost foolproof.
- Skin stays genuinely crisp: The secret is starting with high heat and not moving the thighs once they’re in the oven. That crackle when you bite through the skin is non-negotiable.
- Endlessly adaptable for meal prep: The garlic butter base works with paprika, lemon zest, dried herbs, or even a sprinkle of chilli flakes. You can change the flavour profile each batch without extra effort.
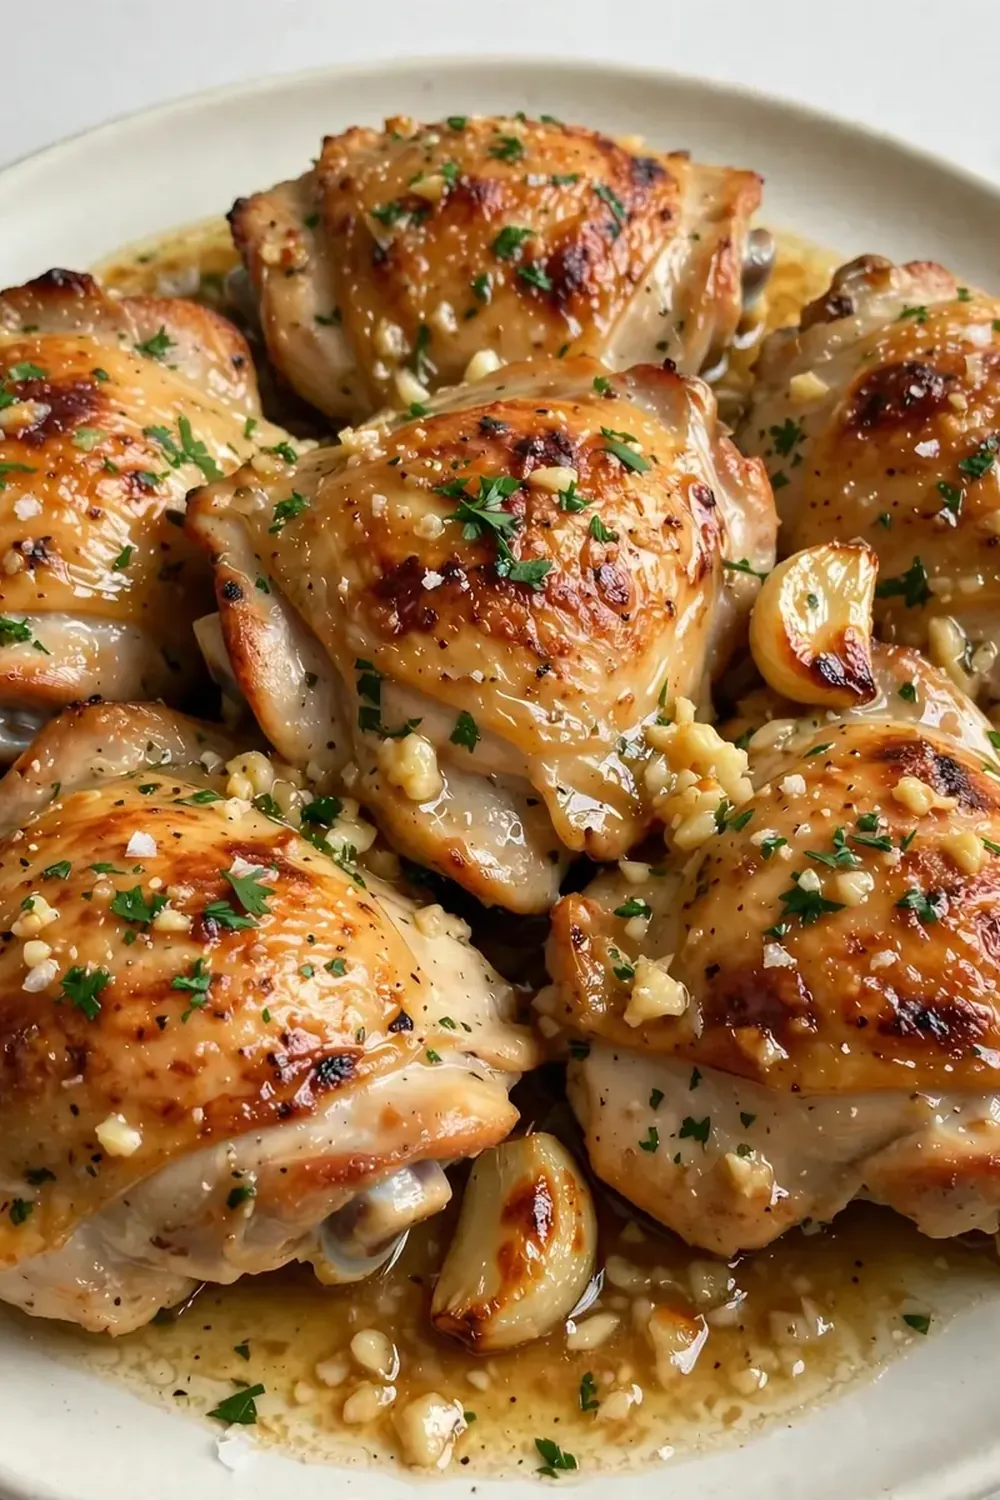
Ingredients You’ll Need
- 1.2 kg bone-in, skin-on chicken thighs (about 6 thighs)
- 4 tbsp unsalted butter, softened
- 4 cloves garlic, minced
- 1 tsp flaky sea salt
- ½ tsp black pepper
- 1 tsp smoked paprika (optional, for colour)
- 1 tbsp olive oil
- Fresh parsley or thyme for garnish (optional)
- Juice of ½ lemon (added just before serving)
Tip: If you’re batch-cooking, double the quantities and use two large baking trays—make sure they’re not overcrowded. You can also prepare the garlic butter up to three days ahead and keep it in the fridge.
How to Make Baked Chicken Thighs with Skin and Garlic Butter
- Preheat the oven to 220°C (200°C fan). Place a rack in the centre of the oven. While it heats, pat the chicken thighs dry with kitchen paper. You want the skin to feel tacky, not wet—this is the single most important step for crispness.
- Mix the garlic butter. In a small bowl, combine the softened butter, minced garlic, salt, pepper, and smoked paprika if using. Mash it with a fork until it’s a uniform paste. The aroma of raw garlic and butter will already fill your kitchen.
- Season and butter the chicken. Rub the olive oil over the skin side of each thigh, then season lightly with extra salt. Using your fingers, spread about a teaspoon of garlic butter under the skin of each thigh—gently lift the skin from the meat with your thumb, being careful not to tear it. The butter will melt into the flesh as it bakes. Spread the remaining butter over the top of the skin.
- Arrange on the tray. Place the thighs skin-side up on a baking tray lined with foil or parchment. Leave at least 2 cm between each thigh. If they’re touching, they’ll steam rather than roast, and the skin will turn rubbery instead of crisp.
- Bake for 35–40 minutes. The skin should turn a deep golden brown, and you’ll hear a gentle sizzle as the fat renders. At the 30-minute mark, the kitchen will smell richly of toasted garlic and roasting chicken. Check the internal temperature with a meat thermometer—it should read 74°C at the thickest part of the thigh.
- Rest before serving. Remove the tray from the oven and let the thighs rest for 10 minutes. Do not skip this. The juices need time to redistribute, otherwise they’ll flood the plate and the skin will soften. After resting, squeeze the lemon juice over the top and garnish with fresh herbs.
- For meal prep, cool completely. Once the thighs have rested, let them cool on the tray until they’re just warm to the touch—about 20 minutes. Then transfer to airtight containers. The skin will lose a little crunch, but I’ll show you how to bring it back in the tips below.
Tips From My Kitchen
- Always pat the skin bone-dry before seasoning. Moisture is the enemy of crispy skin. If you have time, leave the thighs uncovered in the fridge for an hour before cooking—the air circulation dries the surface even more, guaranteeing that golden crackle.
- Use a meat thermometer, not the timer. Ovens vary wildly. I’ve had chicken thighs ready at 35 minutes in one oven and needing 45 in another. The only reliable cue is that internal temperature of 74°C. The juices should run clear when you pierce the thickest part, but the thermometer is your best friend.
- Don’t crowd the pan—ever. When thighs are packed too tightly, they release steam that softens the skin. Use two trays if needed, and rotate them halfway through baking if your oven has hot spots. The sound of sizzling, not hissing, tells you you’ve got it right.
- Reheat in the oven, not the microwave. For meal-prepped thighs, place them on a wire rack over a baking tray at 200°C for 8–10 minutes. The wire rack lets hot air circulate under the skin, restoring that crispness. Microwaving will give you tender meat but sad, floppy skin.
- Freeze the garlic butter separately. If you’re prepping for the month, make a double batch of garlic butter and freeze it in a log wrapped in baking paper. On cooking day, slice off rounds and tuck them under the skin. It saves time and keeps the butter fresh.
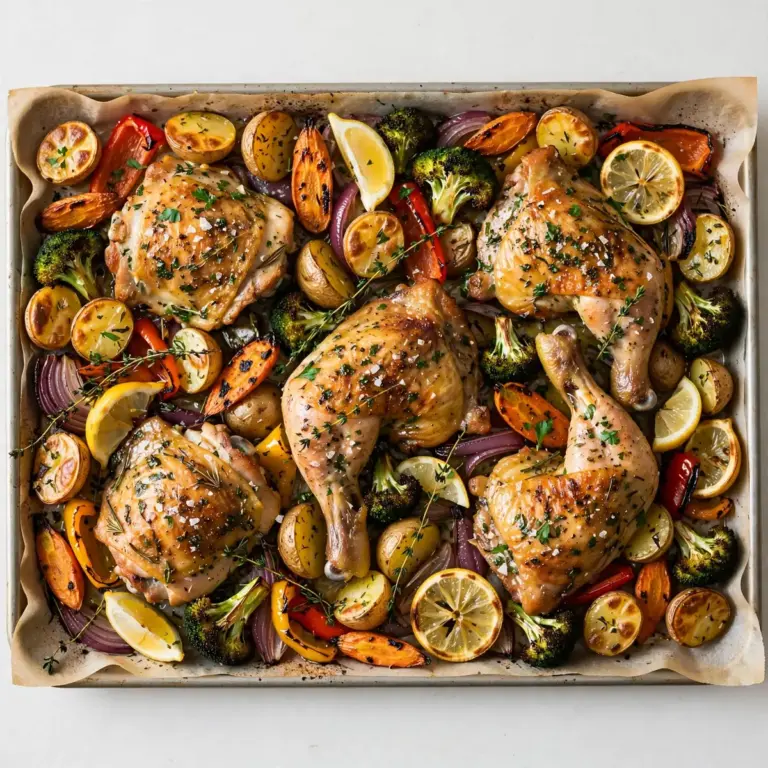
- Add veggies to the same tray for a complete meal. Toss chopped carrots, red onion wedges, or courgette chunks in olive oil and salt, then scatter them around the thighs. They’ll roast in the chicken fat and garlic butter drippings, absorbing all that flavour. Just give them a stir halfway through.
Common Mistakes to Avoid
- Overcrowding the pan: This is the number one reason skin turns out chewy instead of crisp. When steam can’t escape, it condenses on the skin and turns it soft. Always leave space between each thigh, and use two trays if necessary.
- Wrong temperature: Baking at too low a temperature (below 200°C) renders the fat slowly, but the skin never gets hot enough to crisp. Conversely, baking above 230°C can burn the butter and garlic before the meat is cooked through. Stick to 220°C for that perfect balance.
- Skipping the rest time: Cutting into a hot thigh immediately releases all the juices onto the board, leaving the meat dry. Resting for 10 minutes allows the proteins to relax and reabsorb moisture. The skin also stays firmer because it’s not being hit with immediate steam from escaping liquid.
Delicious Variations to Try
- Spicy Version: Add 1 tsp cayenne pepper or ½ tsp chilli flakes to the garlic butter. For extra heat, drizzle with a little harissa paste before baking. The spice cuts through the richness beautifully.
- Vegetarian/Vegan Option: Substitute the chicken thighs with large portobello mushrooms or thick slices of cauliflower steak. Use a plant-based butter (such as Naturli or Flora Plant) and the same garlic seasoning. Bake at 200°C for 20–25 minutes until golden and tender.
- Different Protein: This garlic butter works wonderfully on turkey thighs or duck legs. Turkey thighs will need about 10 minutes longer, while duck legs benefit from scoring the skin first to render more fat. Adjust the cooking time based on thickness.
What to Serve With Baked Chicken Thighs with Skin and Garlic Butter
- Steamed green beans tossed with lemon zest
- Fluffy basmati rice or buttery mashed potatoes
- A crisp side salad with a sharp vinaigrette to cut through the richness
- Roasted root vegetables cooked on the same tray (see tips above)
Still hungry for ideas? You might also love Pillsbury Biscuit Garlic Butter Cheese Bits Recipe, Creamy Garlic Chicken Penne Comfort In Every Bite from our sister kitchens.
Frequently Asked Questions
Baked Chicken Thighs with Skin and Garlic Butter
Ingredients
Method
- Preheat the oven to 220°C (200°C fan). Place a rack in the centre of the oven. While it heats, pat the chicken thighs dry with kitchen paper. You want the skin to feel tacky, not wet—this is the single most important step for crispness.
- Mix the garlic butter. In a small bowl, combine the softened butter, minced garlic, salt, pepper, and smoked paprika if using. Mash it with a fork until it’s a uniform paste. The aroma of raw garlic and butter will already fill your kitchen.
- Season and butter the chicken. Rub the olive oil over the skin side of each thigh, then season lightly with extra salt. Using your fingers, spread about a teaspoon of garlic butter under the skin of each thigh—gently lift the skin from the meat with your thumb, being careful not to tear it. The butter will melt into the flesh as it bakes. Spread the remaining butter over the top of the skin.
- Arrange on the tray. Place the thighs skin-side up on a baking tray lined with foil or parchment. Leave at least 2 cm between each thigh. If they’re touching, they’ll steam rather than roast, and the skin will turn rubbery instead of crisp.
- Bake for 35–40 minutes. The skin should turn a deep golden brown, and you’ll hear a gentle sizzle as the fat renders. At the 30-minute mark, the kitchen will smell richly of toasted garlic and roasting chicken. Check the internal temperature with a meat thermometer—it should read 74°C at the thickest part of the thigh.
- Rest before serving. Remove the tray from the oven and let the thighs rest for 10 minutes. Do not skip this. The juices need time to redistribute, otherwise they’ll flood the plate and the skin will soften. After resting, squeeze the lemon juice over the top and garnish with fresh herbs.
- For meal prep, cool completely. Once the thighs have rested, let them cool on the tray until they’re just warm to the touch—about 20 minutes. Then transfer to airtight containers. The skin will lose a little crunch, but I’ll show you how to bring it back in the tips below.
Notes
I’d love to hear how this baked chicken thighs with skin and garlic butter works into your weekly meal prep. Drop a comment below with your favourite side dish or any twists you’ve added—I’m always looking for new ideas to keep my batch cooking exciting. If you enjoyed this budget-friendly approach, you might also like our Cost Saving Shredded Mexican Chicken Bowls With Avocado Crema or the Budget Friendly Beef Enchilada Zucchini Boats Meal Prep for more affordable, make-ahead dinners.