
Budget-Friendly Meal Prep Keto Almond Flour Pancakes
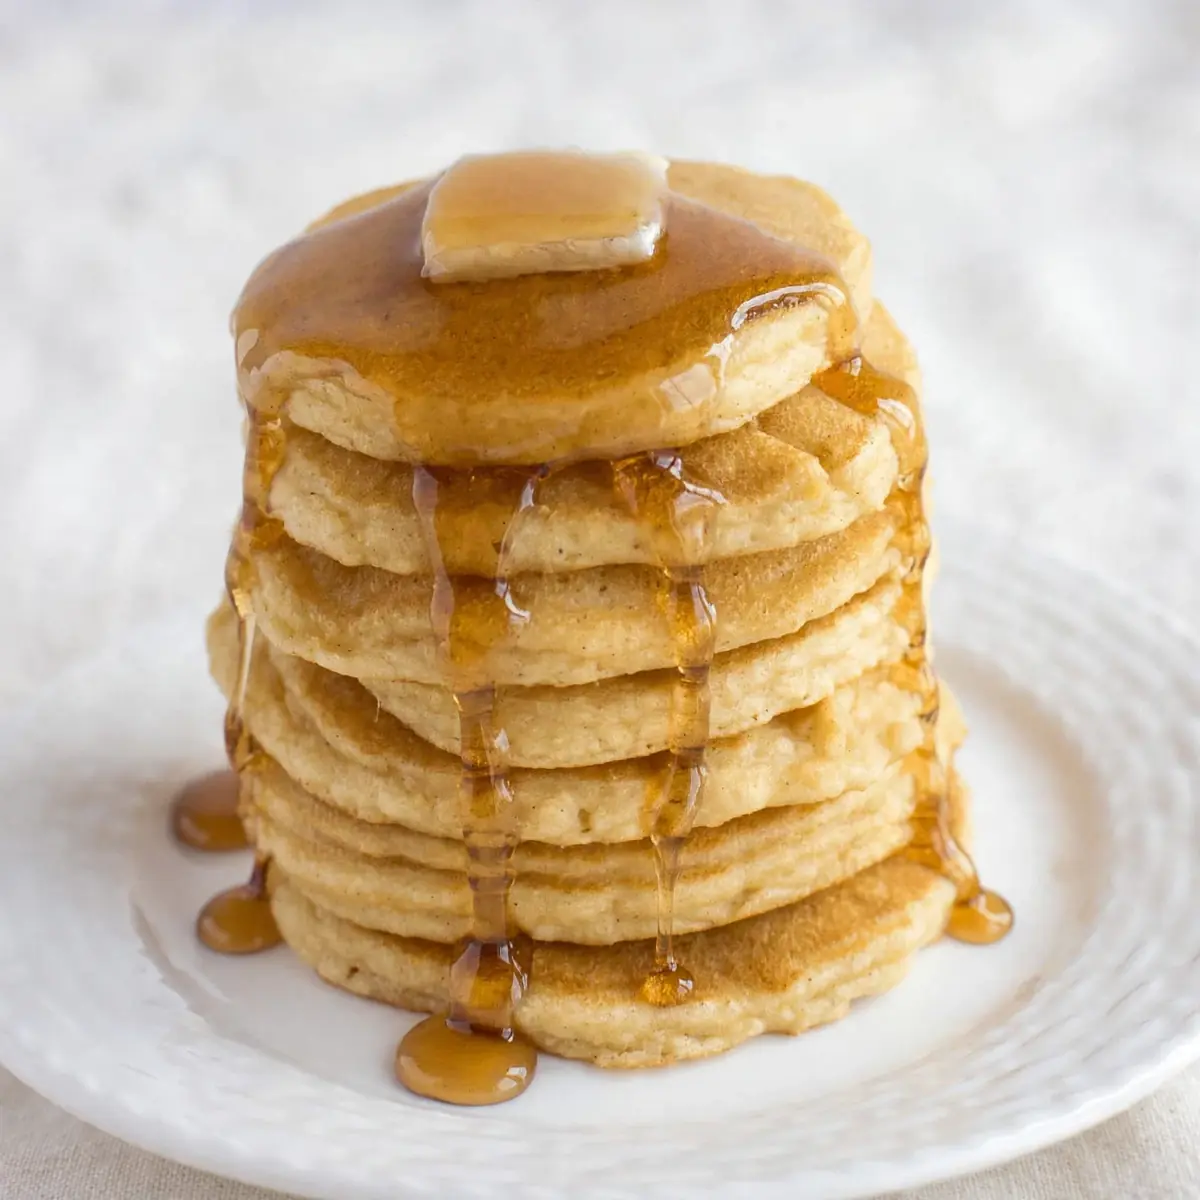
Let’s be honest—mornings can be a scramble, and sticking to a keto budget often feels like an uphill battle. I’ve spent years tweaking recipes to cut costs without sacrificing flavour, and these Keto Almond Flour Pancakes have become my secret weapon for a low-stress, high-satisfaction week. Today, I’m sharing a batch-cooking approach that turns a simple pancake stack into a money-saving, time-saving staple, with a clear breakdown of what each serving actually costs.
Recipe Overview
- Prep Time: 10 minutes
- Cook Time: 15 minutes (for a batch of 12 pancakes)
- Total Time: 25 minutes
- Servings: 4 (3 pancakes per serving)
- Difficulty: Easy
Why You’ll Love This Keto Almond Flour Pancakes
- Budget-friendly batch cooking: At roughly £1.20 per serving (based on UK supermarket prices), this recipe is kinder to your wallet than most takeaway breakfasts, and you can make a week’s worth in one go.
- Freezer-friendly and reheating perfection: These pancakes hold up beautifully after freezing and toasting—no sad, soggy leftovers here.
- Naturally gluten-free and low-carb: With only 3g net carbs per pancake, they fit seamlessly into a keto lifestyle without any weird ingredients.
- No special equipment needed: A simple whisk and a non-stick pan are all you need, making this accessible for any home cook.
- Versatile base for savoury or sweet toppings: I’ve served them with everything from sugar-free syrup to smoked salmon and cream cheese—both are brilliant.
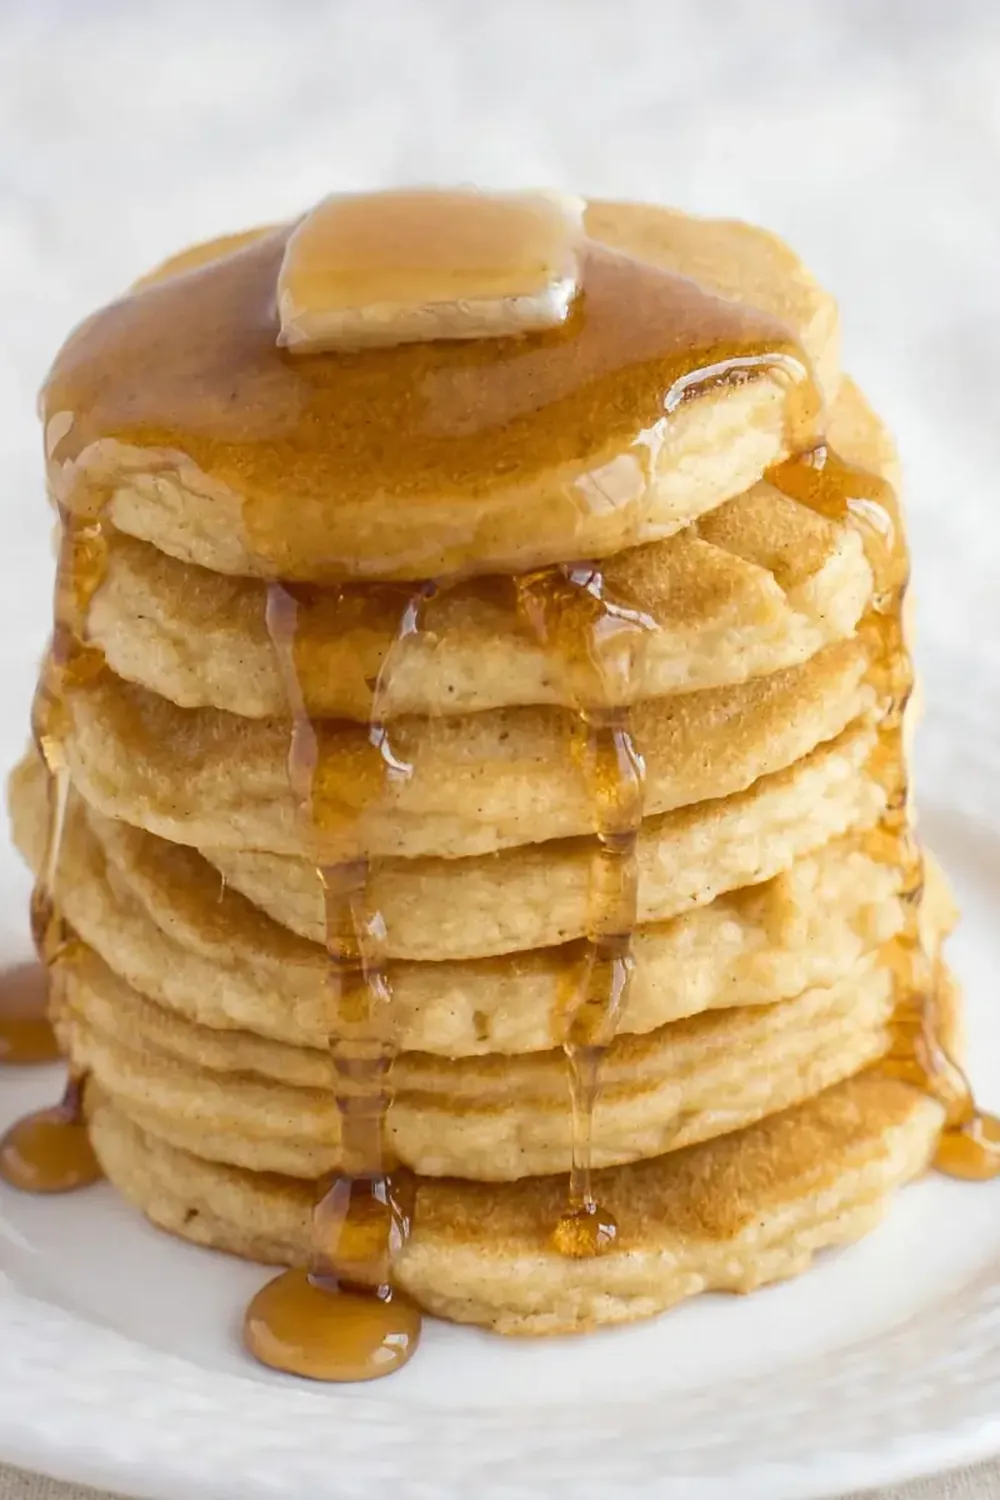
Ingredients You’ll Need
- 200g finely ground almond flour
- 2 large eggs
- 120ml unsweetened almond milk (or any low-carb milk)
- 1 tablespoon melted butter (or coconut oil for dairy-free)
- 1 teaspoon vanilla extract
- ½ teaspoon baking powder
- ¼ teaspoon salt
- 1 tablespoon granulated erythritol (optional, for sweetness)
- Butter or oil for greasing the pan
Tip: Buy almond flour in bulk from a wholesaler or a big supermarket’s baking aisle—it’s often half the price of the small packets. I also keep a bag in the freezer to extend its shelf life, which helps me avoid waste when batch cooking.
How to Make Keto Almond Flour Pancakes
- Whisk the dry ingredients: In a large mixing bowl, combine the almond flour, baking powder, salt, and erythritol (if using). Whisk thoroughly to break up any clumps—you should see a uniform, pale yellow powder that smells nutty and sweet.
- Mix the wet ingredients: In a separate small bowl or jug, beat the eggs, then add the almond milk, melted butter, and vanilla extract. Whisk until the mixture is smooth and slightly frothy on top, with a pale golden hue.
- Combine wet and dry: Pour the wet mixture into the dry ingredients and stir gently with a spatula or wooden spoon. Stop as soon as no streaks of flour remain—the batter will look thick and slightly grainy, like a loose cookie dough, and it will smell rich and buttery.
- Rest the batter (crucial step!): Let the batter sit for 5 minutes at room temperature. You’ll notice it thickens slightly as the almond flour absorbs the liquid; this is normal and prevents the pancakes from spreading too thin in the pan.
- Heat the pan: Place a non-stick frying pan or griddle over medium-low heat (about 140°C if you have an infrared thermometer). Add a small knob of butter or a drizzle of oil and let it melt—it should sizzle gently, not smoke, and the fat will look glossy and liquid.
- Cook the pancakes: Pour about 2 tablespoons of batter per pancake onto the hot pan, leaving 2–3 cm between each. Cook for 2–3 minutes, until the edges look set and bubbles form on the surface (they’ll start to pop slowly). The bottom should be a deep golden brown—peek with a spatula to check. Flip carefully and cook for another 1–2 minutes, until the second side is also golden and the pancake feels springy to the touch.
- Keep warm while batch cooking: Transfer cooked pancakes to a wire cooling rack set over a baking tray, and place in a low oven (100°C) to stay warm while you finish the rest. The stack will stay fluffy and not steam, so the texture remains perfect.
- Cool completely for storage: If you’re meal-prepping, let the pancakes cool completely on the rack—about 10 minutes—before stacking them with a small square of parchment paper between each to prevent sticking.
Tips From My Kitchen
- Don’t skip the rest time: Almond flour is thirsty. Giving the batter those 5 minutes allows the flour to fully hydrate, which results in a fluffier, more tender pancake. If you cook immediately, the texture will be gummy and dense.
- Use medium-low heat, always: Because almond flour browns faster than wheat flour, a high heat will burn the outside before the inside is cooked through. I keep my burner on a 3 or 4 out of 9—low and steady wins this race.
- Measure almond flour by weight, not volume: A cup of almond flour can vary wildly depending on how tightly it’s packed. Using a scale ensures consistent results every time, especially when batch cooking a large quantity.
- Batch cook and freeze for quick mornings: These pancakes freeze beautifully for up to 3 months. I make a double batch on Sunday, then grab a few from the freezer on busy weekday mornings—my husband, who’s usually picky, asked for seconds when I served them reheated with a dollop of Greek yoghurt.
- Adjust sweetness to your taste: The erythritol is optional because the almond flour itself has a naturally sweet, nutty flavour. I often skip it when I plan to top the pancakes with something savoury, like smoked salmon and cream cheese.
Equipment You’ll Need
- Large mixing bowl and small bowl or jug
- Whisk or fork
- Non-stick frying pan or griddle
- Spatula
- Wire cooling rack
- Baking tray (for keeping pancakes warm)
- Parchment paper (for layering frozen pancakes)
Common Mistakes to Avoid
- Overcrowding the pan: If you add too many pancakes at once, the pan temperature drops, and they’ll spread into thin, pale discs instead of fluffy rounds. Cook no more than 3 at a time in a standard 25cm pan, and give the pan 30 seconds to recover between batches.
- Wrong temperature: Cooking on too high a heat gives you a burnt exterior and a raw centre. Stick to medium-low (around 140°C) and wait for the butter to bubble gently before adding batter. If the first pancake browns in under a minute, your heat is too high.
- Skipping the rest time: This is the number one reason keto pancakes turn out gritty. The rest time allows the almond flour to soften and the baking powder to activate, so don’t rush it—even 3 minutes is better than none.
What to Serve With Keto Almond Flour Pancakes
- Sugar-free maple syrup and a knob of butter
- Fresh berries (raspberries or strawberries) with a dollop of whipped cream
- Savoury option: smoked salmon, cream cheese, and a sprinkle of chives
- A side of scrambled eggs and avocado for a filling brunch
- A drizzle of warm peanut butter or sugar-free chocolate sauce
Frequently Asked Questions
Keto Almond Flour Pancakes
Ingredients
Method
- Whisk the dry ingredients: In a large mixing bowl, combine the almond flour, baking powder, salt, and erythritol (if using). Whisk thoroughly to break up any clumps—you should see a uniform, pale yellow powder that smells nutty and sweet.
- Mix the wet ingredients: In a separate small bowl or jug, beat the eggs, then add the almond milk, melted butter, and vanilla extract. Whisk until the mixture is smooth and slightly frothy on top, with a pale golden hue.
- Combine wet and dry: Pour the wet mixture into the dry ingredients and stir gently with a spatula or wooden spoon. Stop as soon as no streaks of flour remain—the batter will look thick and slightly grainy, like a loose cookie dough, and it will smell rich and buttery.
- Rest the batter (crucial step!): Let the batter sit for 5 minutes at room temperature. You’ll notice it thickens slightly as the almond flour absorbs the liquid; this is normal and prevents the pancakes from spreading too thin in the pan.
- Heat the pan: Place a non-stick frying pan or griddle over medium-low heat (about 140°C if you have an infrared thermometer). Add a small knob of butter or a drizzle of oil and let it melt—it should sizzle gently, not smoke, and the fat will look glossy and liquid.
- Cook the pancakes: Pour about 2 tablespoons of batter per pancake onto the hot pan, leaving 2–3 cm between each. Cook for 2–3 minutes, until the edges look set and bubbles form on the surface (they’ll start to pop slowly). The bottom should be a deep golden brown—peek with a spatula to check. Flip carefully and cook for another 1–2 minutes, until the second side is also golden and the pancake feels springy to the touch.
- Keep warm while batch cooking: Transfer cooked pancakes to a wire cooling rack set over a baking tray, and place in a low oven (100°C) to stay warm while you finish the rest. The stack will stay fluffy and not steam, so the texture remains perfect.
- Cool completely for storage: If you’re meal-prepping, let the pancakes cool completely on the rack—about 10 minutes—before stacking them with a small square of parchment paper between each to prevent sticking.
Notes
I’d love to hear how you get on with these budget-friendly pancakes—whether you’re stacking them high for a weekend brunch or batch-cooking for the week ahead. Drop a comment below with your favourite topping combination, or let me know if you’ve tried them as part of a larger meal-prep routine. If you’re looking for more make-ahead breakfast inspiration, you might enjoy my Affordable Keto Eggs Benedict Meal Prep or these Budget Friendly Meal Prep Baked Bell Pepper Egg Nests—both are brilliant for saving time and money. Happy cooking, and remember: a little planning goes a long way.