Budget Batch-Cook Low-Carb Vanilla Bean Cheesecake Bites
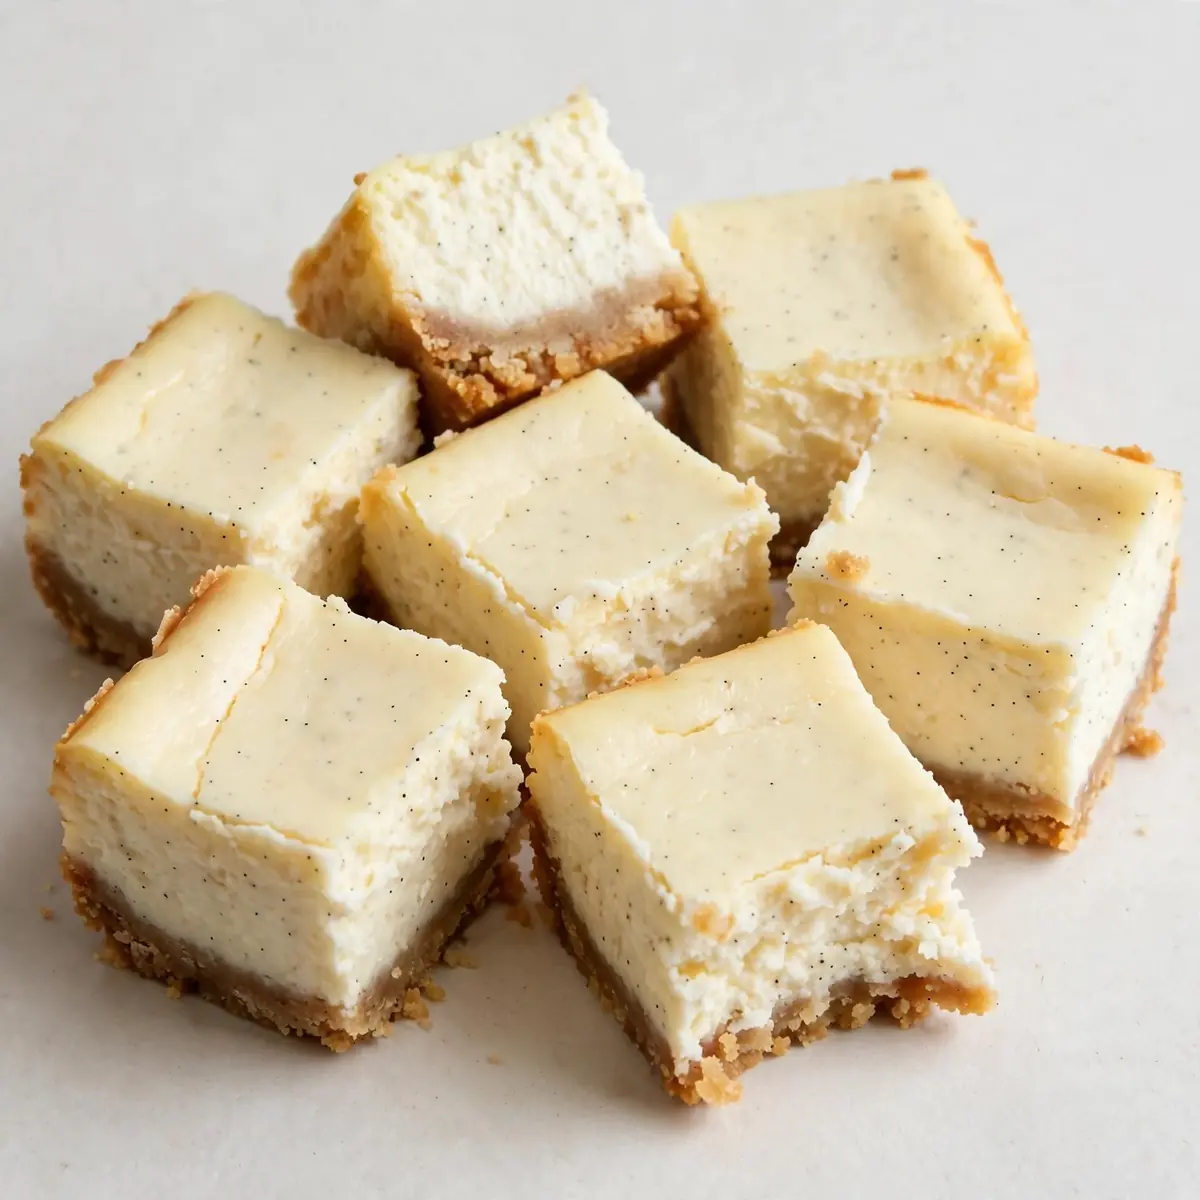
I’ve been making this for over 3 years, and it never disappoints when I need a sweet fix that doesn’t wreck my weekly food budget. These Low-Carb Vanilla Bean Cheesecake Bites are my secret weapon for meal prep: they cost pennies per serving, freeze like a dream, and satisfy that creamy dessert craving without the sugar crash.
Recipe Overview
- Prep Time: 20 minutes
- Cook Time: 25 minutes
- Total Time: 45 minutes (plus 2 hours chilling)
- Servings: 24 bites
- Difficulty: Easy
Why You’ll Love This Low-Carb Vanilla Bean Cheesecake Bites
- Budget-friendly batch cooking: One block of cream cheese and a handful of pantry staples make 24 bites for less than £0.50 per serving.
- Freezer-friendly for weeks: These bites hold their texture perfectly for up to 3 months, so you can grab one whenever a craving hits.
- No special equipment needed: A mixing bowl, a baking tray, and your hands are all you need — no food processor or springform pan required.
- Naturally low in carbs: With almond flour and erythritol, each bite has under 3g net carbs, keeping you in ketosis without sacrificing taste.
- Real vanilla bean flavour: Using actual vanilla bean paste gives a deep, aromatic sweetness that artificial extracts simply cannot match.
Ingredients You’ll Need
- 250g full-fat cream cheese, softened to room temperature
- 100g unsalted butter, softened
- 80g powdered erythritol (or any keto-friendly powdered sweetener)
- 2 teaspoons vanilla bean paste (or seeds from 1 vanilla pod)
- 2 large eggs, at room temperature
- 120g almond flour (super-fine, for the crust)
- 30g coconut flour (for the crust)
- 50g unsalted butter, melted (for the crust)
- 1/2 teaspoon sea salt
- 1/4 teaspoon xanthan gum (optional, for extra stability)
- 1 tablespoon lemon juice
Tip: Bring your cream cheese and eggs to room temperature for at least 30 minutes before starting — this prevents lumps and ensures a silky-smooth filling that bakes evenly.
How to Make Low-Carb Vanilla Bean Cheesecake Bites
- Preheat and prepare: Preheat your oven to 160°C (140°C fan). Line a 20cm square baking tray with parchment paper, leaving an overhang on two sides for easy lifting. The paper should be smooth against the bottom and sides — any wrinkles will create uneven edges on your bites.
- Make the crust: In a medium bowl, combine 120g almond flour, 30g coconut flour, and a pinch of salt. Pour in 50g melted butter and stir with a fork until the mixture looks like damp sand — it should clump together when pressed between your fingers. Press this mixture firmly into the bottom of the lined tray, using the flat bottom of a glass to compact it evenly. The crust should feel solid and uniform, about 1cm thick.
- Blind bake the crust: Bake the crust for 10 minutes, until it turns a pale golden brown at the edges and smells nutty and toasted. Remove from the oven and let it cool on a wire rack for 10 minutes — do not skip this cooling step, or the filling will seep into the warm crust and become soggy.
- Prepare the filling: In a large mixing bowl, beat the softened cream cheese and butter together with an electric mixer on medium speed for 2 minutes, until the mixture is pale, fluffy, and completely smooth — no white streaks should remain. Add the powdered erythritol and vanilla bean paste, then beat for another minute. The mixture should look glossy and smell intensely of vanilla.
- Incorporate eggs and lemon: Add the eggs one at a time, beating on low speed after each addition until just combined — overbeating at this stage will incorporate too much air and cause cracks. Stir in the lemon juice and xanthan gum (if using) with a spatula. The batter should be thick, creamy, and smooth enough to spread, with a slight sheen on the surface.
- Assemble and bake: Pour the filling over the cooled crust and spread it evenly with a spatula, reaching all four corners. Tap the tray gently on the counter twice to release any trapped air bubbles — you should see tiny bubbles rise and pop. Bake for 22–25 minutes, until the edges are set and lightly golden but the centre still jiggles slightly when you shake the tray. The surface should look matte, not wet or shiny.
- Cool and chill: Let the cheesecake cool completely on a wire rack at room temperature for 1 hour — you will smell the vanilla becoming more pronounced as it cools. Then transfer to the refrigerator and chill for at least 2 hours, or overnight for the best texture. The filling should be firm to the touch and slice cleanly without sticking to the knife.
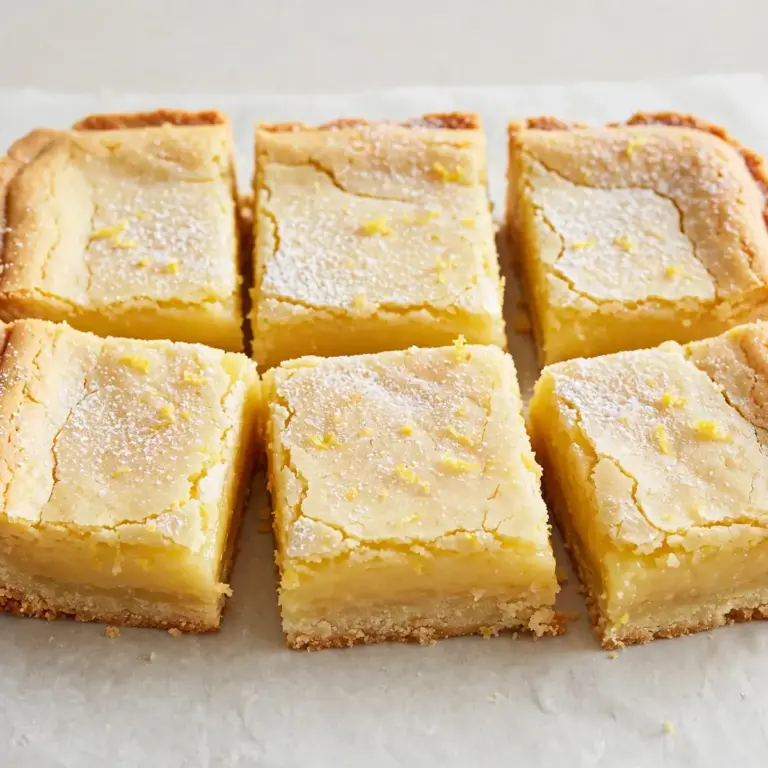
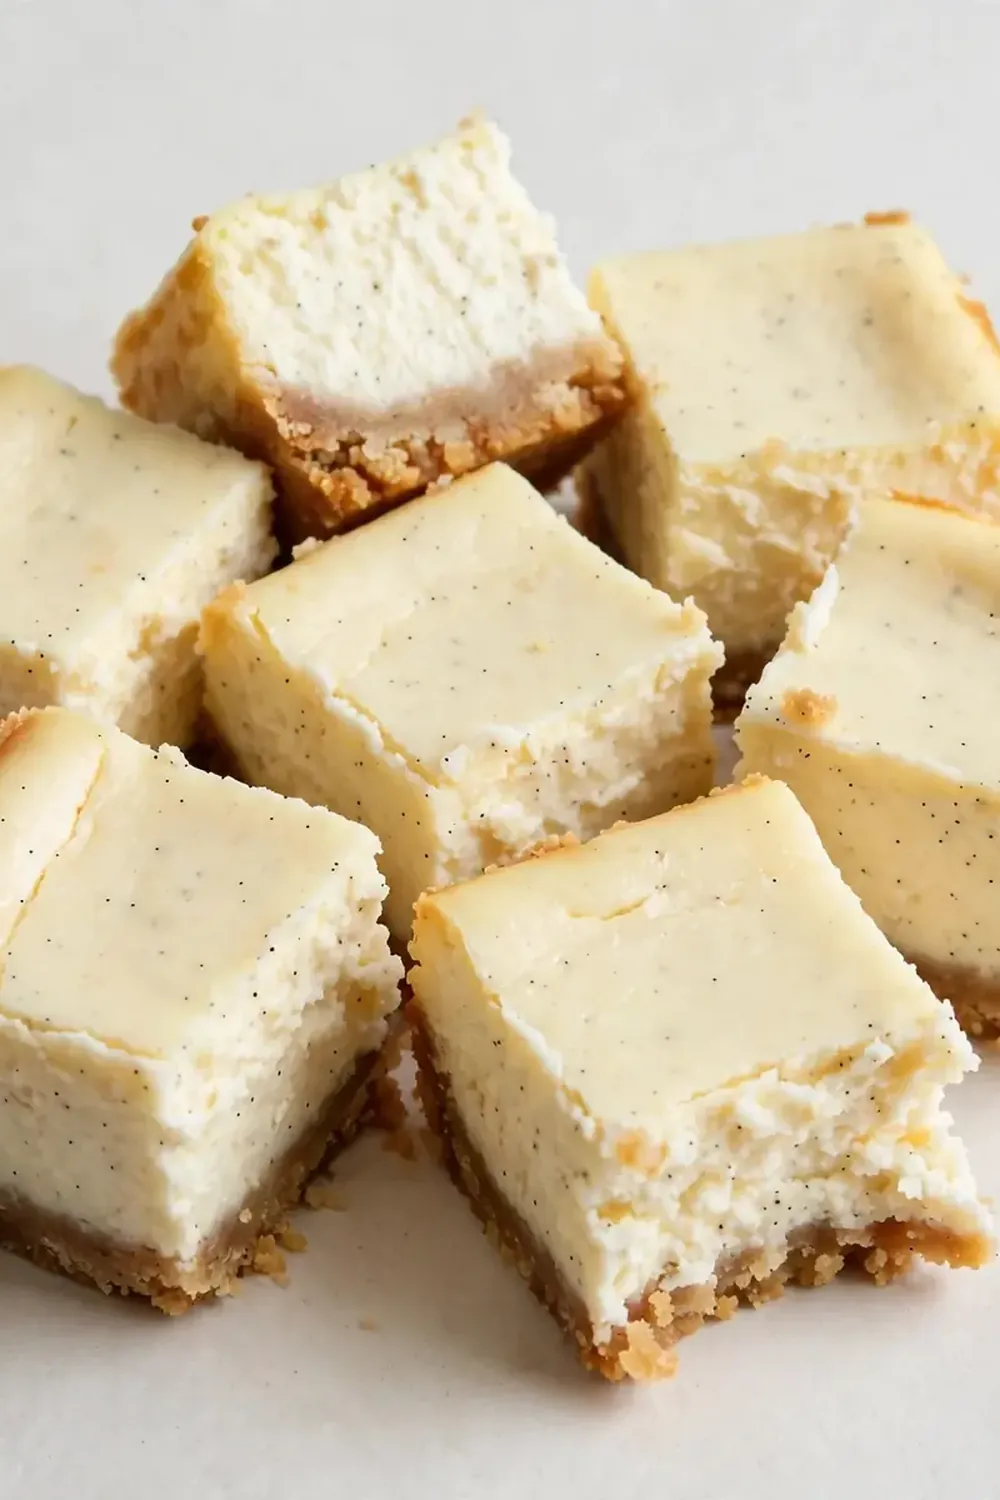
- Slice and store: Lift the cheesecake out of the tray using the parchment overhang. Use a sharp, thin-bladed knife dipped in hot water and wiped dry between cuts to slice into 24 even bites. The edges should be clean and the layers distinct — a golden crust beneath a creamy, pale filling speckled with tiny black vanilla bean seeds.
Tips From My Kitchen
- Use room temperature ingredients every time: Cold cream cheese and eggs create a lumpy batter that bakes unevenly. I leave my cream cheese on the counter for a full hour before starting — the texture becomes soft enough to press with a finger, and the eggs should feel cool but not cold to the touch. This simple step cuts mixing time in half and guarantees a smooth filling.
- Press the crust firmly and evenly: A loose crust will crumble when you cut the bites. I use the bottom of a measuring cup to press the crust down with steady, even pressure — the surface should feel as compact as a shortbread biscuit. If you can see gaps or thin spots, press harder in those areas before baking.
- Do not overbake the filling: The centre should still wobble when you take it out of the oven — it will continue to set as it cools. I test by gently shaking the tray: if the edges are firm and the centre moves like a jelly, it is done. Overbaking creates a dry, crumbly texture that cracks when sliced.
- Chill for at least 2 hours before slicing: I once tried to rush this step and ended up with a messy, gooey disaster. The filling needs time to firm up completely — overnight is best. When you press the top with your finger, it should spring back without leaving an indent.
- Dip your knife in hot water for clean cuts: A cold, dry knife will drag through the cheesecake and ruin the edges. I heat my knife under hot running water, wipe it dry with a clean cloth, and slice with one smooth motion. Wipe the blade clean between each cut to keep the bites looking neat.
- Store with parchment between layers: When stacking these bites in a container, place a small square of parchment paper between each layer to prevent sticking. This keeps the crust intact and the bites looking as good as the day you made them.
Equipment You’ll Need
- Stand mixer or hand mixer
- 20cm square baking tray
- Parchment paper
- Wire cooling rack
- Medium mixing bowl for the crust
- Large mixing bowl for the filling
- Spatula
- Sharp knife for slicing
Common Mistakes to Avoid
- Overcrowding the pan: Using a tray that is too small will make the filling too thick, leading to uneven baking — the edges will dry out while the centre stays undercooked. Stick to a 20cm square tray for the perfect 1.5cm thick layer of filling that bakes evenly in 25 minutes.
- Wrong temperature: Baking at too high a temperature causes the filling to puff up and crack, while too low a temperature leaves it runny in the centre. I always bake at 160°C (140°C fan) — this gentle heat sets the custard slowly without shocking the eggs.
- Skipping the rest time: Cutting into warm cheesecake is the fastest way to ruin all your hard work. The filling needs at least 2 hours in the fridge to firm up completely. If you slice too early, you will end up with a sticky mess that collapses into the crust.
Delicious Variations to Try
- Spicy Version: Add 1/2 teaspoon of ground cinnamon and a pinch of cayenne pepper to the crust mixture. The warmth of the spices balances the creamy vanilla filling beautifully — perfect for autumn meal prep.
- Vegetarian/Vegan Option: Substitute the cream cheese with a block of firm silken tofu blended with 2 tablespoons of coconut cream, and use flax eggs (1 tablespoon ground flaxseed mixed with 3 tablespoons water per egg). The texture will be slightly lighter but still creamy and satisfying.
- Different Protein: Swap the almond flour crust for a crushed pecan or walnut crust — just pulse 100g of nuts in a blender until fine, then mix with 30g melted butter and 1 tablespoon of erythritol. This adds a deeper, earthier flavour that pairs wonderfully with vanilla.
What to Serve With Low-Carb Vanilla Bean Cheesecake Bites
- A handful of fresh raspberries or blueberries for a burst of tartness
- A dollop of whipped double cream sweetened with a pinch of erythritol
- A strong cup of black coffee or unsweetened tea to contrast the creamy sweetness
- A side of toasted flaked almonds for extra crunch
Still hungry for ideas? You might also love No Bake Protein Cheesecake Bites, 20 Low Carb Dinner Recipes For Busy Families from our sister kitchens.
Frequently Asked Questions
Low-Carb Vanilla Bean Cheesecake Bites
Ingredients
Method
- Preheat and prepare: Preheat your oven to 160°C (140°C fan). Line a 20cm square baking tray with parchment paper, leaving an overhang on two sides for easy lifting. The paper should be smooth against the bottom and sides — any wrinkles will create uneven edges on your bites.
- Make the crust: In a medium bowl, combine 120g almond flour, 30g coconut flour, and a pinch of salt. Pour in 50g melted butter and stir with a fork until the mixture looks like damp sand — it should clump together when pressed between your fingers. Press this mixture firmly into the bottom of the lined tray, using the flat bottom of a glass to compact it evenly. The crust should feel solid and uniform, about 1cm thick.
- Blind bake the crust: Bake the crust for 10 minutes, until it turns a pale golden brown at the edges and smells nutty and toasted. Remove from the oven and let it cool on a wire rack for 10 minutes — do not skip this cooling step, or the filling will seep into the warm crust and become soggy.
- Prepare the filling: In a large mixing bowl, beat the softened cream cheese and butter together with an electric mixer on medium speed for 2 minutes, until the mixture is pale, fluffy, and completely smooth — no white streaks should remain. Add the powdered erythritol and vanilla bean paste, then beat for another minute. The mixture should look glossy and smell intensely of vanilla.
- Incorporate eggs and lemon: Add the eggs one at a time, beating on low speed after each addition until just combined — overbeating at this stage will incorporate too much air and cause cracks. Stir in the lemon juice and xanthan gum (if using) with a spatula. The batter should be thick, creamy, and smooth enough to spread, with a slight sheen on the surface.
- Assemble and bake: Pour the filling over the cooled crust and spread it evenly with a spatula, reaching all four corners. Tap the tray gently on the counter twice to release any trapped air bubbles — you should see tiny bubbles rise and pop. Bake for 22–25 minutes, until the edges are set and lightly golden but the centre still jiggles slightly when you shake the tray. The surface should look matte, not wet or shiny.
- Cool and chill: Let the cheesecake cool completely on a wire rack at room temperature for 1 hour — you will smell the vanilla becoming more pronounced as it cools. Then transfer to the refrigerator and chill for at least 2 hours, or overnight for the best texture. The filling should be firm to the touch and slice cleanly without sticking to the knife.
- Slice and store: Lift the cheesecake out of the tray using the parchment overhang. Use a sharp, thin-bladed knife dipped in hot water and wiped dry between cuts to slice into 24 even bites. The edges should be clean and the layers distinct — a golden crust beneath a creamy, pale filling speckled with tiny black vanilla bean seeds.
Notes
I hope these Low-Carb Vanilla Bean Cheesecake Bites become a staple in your meal prep rotation as they have in mine. If you try them, I would love to hear how they turned out — drop a comment below and let me know your favourite variation or any tweaks you made. Happy baking!