Budget Batch Keto Chocolate Chip Cookies
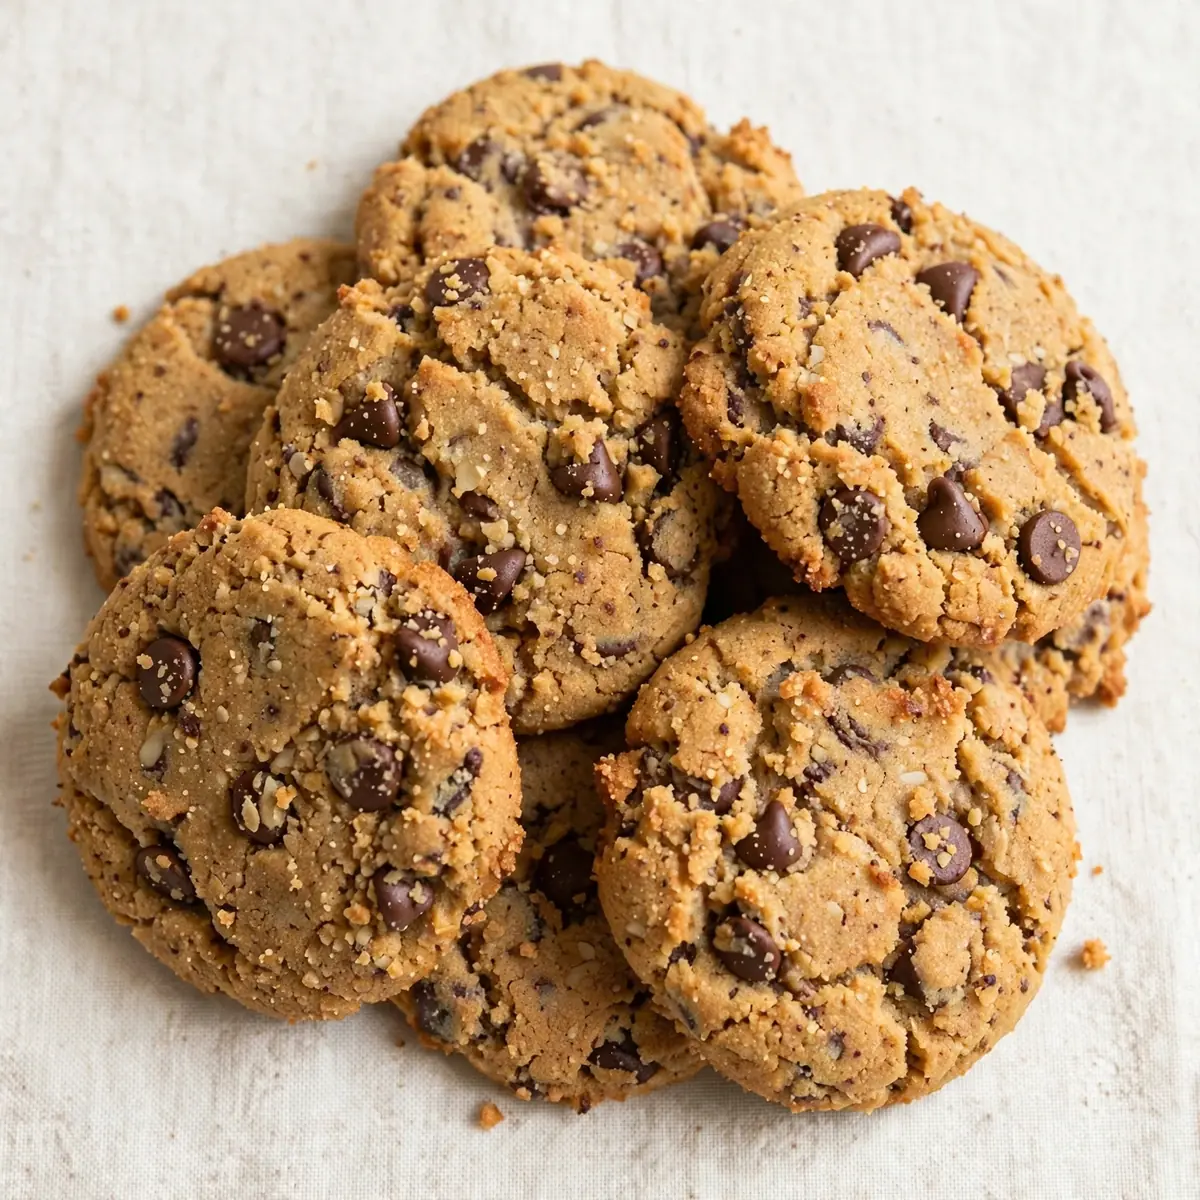
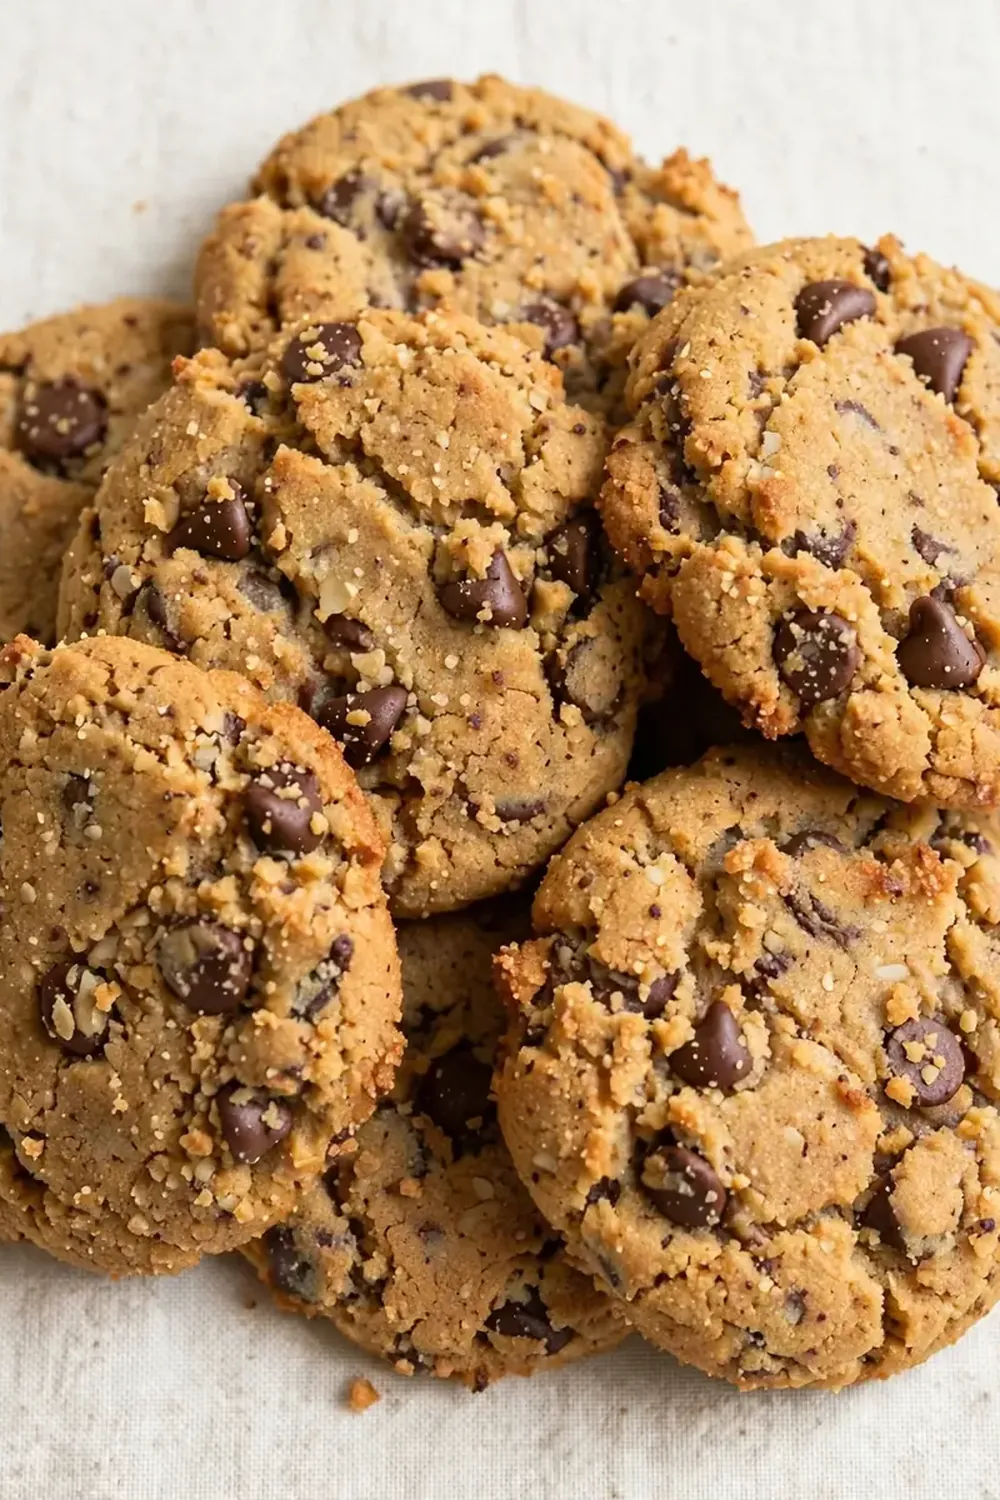
I’ve made it my mission to prove that meal prep doesn’t have to be dull or cost a fortune, and this batch of keto chocolate chip cookies using almond flour is where my budget-friendly ethos meets a sweet tooth. After testing this recipe five times, I finally got it just right, ensuring each cookie delivers on flavour and value without breaking the bank. This is about making a smart batch that you can store, reheat, and enjoy all week long, turning a simple treat into a practical, cost-effective staple.
Recipe Overview
- Prep Time: 15 minutes
- Cook Time: 12-14 minutes
- Total Time: 27-29 minutes
- Servings: 18 cookies
- Difficulty: Easy
Why You’ll Love This Keto Chocolate Chip Cookies (Almond Flour)
- Budget-Friendly Batch: At roughly 45p per cookie, this recipe stretches your pound further than any shop-bought keto treat, making it ideal for weekly meal prep.
- Perfect for Leftovers: These cookies freeze beautifully and reheat in under a minute, so you always have a low-carb dessert ready when the craving hits.
- Simple Ingredients: No obscure, pricey additions here—just almond flour, butter, and a few pantry staples you likely already have on hand.
- Consistent Results: The dough holds its shape well during baking, giving you a uniform batch that stores neatly without crumbling or going stale.
- Customisable for Meal Prep: Make a double batch on Sunday, portion them out, and you’ve got grab-and-go treats for the entire work week.
Ingredients You’ll Need
- 200g almond flour (super fine, not coarse)
- 60g unsalted butter, softened
- 50g granulated erythritol or monk fruit sweetener
- 1 large egg, at room temperature
- 1 teaspoon vanilla extract
- ½ teaspoon baking powder
- ¼ teaspoon salt
- 80g sugar-free dark chocolate chips (or chopped 85% dark chocolate)
- 1 tablespoon coconut oil (optional, for extra softness)
Tip: Weigh your almond flour carefully; packing it too tightly can make the cookies dry and crumbly, which defeats the budget-friendly purpose of using every gram wisely.
How to Make Keto Chocolate Chip Cookies (Almond Flour)
- Preheat and line: Set your oven to 175°C (350°F) and line a large baking tray with parchment paper. The paper should feel taut and smooth against the tray—no wrinkles, or the cookies will stick.
- Cream the butter and sweetener: In a large bowl, beat the softened butter and erythritol together with a hand mixer for about 2 minutes until the mixture looks pale, fluffy, and slightly grainy. The sound should shift from a slosh to a soft, airy whir.
- Add the wet ingredients: Crack in the egg, pour in the vanilla extract, and beat again for 30 seconds until the batter turns a uniform, glossy yellow. It should smell faintly sweet and buttery.
- Mix the dry ingredients: In a separate bowl, whisk together the almond flour, baking powder, and salt. The flour should feel fine and light between your fingers—no lumps.
- Combine wet and dry: Gradually add the dry mix to the wet mixture, stirring with a spatula until a thick, slightly sticky dough forms. It should hold together without being wet; if it feels too loose, let it rest for 2 minutes to absorb moisture.
- Fold in the chocolate: Gently fold the chocolate chips into the dough using a spatula. You’ll see dark streaks forming; stop folding as soon as the chips are evenly distributed to avoid melting them prematurely.
- Shape the cookies: Scoop out rounded tablespoons of dough (about 25g each) and roll them into balls. Place them 5cm apart on the lined tray—they’ll spread slightly, so give them breathing room. The dough should feel firm but pliable, not sticky.
- Bake until golden: Bake for 12-14 minutes. At the 10-minute mark, the edges should turn a deep golden brown and the tops will look matte and set. The kitchen will smell nutty and sweet—that’s your cue. Do not overbake; the centres will look soft but firm up as they cool.
- Cool completely: Let the cookies rest on the tray for 5 minutes—they’ll be fragile and warm. Then transfer to a wire cooling rack. As they cool, the texture shifts from soft to a satisfyingly chewy bite. Wait until they’re completely cool before storing.
Tips From My Kitchen
- Chill the dough for 15 minutes: If your kitchen is warm or your butter was too soft, pop the shaped dough balls in the fridge for 15 minutes before baking. This prevents excessive spreading and keeps the cookies thick and chewy—important for portion control when meal prepping.
- Use a cookie scoop for uniform sizes: I stumbled upon this combination by accident, and it’s been a hit ever since: using a small ice cream scoop ensures every cookie is the same size, which means even baking and predictable cost per serving. No more tiny burnt edges or oversized undercooked centres.
- Swap chocolate chips for chopped nuts to save money: If sugar-free chips are pricey in your area, substitute with chopped walnuts or pecans. They add crunch and healthy fats, and the cost per batch drops significantly without sacrificing texture.
- Store with a slice of apple: To keep your batch soft for days (a key meal prep win), place a small slice of apple in the airtight container with the cookies. The moisture from the apple keeps the almond flour from drying out—just replace the apple slice every 2 days.
- Freeze in portions: After cooling, wrap each cookie individually in cling film, then place them in a freezer bag. This lets you grab one or two at a time without thawing the whole batch, making them perfect for a quick, budget-friendly dessert.
Equipment You’ll Need
- Stand mixer or hand mixer
- Baking tray
- Parchment paper
- Wire cooling rack
- Cookie scoop (optional but helpful)
- Airtight container for storage
Common Mistakes to Avoid
- Overcrowding the pan: Placing cookies too close together causes them to merge into one giant, unevenly baked blob. Leave at least 5cm between each dough ball to allow for spreading and even browning—this ensures each cookie maintains its shape and cooks consistently.
- Wrong temperature: Baking at too high a temperature (above 180°C) will burn the edges before the centres set, leaving you with hard, bitter cookies. Stick to 175°C and use an oven thermometer if your oven runs hot—accuracy matters for a reliable batch.
- Skipping the rest time: Almond flour needs a few minutes to absorb moisture from the egg and butter. If you bake immediately, the cookies may spread too much and turn greasy. Let the dough rest for 5 minutes after mixing, or chill for 15 if you have time, for a better texture.
Delicious Variations to Try
- Spicy Version: Add ½ teaspoon of ground cinnamon and a pinch of cayenne pepper to the dry ingredients. The warmth of the spice cuts through the sweetness beautifully, giving a grown-up twist that pairs well with a cup of black coffee.
- Vegetarian/Vegan Option: Replace the egg with a flax egg (1 tablespoon ground flaxseed mixed with 3 tablespoons water) and use coconut oil instead of butter. The cookies will be slightly denser but still chewy and delicious—perfect for plant-based meal prep.
- Different Protein: Swap the dark chocolate chips for sugar-free white chocolate chips or cacao nibs. White chocolate adds a creamy sweetness, while cacao nibs bring a bitter crunch that balances the almond flour’s nuttiness.
What to Serve With Keto Chocolate Chip Cookies (Almond Flour)
- A small glass of unsweetened almond milk for dipping
- A dollop of full-fat Greek yoghurt or clotted cream
- Alongside a cup of peppermint tea or black coffee
- Crumbled over a bowl of Reheat Save Keto Berry Crisp Batch for a double dessert
- With a side of fresh berries for a low-carb fruit pairing
Still hungry for ideas? You might also love White Chocolate Cranberry Cookies Treat, Viral Brown Butter Chocolate Chip Cookies from our sister kitchens.
Frequently Asked Questions
Keto Chocolate Chip Cookies (Almond Flour)
Ingredients
Method
- Preheat and line: Set your oven to 175°C (350°F) and line a large baking tray with parchment paper. The paper should feel taut and smooth against the tray—no wrinkles, or the cookies will stick.
- Cream the butter and sweetener: In a large bowl, beat the softened butter and erythritol together with a hand mixer for about 2 minutes until the mixture looks pale, fluffy, and slightly grainy. The sound should shift from a slosh to a soft, airy whir.
- Add the wet ingredients: Crack in the egg, pour in the vanilla extract, and beat again for 30 seconds until the batter turns a uniform, glossy yellow. It should smell faintly sweet and buttery.
- Mix the dry ingredients: In a separate bowl, whisk together the almond flour, baking powder, and salt. The flour should feel fine and light between your fingers—no lumps.
- Combine wet and dry: Gradually add the dry mix to the wet mixture, stirring with a spatula until a thick, slightly sticky dough forms. It should hold together without being wet; if it feels too loose, let it rest for 2 minutes to absorb moisture.
- Fold in the chocolate: Gently fold the chocolate chips into the dough using a spatula. You’ll see dark streaks forming; stop folding as soon as the chips are evenly distributed to avoid melting them prematurely.
- Shape the cookies: Scoop out rounded tablespoons of dough (about 25g each) and roll them into balls. Place them 5cm apart on the lined tray—they’ll spread slightly, so give them breathing room. The dough should feel firm but pliable, not sticky.
- Bake until golden: Bake for 12-14 minutes. At the 10-minute mark, the edges should turn a deep golden brown and the tops will look matte and set. The kitchen will smell nutty and sweet—that’s your cue. Do not overbake; the centres will look soft but firm up as they cool.
- Cool completely: Let the cookies rest on the tray for 5 minutes—they’ll be fragile and warm. Then transfer to a wire cooling rack. As they cool, the texture shifts from soft to a satisfyingly chewy bite. Wait until they’re completely cool before storing.
Notes
I’d love to know how your budget-friendly batch turned out—drop a comment below with your favourite variation or any tweaks you made. If you’re looking for more cost-saving meal prep ideas, check out my Budget Friendly Creamy Pesto Chicken With Roasted Cauliflower or the Cost Saving Shredded Mexican Chicken Bowls With Avocado Crema for another week of smart, delicious eating.