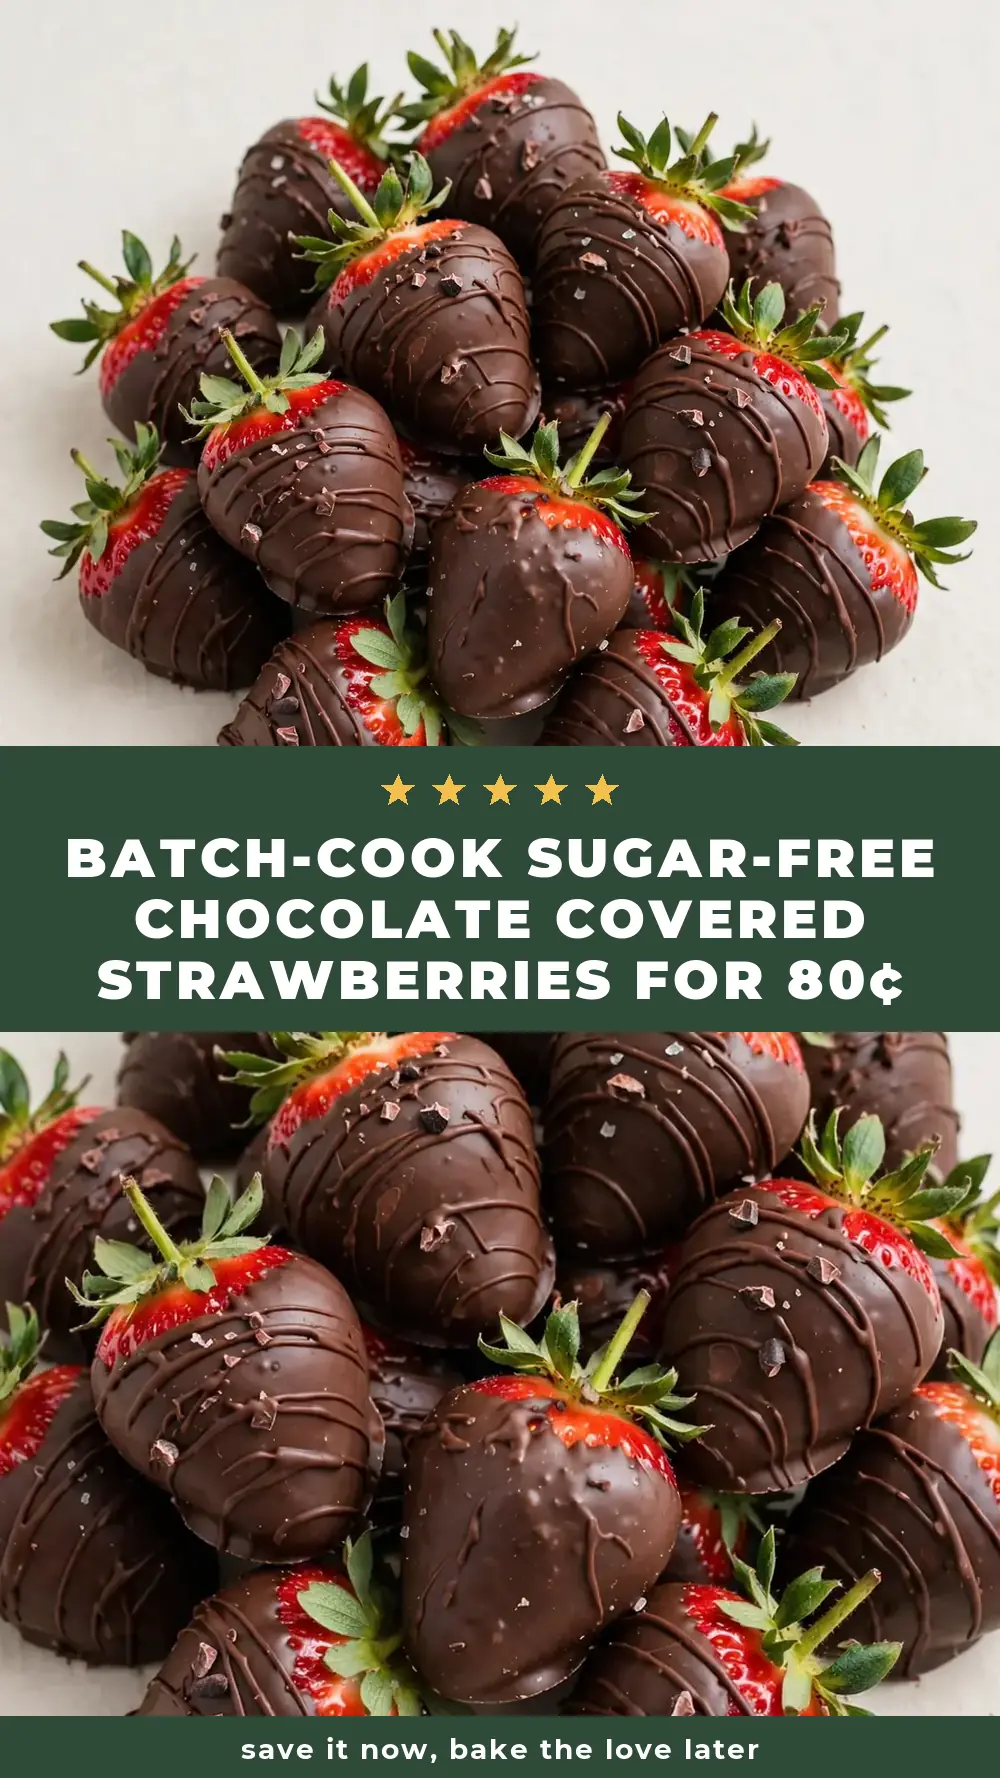
Batch-Cook Sugar-Free Chocolate Covered Strawberries for 80¢ a Serving
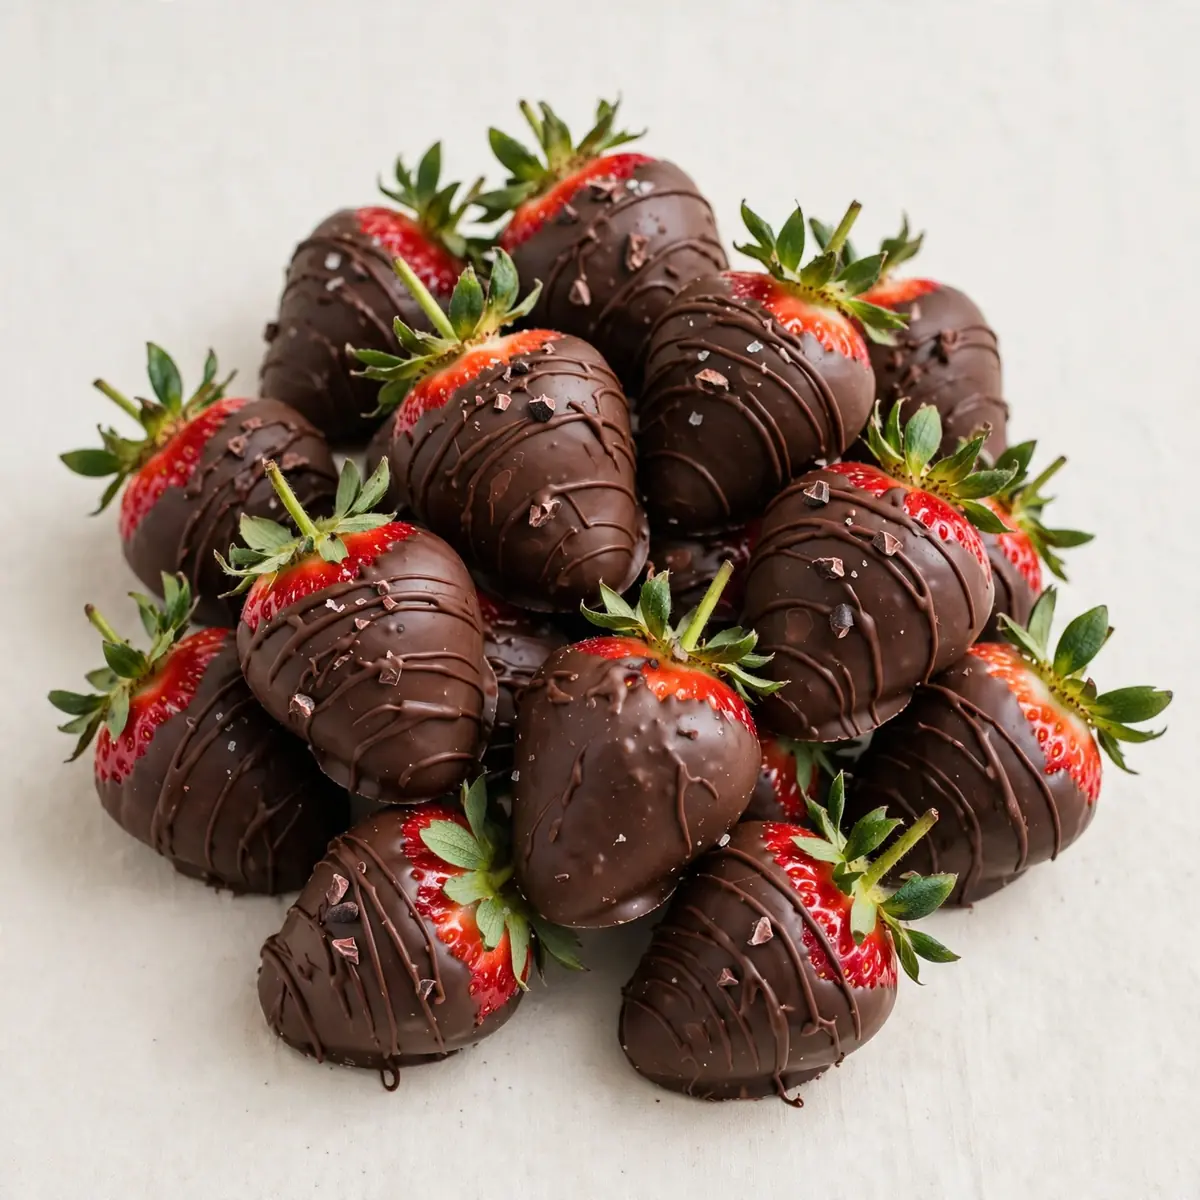
I first made these sugar-free chocolate covered strawberries for a batch-cooking session on a tight budget, and the cost per serving surprised me so much that it’s now a staple in my weekly meal prep. This recipe turns a luxury dessert into an affordable, make-ahead treat that keeps well in the fridge for days.
Recipe Overview
- Prep Time: 15 minutes
- Cook Time: 5 minutes
- Total Time: 20 minutes (plus 30 minutes setting time)
- Servings: 8 servings (2 strawberries per serving)
- Difficulty: Easy
Why You’ll Love This Sugar-Free Chocolate Covered Strawberries
- Budget-friendly batch cooking: At roughly 60p per serving, these strawberries cost a fraction of shop-bought chocolates and let you meal prep a dessert for the whole week.
- No added sugar, no compromise: Using stevia-sweetened dark chocolate and fresh berries keeps the sweetness natural while satisfying that chocolate craving.
- Stores beautifully for leftovers: These keep their texture and flavour for up to five days when stored properly, making them ideal for make-ahead treats.
- Customisable by the dozen: You can switch up the toppings — crushed nuts, coconut flakes, or a sprinkle of sea salt — without changing the base cost.
- Impressive with minimal effort: This is my go-to recipe when I need something quick but impressive for a gathering or a midweek pick-me-up.
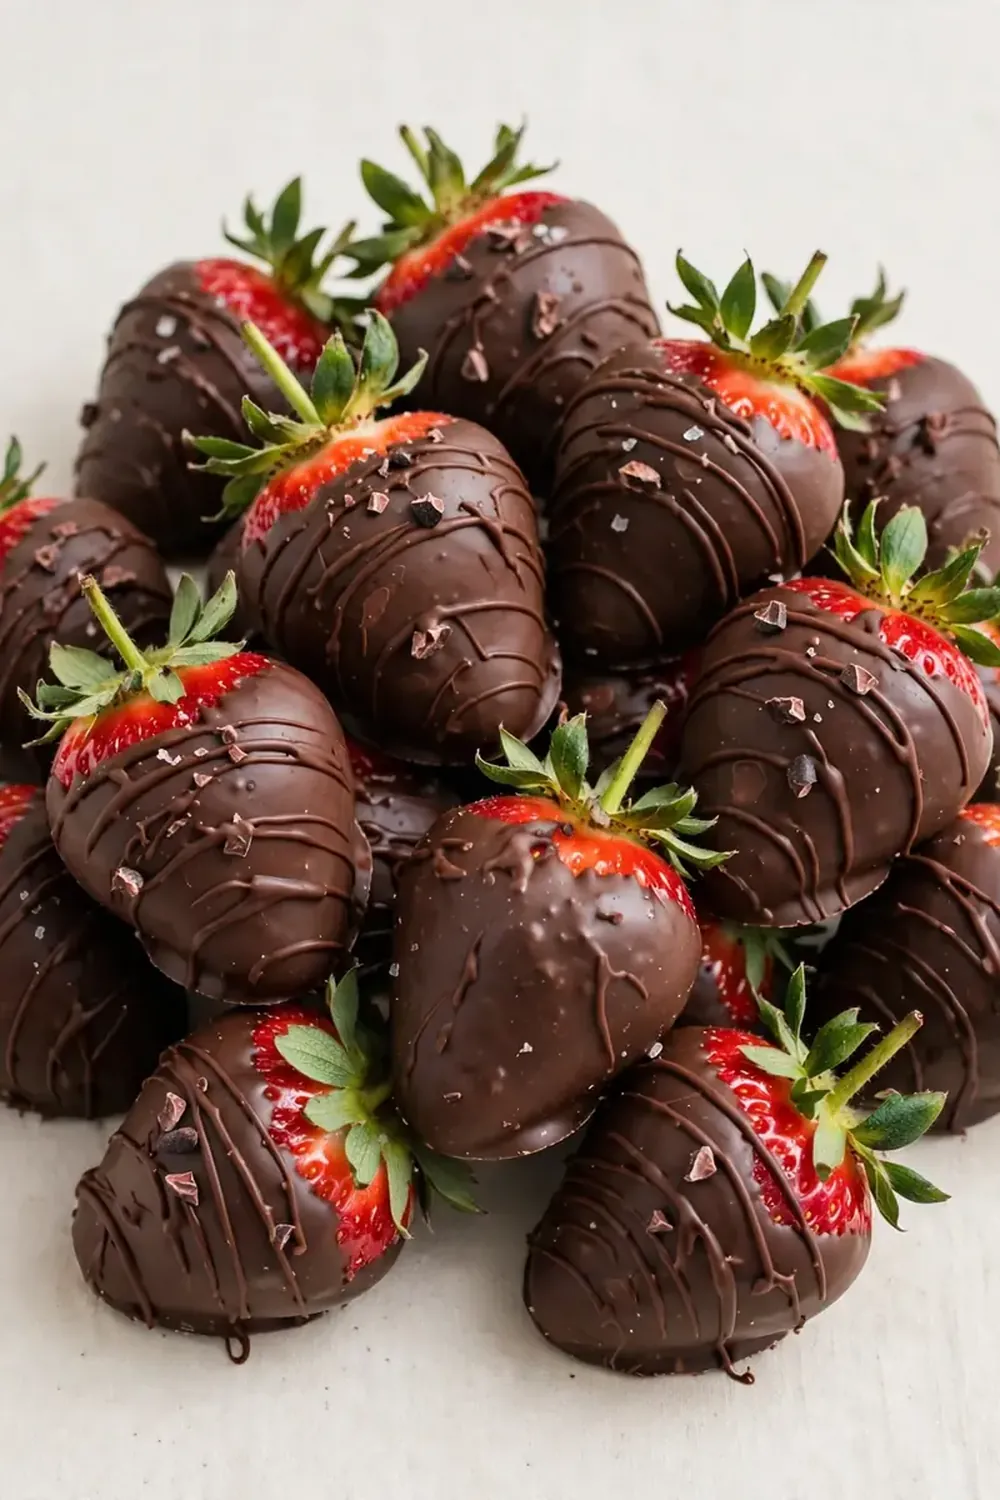
Ingredients You’ll Need
- 500g fresh strawberries (about 16 medium berries)
- 200g dark chocolate (85% cocoa, sugar-free, finely chopped)
- 2 tablespoons coconut oil (helps the chocolate set smoothly)
- 1 teaspoon vanilla extract (sugar-free)
- 30g crushed almonds (optional, for coating)
- 20g unsweetened desiccated coconut (optional, for coating)
- Pinch of sea salt (optional)
- Baking paper for lining trays
Tip: Choose strawberries that are firm and dry — any moisture on the berry will cause the chocolate to seize, making the coating patchy. Wash them at least two hours before you start and let them air-dry completely on a tea towel.
How to Make Sugar-Free Chocolate Covered Strawberries
- Prepare your strawberries: Rinse the berries gently under cold water, then lay them in a single layer on a clean tea towel. Pat them dry with paper towels — you want no visible water droplets. Let them sit for 10 minutes at room temperature. The berries should feel dry to the touch, not tacky.
- Line your tray: Cover a large baking tray with baking paper. Make sure the paper lies flat without wrinkles — this prevents the chocolate from pooling unevenly. Set the tray aside within easy reach.
- Melt the chocolate: Place the chopped dark chocolate and coconut oil in a heatproof bowl set over a saucepan of simmering water. The bowl should not touch the water. Stir gently with a spatula — you’ll see the chocolate begin to soften at the edges first, turning glossy. After about 3 minutes, the mixture will become smooth and pour easily. Remove from the heat. The chocolate should look dark and shiny, with no lumps.
- Add the vanilla: Stir in the vanilla extract. You’ll notice the aroma bloom immediately — a warm, sweet scent that signals the chocolate is ready. Mix for 10 seconds until fully combined. The mixture will thin slightly.
- Dip the strawberries: Hold one strawberry by the green stem (or use a toothpick if the stem is short) and dip it into the melted chocolate, twisting gently to coat about three-quarters of the berry. Lift it out and let the excess drip back into the bowl for 5 seconds. You’ll see a smooth, even layer forming. Place the dipped strawberry onto the lined tray. Repeat with the remaining berries, spacing them about 2cm apart so they don’t touch.
- Add toppings (optional): While the chocolate is still wet, sprinkle crushed almonds, desiccated coconut, or a pinch of sea salt over the top of each strawberry. Press the toppings lightly so they stick. Work quickly — the chocolate sets fast once it leaves the bowl.
- Set the chocolate: Place the tray in the refrigerator for 30 minutes. The chocolate will harden and develop a satisfying snap when you bite into it. After setting, the berries should feel firm to the touch and the coating will be matte or slightly glossy depending on the chocolate.
- Portion for meal prep: Once set, transfer the strawberries to an airtight container, layering them between sheets of baking paper. Store in the fridge for up to five days. I stumbled upon this combination by accident, and it’s been a hit ever since.
Tips From My Kitchen
- Dry your strawberries thoroughly: The number one reason chocolate coating fails is moisture. Even a single drop of water can cause the chocolate to seize, turning it into a grainy, stiff mess. Wash the berries hours ahead and let them air-dry completely — patting with paper towels alone isn’t enough.
- Use a double boiler, not the microwave: A microwave can easily overheat sugar-free chocolate, causing it to burn and separate. The gentle steam heat of a double boiler gives you control and keeps the chocolate silky. If you see any steam bubbles forming in the chocolate, the heat is too high.
- Work in batches for consistent coating: If you’re making a double batch, melt only half the chocolate at a time. As the chocolate cools, it thickens and becomes harder to dip smoothly. A second fresh batch of melted chocolate ensures each strawberry gets an even, thin layer.
- Let leftovers come to room temperature before serving: Straight from the fridge, the chocolate can feel a bit hard and the strawberry loses some of its juiciness. Let the berries sit on the counter for 10 minutes before eating — the texture becomes perfect, with a crisp shell and a soft, cool centre.
- Freeze for longer storage: These strawberries freeze beautifully for up to three months. Place them in a single layer on a baking tray, freeze for two hours, then transfer to a freezer bag. Thaw in the fridge overnight — the chocolate stays intact, and the berry retains its shape.
Common Mistakes to Avoid
- Overcrowding the pan: If you place the dipped strawberries too close together on the tray, the chocolate will run and merge, making them stick together when set. Leave at least 2cm of space between each berry to keep them separate and easy to handle once hardened.
- Wrong temperature: The chocolate should be melted to around 40–45°C — warm enough to flow smoothly but not so hot that it cooks the strawberry. If the chocolate feels hot to the touch on your wrist (like testing baby milk), it’s too hot. Let it cool for a minute before dipping.
- Skipping the rest time: Rushing the setting time in the fridge leads to smudged coatings and chocolate that slides off the berry. A full 30 minutes allows the cocoa butter to crystallise properly, giving you a clean snap and a stable coating that won’t melt on your fingers.
What to Serve With Sugar-Free Chocolate Covered Strawberries
- A dollop of Greek yoghurt for a tangy contrast
- A handful of mixed nuts for crunch
- As a topping for sugar-free porridge or overnight oats
- Alongside a cup of herbal tea or black coffee
- Chopped into a fruit salad for extra indulgence
Still hungry for ideas? You might also love Chocolate Covered Pretzels Snack, Gooey Flourless Chocolate Fudge Cookies Gluten Free from our sister kitchens.
Frequently Asked Questions
Sugar-Free Chocolate Covered Strawberries
Ingredients
Method
-
Prepare your strawberries: Rinse the berries gently under cold water, then lay them in a single layer on a clean tea towel. Pat them dry with paper towels — you want no visible water droplets. Let them sit for 10 minutes at room temperature. The berries should feel dry to the touch, not tacky.
-
Line your tray: Cover a large baking tray with baking paper. Make sure the paper lies flat without wrinkles — this prevents the chocolate from pooling unevenly. Set the tray aside within easy reach.
-
Melt the chocolate: Place the chopped dark chocolate and coconut oil in a heatproof bowl set over a saucepan of simmering water. The bowl should not touch the water. Stir gently with a spatula — you’ll see the chocolate begin to soften at the edges first, turning glossy. After about 3 minutes, the mixture will become smooth and pour easily. Remove from the heat. The chocolate should look dark and shiny, with no lumps.
-
Add the vanilla: Stir in the vanilla extract. You’ll notice the aroma bloom immediately — a warm, sweet scent that signals the chocolate is ready. Mix for 10 seconds until fully combined. The mixture will thin slightly.
-
Dip the strawberries: Hold one strawberry by the green stem (or use a toothpick if the stem is short) and dip it into the melted chocolate, twisting gently to coat about three-quarters of the berry. Lift it out and let the excess drip back into the bowl for 5 seconds. You’ll see a smooth, even layer forming. Place the dipped strawberry onto the lined tray. Repeat with the remaining berries, spacing them about 2cm apart so they don’t touch.
-
Add toppings (optional): While the chocolate is still wet, sprinkle crushed almonds, desiccated coconut, or a pinch of sea salt over the top of each strawberry. Press the toppings lightly so they stick. Work quickly — the chocolate sets fast once it leaves the bowl.
-
Set the chocolate: Place the tray in the refrigerator for 30 minutes. The chocolate will harden and develop a satisfying snap when you bite into it. After setting, the berries should feel firm to the touch and the coating will be matte or slightly glossy depending on the chocolate.
-
Portion for meal prep: Once set, transfer the strawberries to an airtight container, layering them between sheets of baking paper. Store in the fridge for up to five days. I stumbled upon this combination by accident, and it’s been a hit ever since.
Notes
I’d love to hear how these sugar-free chocolate covered strawberries turn out in your kitchen — drop a comment below with your favourite topping combination or any tweaks you made for your meal prep routine. For more budget-friendly dessert ideas that keep well as leftovers, browse through All Recipes or check out our Dinner Recipes section for savoury batch-cooking inspiration.