Budget-Friendly Cheesy Buffalo Chicken Casserole for Meal Prep
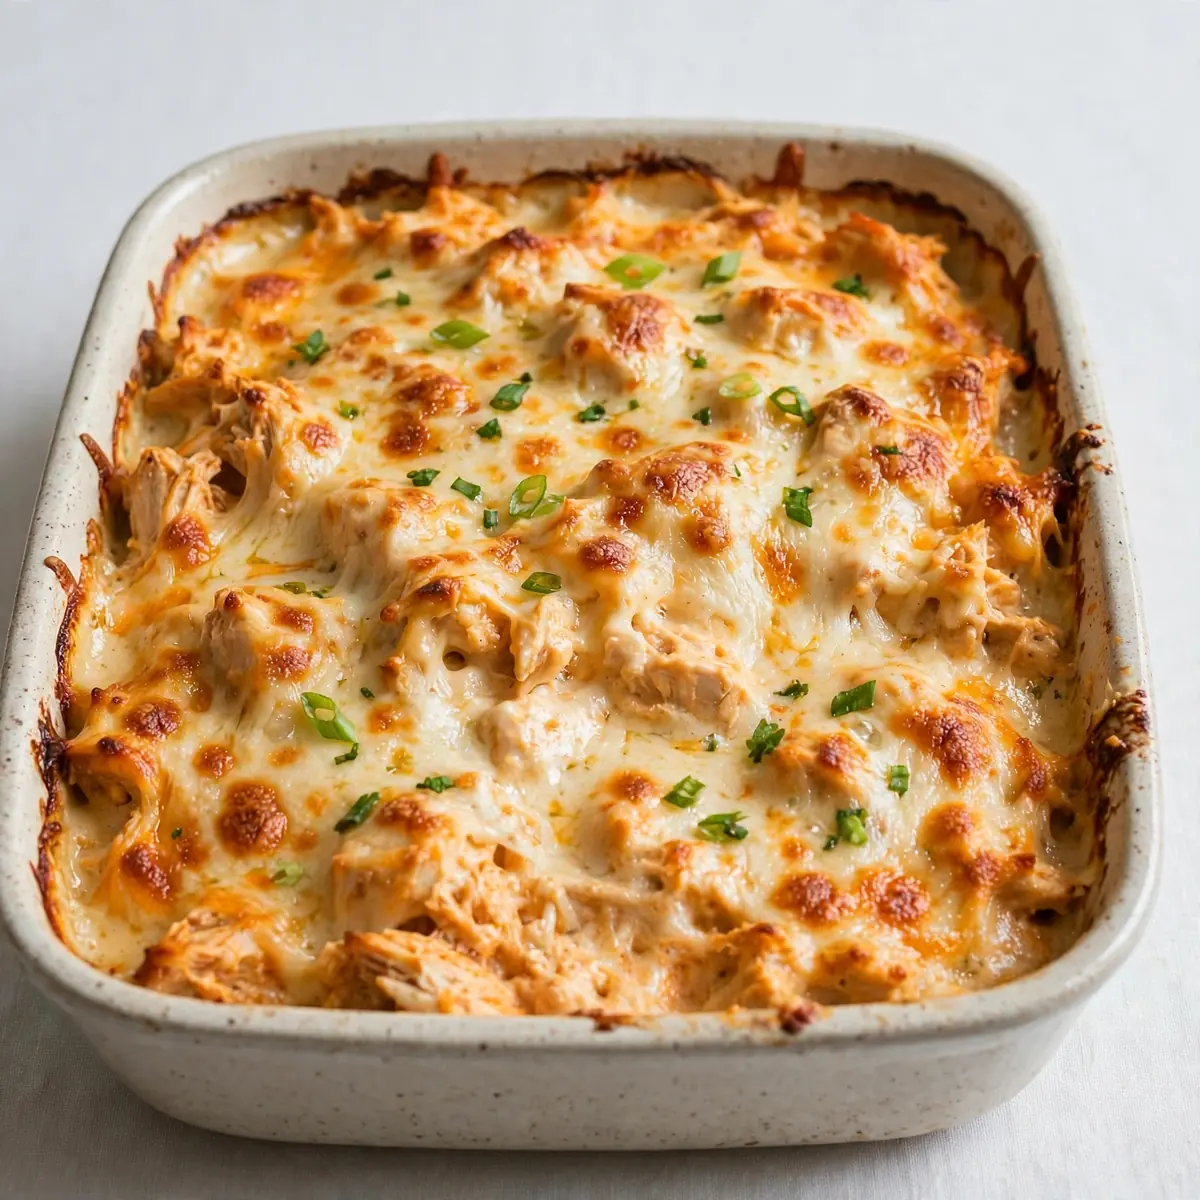
There are some recipes that feel like a cheat code for the weekly meal prep, and I believe this Cheesy Buffalo Chicken Casserole is exactly that. After testing this recipe five times, I finally got it just right, and I am so excited to share a version that is kind to your wallet without skimping on that tangy, spicy, creamy comfort we all crave.
Recipe Overview
- Prep Time: 15 minutes
- Cook Time: 30 minutes
- Total Time: 45 minutes
- Servings: 6 generous portions
- Difficulty: Easy
Why You’ll Love This Cheesy Buffalo Chicken Casserole
- Budget-Friendly Meal Prep: At roughly £1.80 per serving, this casserole stretches your chicken and pantry staples into a week of satisfying lunches or dinners. It is a proper hero for anyone watching their food budget.
- Batch Cooking Champion: This recipe doubles effortlessly. You can fill your freezer with one tray for later and keep one for the week ahead, saving both time and energy on busy days.
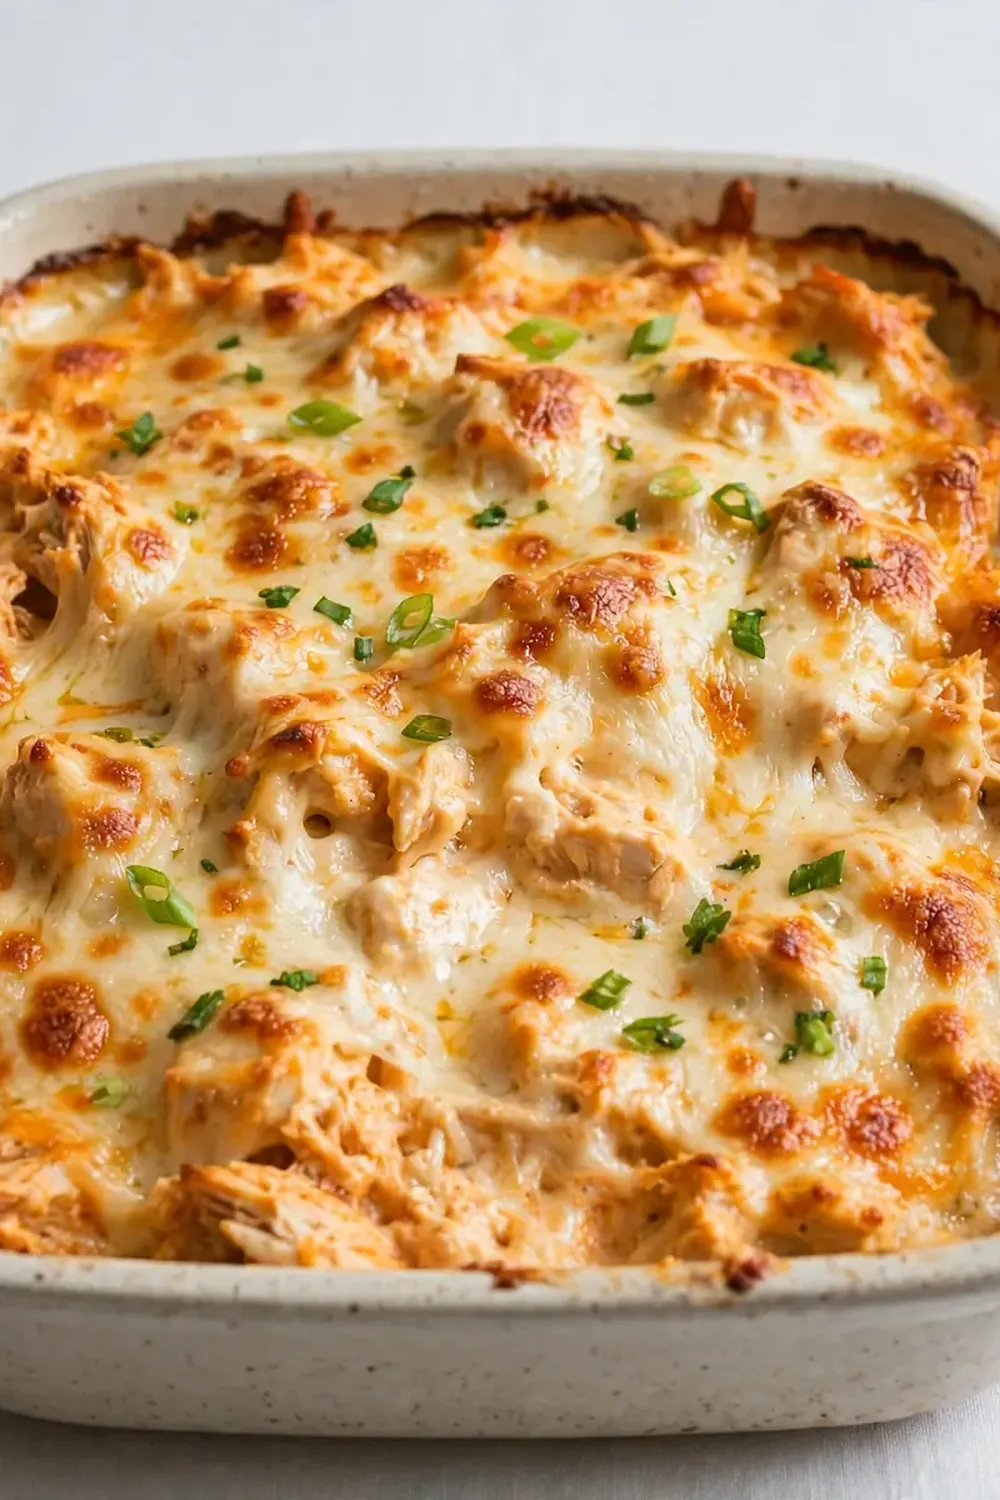
- Truly Satisfying Texture: We get a crisp, golden top from the broiler, a creamy, saucy middle, and tender shreds of chicken in every bite. No sad, soggy leftovers here.
- Simple, Store-Cupboard Ingredients: You likely have most of these items already – pasta, cheese, butter, and hot sauce. It makes planning your shopping list a breeze.
- Reheats Like a Dream: This casserole retains its creamy texture and punchy flavour even after a few days in the fridge or a stint in the freezer. It is the definition of a reliable leftover meal.
Ingredients You’ll Need
- 500g dried pasta shapes (penne, fusilli, or rigatoni work well)
- 2 tablespoons olive oil
- 1 large onion, finely diced
- 3 cloves garlic, minced
- 600g cooked chicken, shredded (from a roasted bird or poached breasts)
- 120ml chicken stock
- 240ml double cream
- 120g cream cheese, softened
- 120ml buffalo hot sauce (like Frank’s RedHot)
- 1 teaspoon smoked paprika
- ½ teaspoon onion powder
- 200g mature cheddar cheese, grated
- 100g mozzarella cheese, grated
- Salt and freshly ground black pepper, to taste
- 2 spring onions, sliced, for garnish (optional)
Tip: For the most cost-effective approach, poach your chicken breasts in simmering water with a bay leaf and a few peppercorns. This yields tender, juicy meat for shredding and gives you homemade stock to use later in the week.
How to Make Cheesy Buffalo Chicken Casserole
- Preheat your oven to 200°C (180°C fan). Bring a large pot of salted water to a rolling boil. Add your pasta and cook until it is just al dente — about 2 minutes less than the packet instructions. You want a little bite as it will finish cooking in the oven. Drain, reserving about 100ml of the pasta water, then set aside.
- While the pasta cooks, build the sauce. In a large, ovenproof skillet or deep frying pan, warm the olive oil over a medium heat. Add the diced onion and cook, stirring often, until it becomes translucent and soft, about 5 minutes. You will smell a sweet, savoury aroma as it releases its moisture. Add the minced garlic and cook for another minute until fragrant.
- Create the creamy buffalo base. Reduce the heat to low. Add the chicken stock, double cream, and the softened cream cheese to the pan. Whisk continuously until the cream cheese has fully melted and the mixture is smooth and glossy, with no lumps remaining. This should take about 2–3 minutes.
- Stir in the heat and seasoning. Pour in the buffalo hot sauce and add the smoked paprika and onion powder. Season with a pinch of salt and a good grind of black pepper. Stir everything together until the sauce is a uniform, vibrant orange colour and smells warmly spiced. Let it simmer for 1 minute to thicken slightly.
- Combine the casserole. Add the shredded chicken and the drained pasta to the sauce. Toss everything together gently but thoroughly using a wooden spoon or silicone spatula. You want every piece of pasta and every shred of chicken to be coated in that luscious, tangy sauce. If the mixture looks a little dry, add a splash of your reserved pasta water to loosen it.
- Top with cheese and bake. Transfer the mixture to a 9×13-inch baking dish if you did not use an ovenproof pan. Sprinkle the grated cheddar and mozzarella evenly over the top. Bake for 20 minutes, until the casserole is bubbling fiercely around the edges and the cheese has melted. For that signature golden crust, switch the oven to a high grill (broiler) for the final 2–3 minutes. Watch it closely until the cheese is blistered and golden brown in spots.
- Rest and serve. Remove the casserole from the oven and let it stand for 5 minutes. This allows the sauce to settle and makes serving much cleaner. Garnish with sliced spring onions if you like, then portion out for your meal prep containers or serve immediately.
Tips From My Kitchen
- Cook the pasta very al dente: This is the single most important tip for meal-prepping with pasta. If you cook it fully, it will absorb too much sauce while sitting in the fridge and become a mushy mess. Cooking it 2 minutes shy of the packet direction means it will finish cooking perfectly in the oven and stay firm after reheating.
- Use block cheese and grate it yourself: Pre-shredded cheese is coated in starches and anti-caking agents that stop it from melting smoothly. Grating your own cheddar and mozzarella from a block creates a much creamier, more cohesive sauce that stretches beautifully when you reheat it. It also tastes far superior.
- Do not skip the resting time: I used to struggle with this dish until I discovered this technique. Resting the casserole after baking allows the sauce to thicken and cling to the pasta and chicken. If you serve it straight away, you will end up with a soupy base. Those five minutes make a world of difference to the final texture.
- Portion before storing for easy reheating: When I am batch cooking, I divide the finished casserole into individual airtight containers as soon as it has cooled slightly. This means I can grab a single portion for lunch without disturbing the rest. It also cools down faster, which is safer for food hygiene.
- Add a splash of milk or stock when reheating: The sauce will thicken further as it sits in the fridge. When you reheat a portion, add a tablespoon of milk or chicken stock and stir it in before microwaving. This brings the sauce back to its original, silky consistency and prevents it from drying out.
Delicious Variations to Try
- Spicy Version: For those who love serious heat, use a hotter buffalo sauce or add 1–2 finely chopped fresh red chillies when you cook the onion. You can also stir a teaspoon of cayenne pepper into the cream cheese mixture for an extra kick that builds with every bite.
- Vegetarian/Vegan Option: Swap the chicken for two 400g cans of drained and rinsed chickpeas or a large head of roasted cauliflower florets. Use a plant-based double cream, a dairy-free cream cheese, and a vegan cheddar-style shred for the topping. The buffalo sauce is naturally vegan, so the flavours will still be bold and satisfying.
- Different Protein: This casserole works brilliantly with shredded turkey (perfect for using up leftovers) or even flaked cooked salmon. For a beefier version, use leftover shredded beef brisket or cooked, crumbled mince. Just ensure the meat is fully cooked before adding it to the sauce.
What to Serve With Cheesy Buffalo Chicken Casserole
- A simple green salad with a sharp vinaigrette to cut through the richness.
- Celery and carrot sticks with a dollop of blue cheese dressing or ranch dip.
- Steamed tenderstem broccoli or green beans for a pop of colour and freshness.
- If you are looking for more ideas for the week, check out our Lunch Recipes for other balanced and satisfying meals.
Still hungry for ideas? You might also love Quick Weeknight Green Chile Chicken Enchilada Casserole, Cozy Weekend Chicken And Sweet Corn Casserole from our sister kitchens.
Frequently Asked Questions
Cheesy Buffalo Chicken Casserole
Ingredients
Method
- Preheat your oven to 200°C (180°C fan). Bring a large pot of salted water to a rolling boil. Add your pasta and cook until it is just al dente — about 2 minutes less than the packet instructions. You want a little bite as it will finish cooking in the oven. Drain, reserving about 100ml of the pasta water, then set aside.
- While the pasta cooks, build the sauce. In a large, ovenproof skillet or deep frying pan, warm the olive oil over a medium heat. Add the diced onion and cook, stirring often, until it becomes translucent and soft, about 5 minutes. You will smell a sweet, savoury aroma as it releases its moisture. Add the minced garlic and cook for another minute until fragrant.
- Create the creamy buffalo base. Reduce the heat to low. Add the chicken stock, double cream, and the softened cream cheese to the pan. Whisk continuously until the cream cheese has fully melted and the mixture is smooth and glossy, with no lumps remaining. This should take about 2–3 minutes.
- Stir in the heat and seasoning. Pour in the buffalo hot sauce and add the smoked paprika and onion powder. Season with a pinch of salt and a good grind of black pepper. Stir everything together until the sauce is a uniform, vibrant orange colour and smells warmly spiced. Let it simmer for 1 minute to thicken slightly.
- Combine the casserole. Add the shredded chicken and the drained pasta to the sauce. Toss everything together gently but thoroughly using a wooden spoon or silicone spatula. You want every piece of pasta and every shred of chicken to be coated in that luscious, tangy sauce. If the mixture looks a little dry, add a splash of your reserved pasta water to loosen it.
- Top with cheese and bake. Transfer the mixture to a 9x13-inch baking dish if you did not use an ovenproof pan. Sprinkle the grated cheddar and mozzarella evenly over the top. Bake for 20 minutes, until the casserole is bubbling fiercely around the edges and the cheese has melted. For that signature golden crust, switch the oven to a high grill (broiler) for the final 2–3 minutes. Watch it closely until the cheese is blistered and golden brown in spots.
- Rest and serve. Remove the casserole from the oven and let it stand for 5 minutes. This allows the sauce to settle and makes serving much cleaner. Garnish with sliced spring onions if you like, then portion out for your meal prep containers or serve immediately.
Notes
I have found this casserole to be a true workhorse in my own meal-prep rotation, especially when I am trying to keep the weekly food shop in check. For another budget-friendly option that is just as good for batch cooking, you might like our Budget Friendly Beef Enchilada Zucchini Boats Meal Prep. I would love to hear how you get on with this recipe — did you try any of the variations, or do you have a favourite side dish to serve alongside it? Drop a comment below and let me know.